We use cookies for personalizing content and ads and providing social media features. Your usage information on our website will be used for social media, advertising, and traffic analytics, or shared with our partners. Clicking "Accept" means you agree to use our cookies .
Are you eager for learning numerous kinds of languages? If you really are, you must be aware of the importance of putting them in to use in the ordinary life and in the work. Further speaking, you can speak them as oral practice, and use them to communicate with your friends, colleagues or customers in the computer. Therefore, adding the languages you would like to study on your PC is extremely beneficial for your language learning and application. Moreover, you are capable of removing them from your computer whenever you want to. And this article will show you how to add and remove language in Windows 8 and 8.1computer.
Video guide on how to add and remove language on Windows 8:
Step 2: Under the item of Clock, Language, and Region, select Add a language.
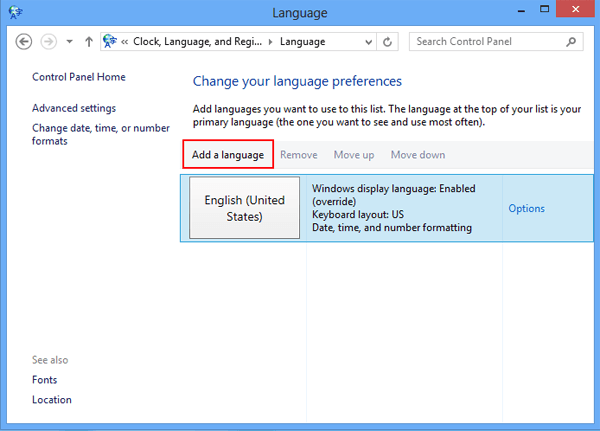
Step 3: After entering the Language window, click Add a language option in the middle.
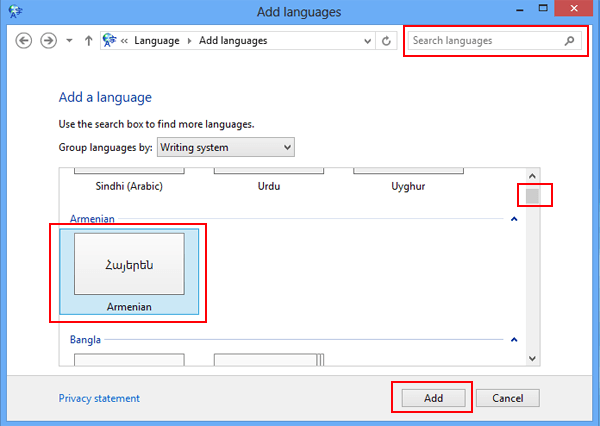
Step 4: As Add languages interface shows up, you can enter the language name in the empty search box on the top right corner, or roll down the scroll bar on the middle right to find the language you want to add. Then choose the language and tap Add button. Please refer to the following picture for better understanding.
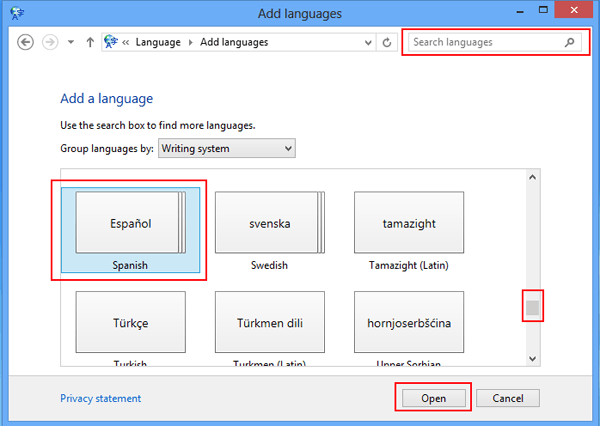
Tips: If you choose a language which has regional variants, you have one more procedure to complete. For instance, Spanish has many regional variants including Argentina Spanish, Bolivia Spanish, etc. Suppose you want to add Argentina Spanish, you need to finish the 2 procedures below.
1. Use the search box or scroll bar to find Spanish, and then click Open, as exhibited in the following screen shot.
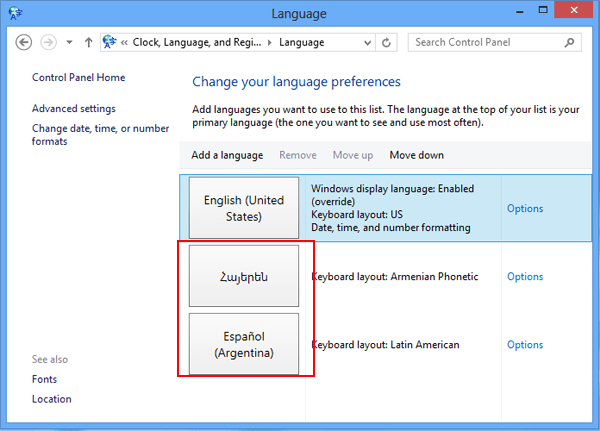
2. Select Spanish (Argentina) or another variant and tap Add on the bottom right.
After finishing the above 4 steps, the languages added are successfully shown in the Language window.
2. Steps to remove language in Windows 8 computer:
The first two steps are the same as those of adding language. So only the third step is illustrated as below.
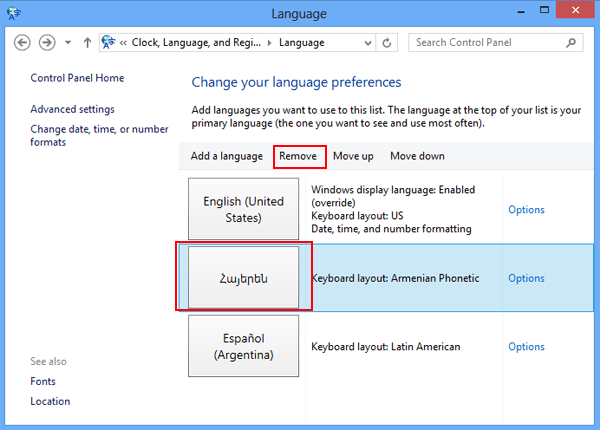
Step 3: In the Language window, choose the language you would like to remove and click Remove option in the middle part, as the following photo shows.
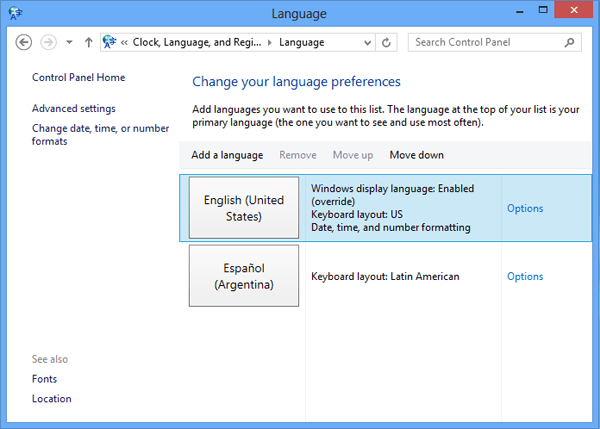
After that, the selected language is removed instantly.
Now, keep your passion for learning languages by adding languages in your Windows PC and using them as often as you can. Moreover, suppose you want to focus on one or two languages, you can remove other languages according to the above method at any time.