logo
Windows 8 Preview, Show, Hide and Delete Fonts on Windows 8/8.1

Preview, Show, Hide and Delete Fonts on Windows 8/8.1

By Jennifer | Last Updated

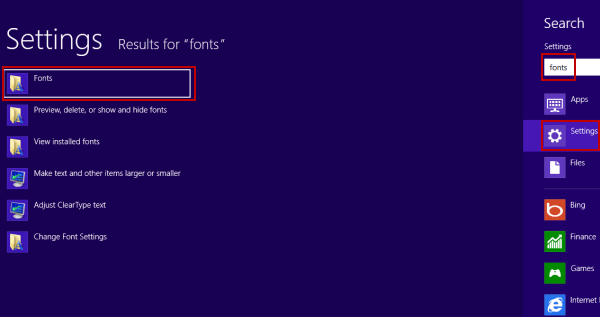
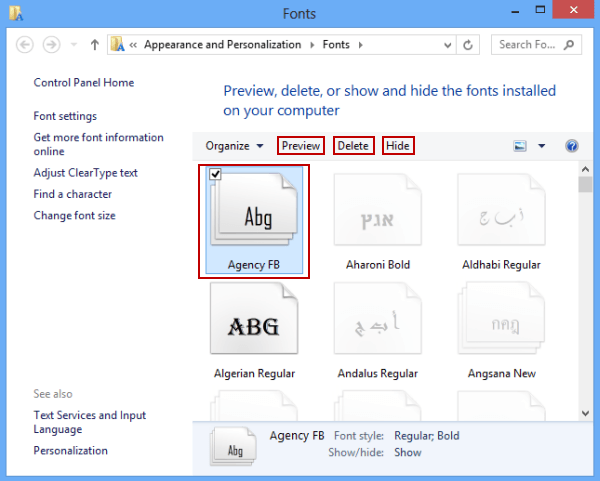
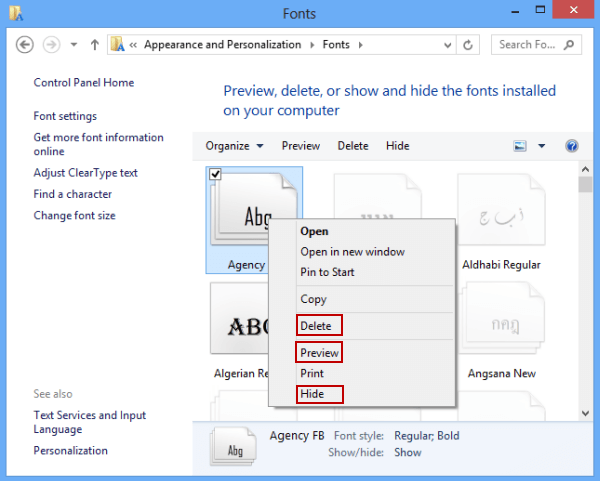
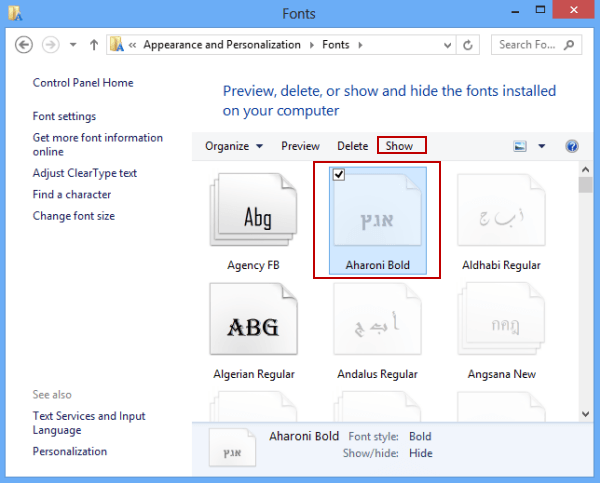
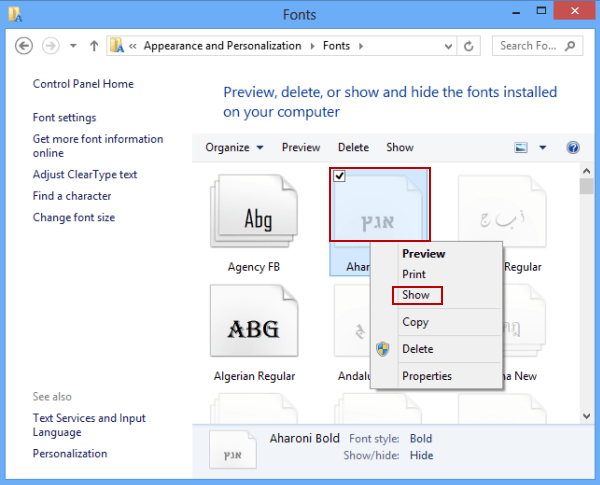
A font is a collection of letters, symbols, numbers that share the same style, sizing and spacing, and there are many fonts in Windows computer by default.

If you would like to learn how to preview, show, hide and delete fonts, the text will tell you how to achieve your goal in Windows 8 computer.

Video guide on how to preview, show, hide and delete fonts on Windows 8:

Part 1: Steps to preview, hide or delete fonts on Windows 8

Step 1: Open Fonts folder.

Go to the Search bar using Windows+F hotkeys, enter fonts, choose Settings and click Fonts in the results.

open fonts folder via search

Tips: The Fonts folder can also be opened in accordance with the path of Control Panel/Appearance and Personalization/Fonts.

Step 2: Get down to preview, hide or delete fonts.

Way 1: Click a font (or tap a font and hold the Ctrl key to select several fonts), and then choose Preview, Delete or Hide in the toolbar.

choose Preview delete or hide

Way 2: Right-click a font, and select Delete, Preview or Hide in the context menu.

choose delete preview or hide

Part 2: Steps to show fonts in Windows 8

Step 1: Open the Fonts folder by the method mentioned above.

Step 2: Show fonts.

Method 1: Tap a hidden font (referring to any transparent font in the list), and choose Show in the toolbar.

tap Show

Method 2: Right-tap a hidden font and select Show on the context menu.

choose Show

Related Articles: