When abnormal conditions occur in your computer, you can log on in safe mode for repair and trouble shooting. Additionally, in safe mode, you can remove computer viruses which cannot be deleted under normal circumstances. Therefore, it is recommended for you to learn how to enable safe mode on your computer.
Step 1: On the Start menu of Windows 8, click the user icon and select Change account picture in the list.
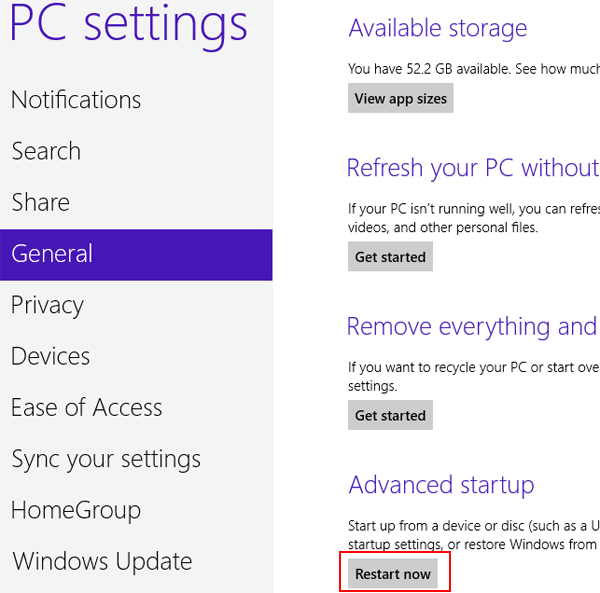
Step 2: In PC settings interface, select General in the left menu, find Advanced startup on the bottom right, and click Restart now under it. Please refer to the screen shot below.
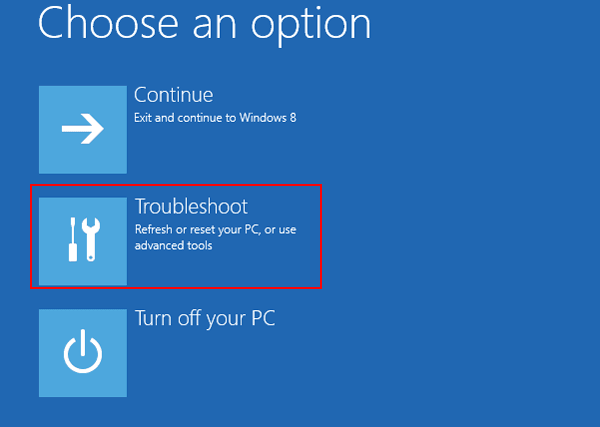
Step 3: After entering the interface named Choose an option, select Troubleshoot.
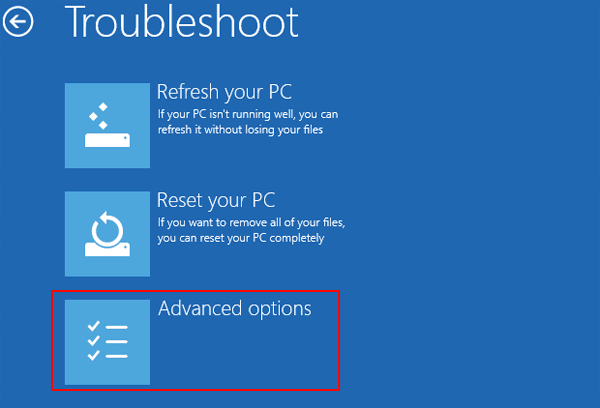
Step 4: Choose Advanced options in Troubleshoot interface.
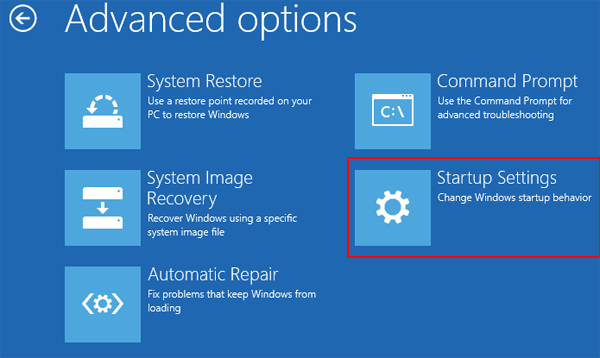
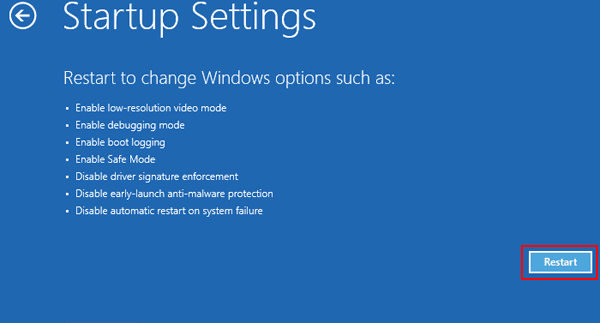
Step 5: Select Startup Settings from the advanced options.
Step 6: Tap Restart to reboot the computer.
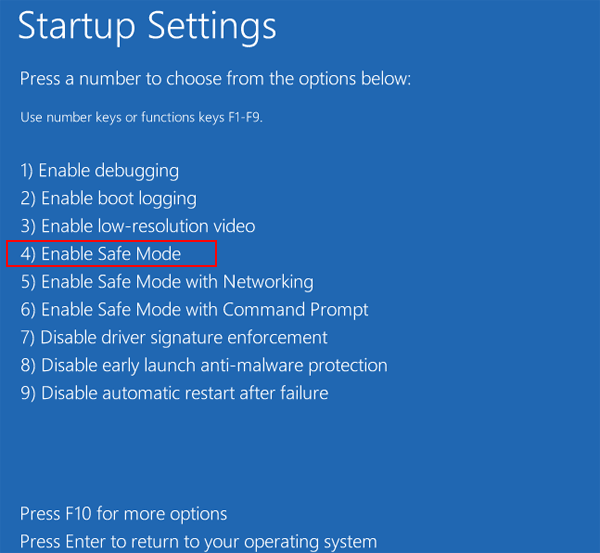
Step 7: After restart, in the Startup Settings interface, press 4 or F4 on the keyboard to choose Enable Safe Mode.
With the seven steps done, the safe mode is successfully enabled on Windows 8 computer.
Method 2: Enter Safe Mode through System Configuration
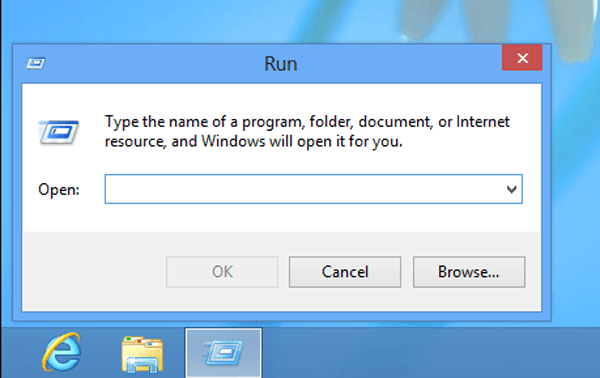
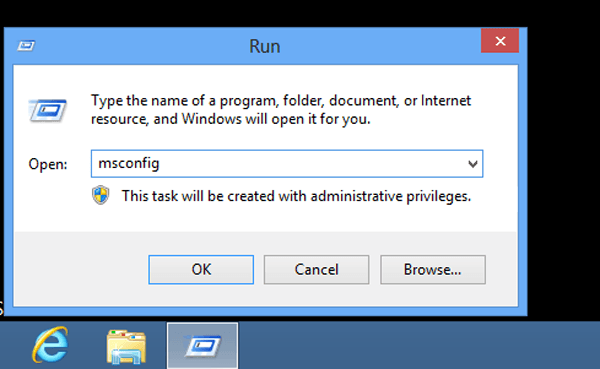
Step 1: Open Run dialogue box.
Press WIN key and R key at the same time to open Run dialogue box.
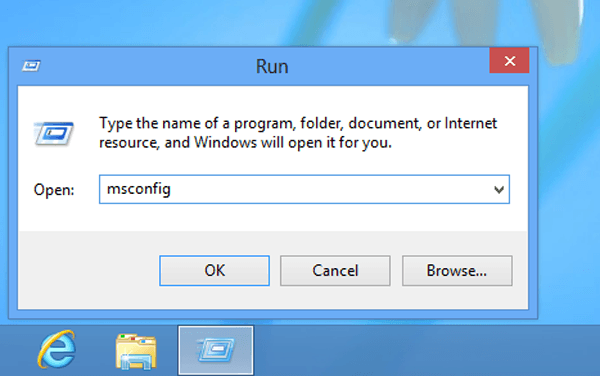
Step 2: Input msconfig in the empty box and click OK.
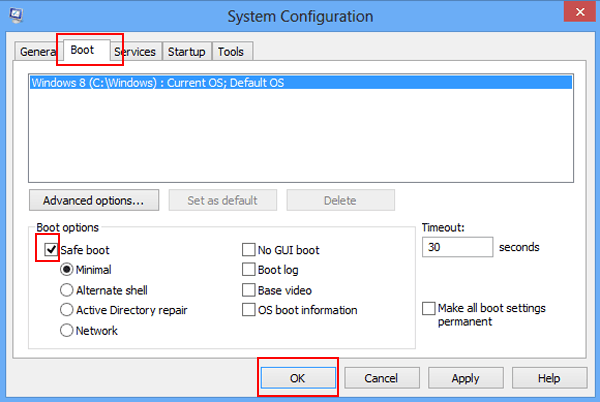
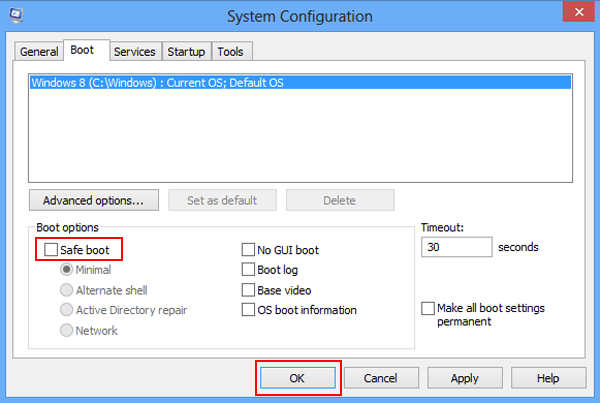
Step 3: In System Configuration window, select Boot, check the box before Safe boot and click OK.
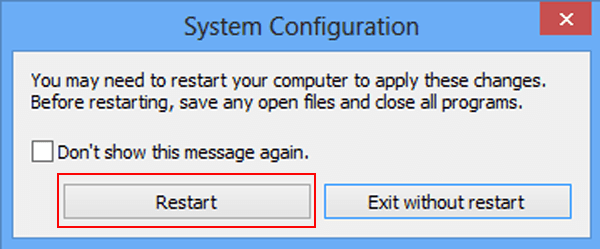
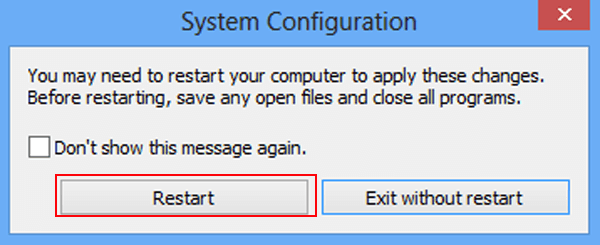
Step 4: In the next interface, tap Restart to apply the changes to the computer.
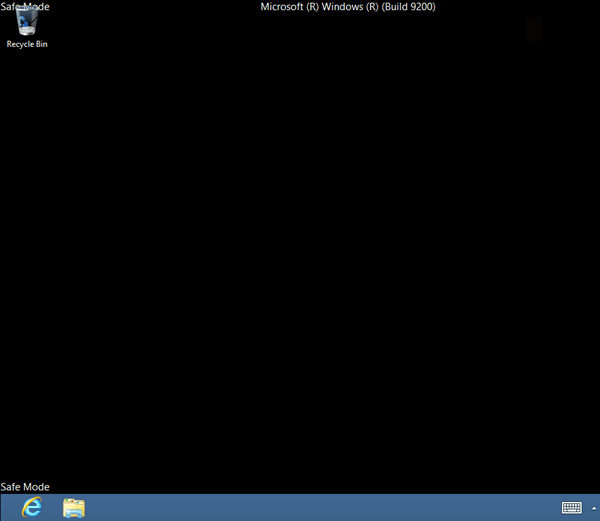
After restarting, the Safe Mode is turned on, as the following picture shows.
Part 2: How to Remove Windows Safe Mode
Method 1: Restart the computer
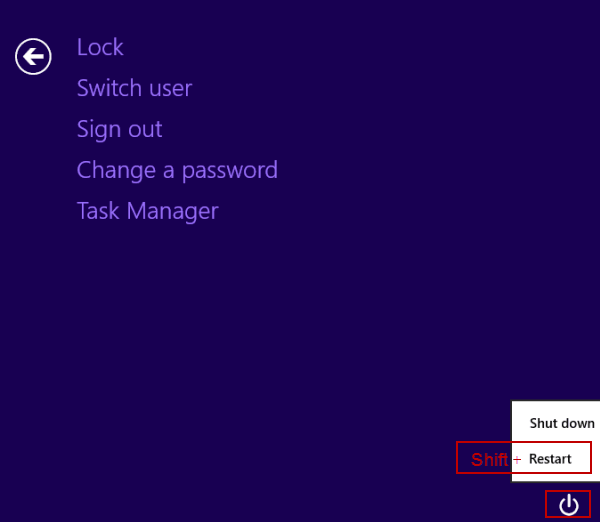
Step 1: Press Ctrl+Alt+Del, click the bottom-right Power button, and then simultaneously press the Shift key and tap Restart on the menu.
Step 2: Choose Continue from the options provided.
Method 2: Change related setting in System Configuration
Tip: This method is applicable when the safe boot is enabled in the System Configuration on your PC.
Step 1: Press WIN key and R key in the meantime to open the Run dialog box, type msconfig and click OK to open System Configuration.
Step 2: In the System Configuration window, select Boot on the top, uncheck the box before Safe boot and tap OK.
Step 3: Click Restart to restart your computer and apply the changes.