We use cookies for personalizing content and ads and providing social media features. Your usage information on our website will be used for social media, advertising, and traffic analytics, or shared with our partners. Clicking "Accept" means you agree to use our cookies .
Although many users know there is an app called Snipping Tool in Windows 8 computer, some of them may have no idea how to use it to capture screens, not to mention editing and saving the snipped. Consequently, this article will provide detailed tips on how to use the Snipping Tool.
Tips for using Snipping Tool in Windows 8/8.1 computer:
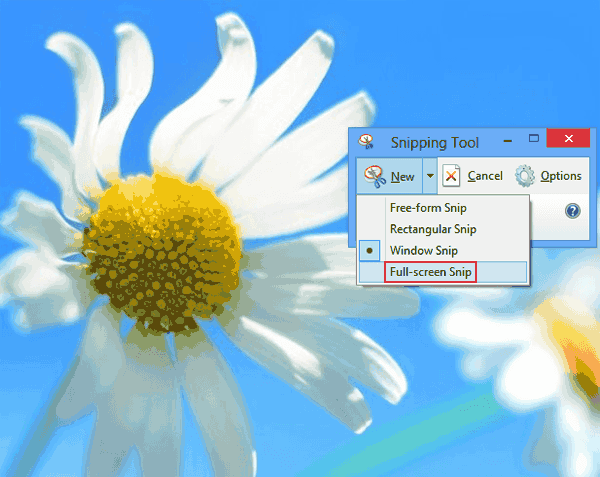
As the Snipping Tool window shows up, click the down arrow beside New and select a snip type from Free-form Snip, Rectangular Snip (default selection), Window Snip and Full-screen Snip.
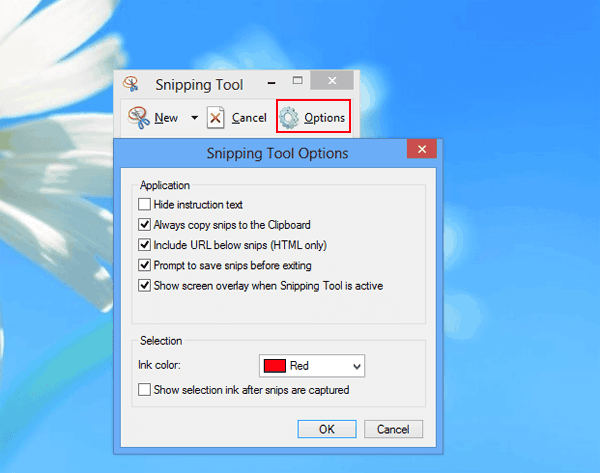
Tips 3: Make more changes to the settings in Options.
Click Options in the window of Snipping Tool, and then make changes to the settings of Application and Selection according to the specific needs in the pop-up window of Snipping Tool Options.
Tip 4: Begin snipping screen.
Click New to start capturing screen.
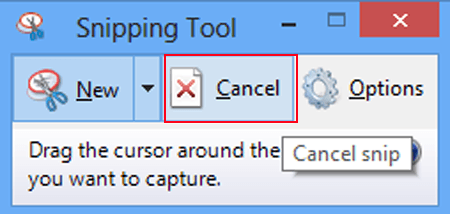
Tip 5: Cancel capturing screen.
Click the Cancel button to undo the snipping before you get down to capture a screen if you find the Snipping Tool window is in the area you want to capture or something unexpected occurs.
Tips 6: Capture screen by the selected snip type.
The operations to capture screen by use of the four snip types are separately illustrated below.
1. If the Free-form Snip option is chosen, after clicking New, you can drag a line to form any shape (regular or irregular) around the area you want to capture.
2. If you choose the Rectangular Snip, tap New and drag the cursor around the area you want to capture and the chosen area will be snipped in rectangular shape.
3. Suppose Window Snip is selected, click New and choose the window you would like to capture.
4. If Full-screen Snip is chosen, the full screen will be captured automatically.
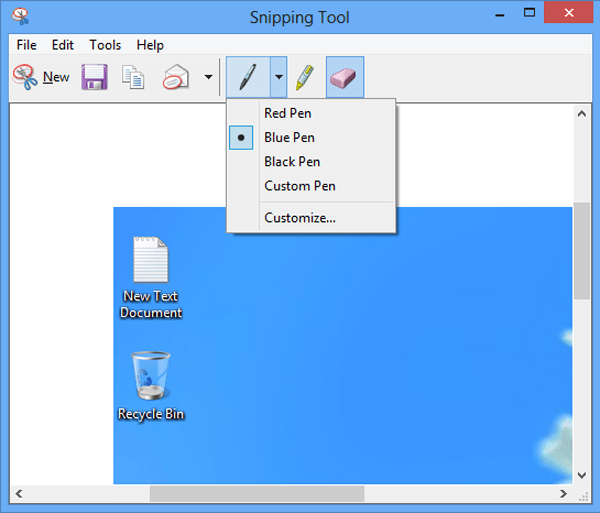
Tip 7: Edit, copy, send and save the screen snipped.
1. In the Snipping Tool window storing the snipped screen, on the Tool Bar, click the down arrow beside the Pen button, and select a pen with the color you like. Then you can use it to write something on the screen shot.
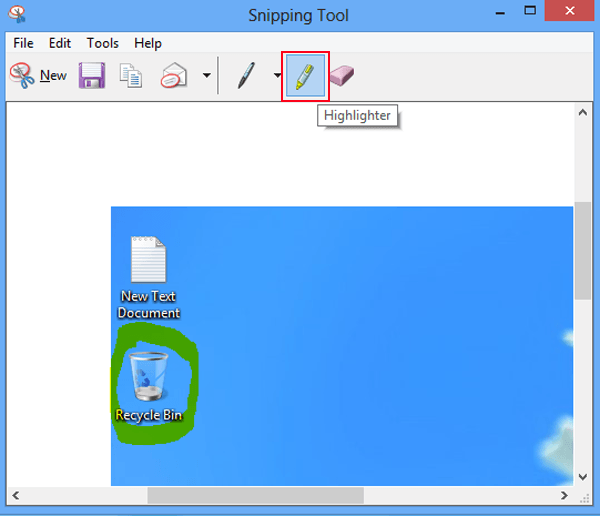
2. Choose Highlighter button and use the tool to highlight something you would like to emphasize on the snip.
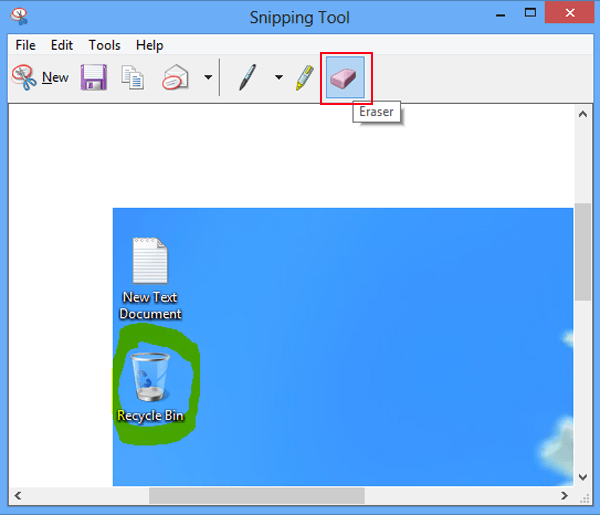
3. Click the Eraser icon and apply the eraser to remove the thing you wrote or highlighted wrongly.
4. Click the Copy button to duplicate the screen shot.
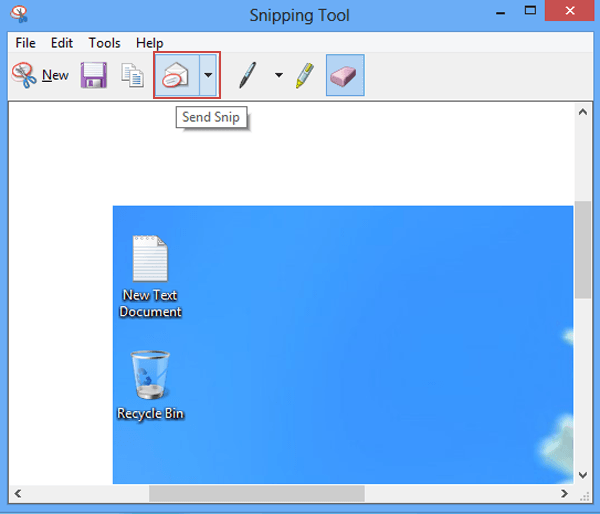
5. Click the mail button to send the snip to other people by email if an email program has been installed in the computer.
6. Tap Save button to save the snip in the computer.
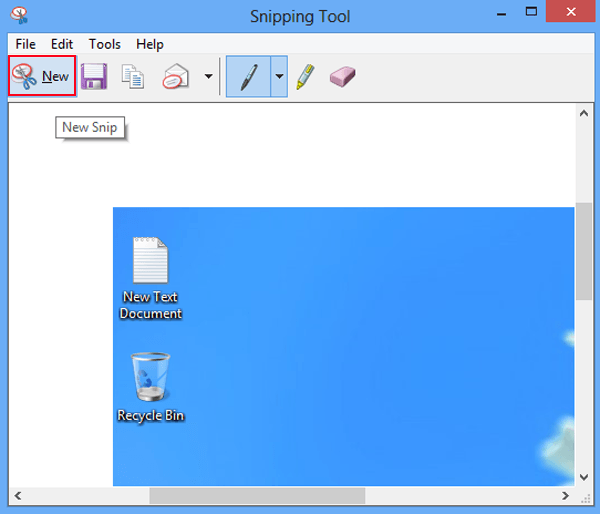
7. Click New to make a new snip.
Note: All the functions in tip 7 can be found in the Menu Bar tabs (i.e. File, Edit and Tools).
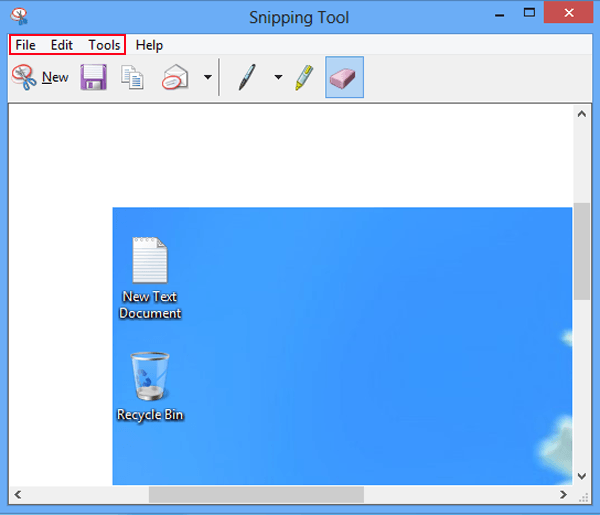
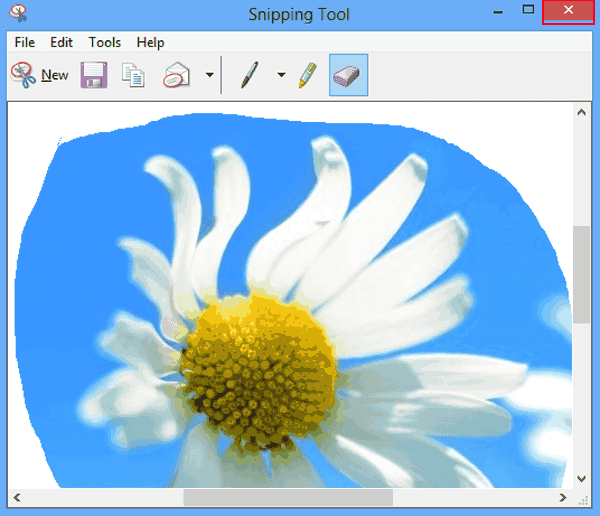
Tip 8: Close the Snipping Tool.
Click the close button on the top right corner, or press Alt+F4 hotkeys to turn it off.