System service exception is one of the Windows BSOD errors. It can occur for a variety of reasons: GUI errors, corrupt system files, outdated drivers, etc. Most BSODs are very annoying because your PC will suddenly restart, which makes all unsaved stuff disappear. In this post, I will share you the most effective ways to fix system service exception error in Windows 10 & 11.
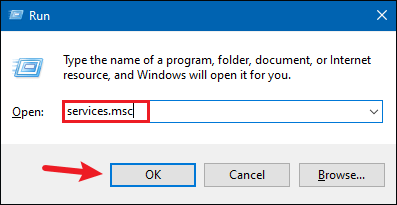
Step 1: Press Windows+R at the same time, type services.msc and click OK to open the Services.
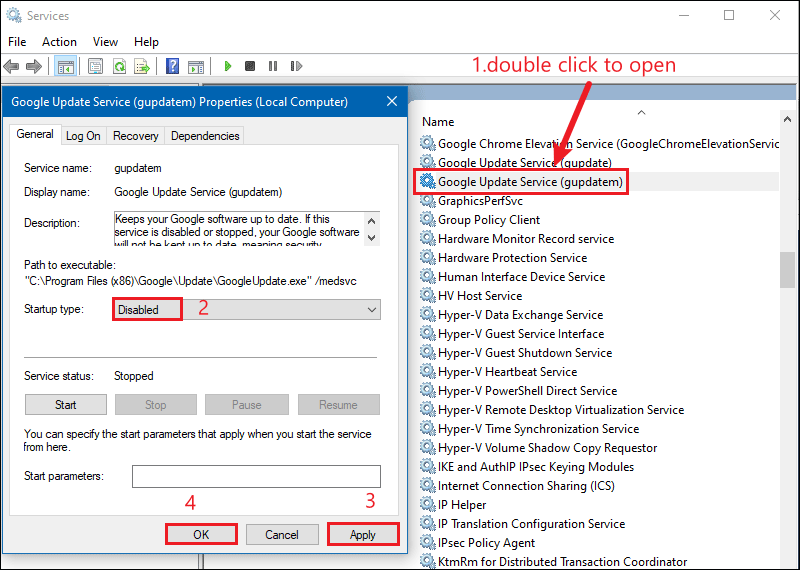
Step 2: In the Windows Services pane, locate and double-click to open the Google Update Service Properties. Select Disabled from the Startup Type drop-down list, then click the Apply and OK buttons. If there is more than one Google Update Service item, you need to disable all of them.
Step 3: Reboot your PC and check whether the system service exception error is gone or not.
2: Launch Windows Memory Diagnostic Tool
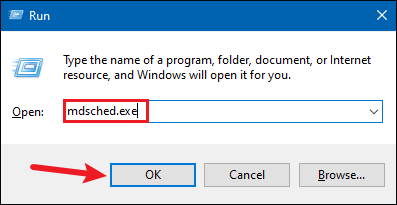
Step 1: Use Windows + R to open Run dialogue box, type mdsched.exe and click on OK to open Windows Memory Diagnostic.
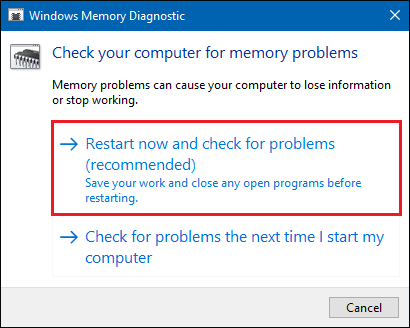
Step 2: In a pop-up dialogue box, click on Restart now and check for problems(recommended). Your PC will reboot, and the scan will look for all bad memory existing in the system and will fix them.
3: Run SFC scan tool
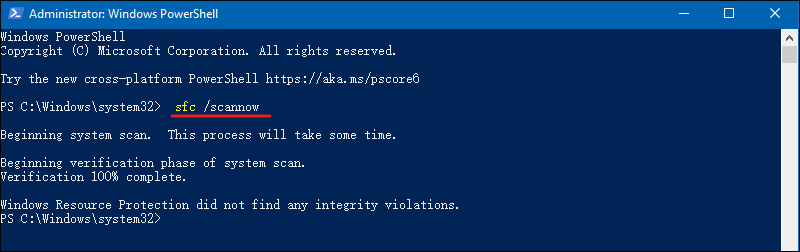
Step 1: Use Windows+Q to search for PowerShell in the search bar, click Run as Administrator.
Step 2: Type sfc /scannow and press Enter. After completing the scan, the system will locate all the corrupted files and will fix them.
4: Run disk check
Step 1: Type CMD in the Start menu bar, and click Run as administrator.
Step 2: In the Command Prompt, type chkdsk to execute disk check.
5: Work with Driver Verifier Manager
Step 1: Search for PowerShell in the start menu bar, click Run as Administrator.
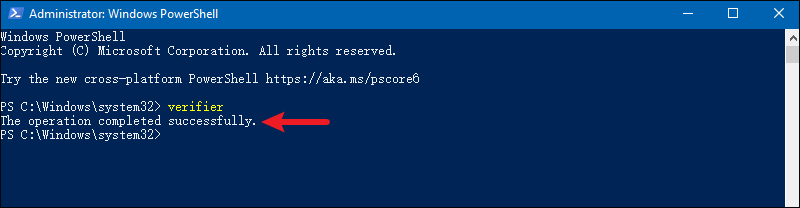
Step 2: Type verifier in the PowerShell and press Enter. This action will open the driver verifier manager.
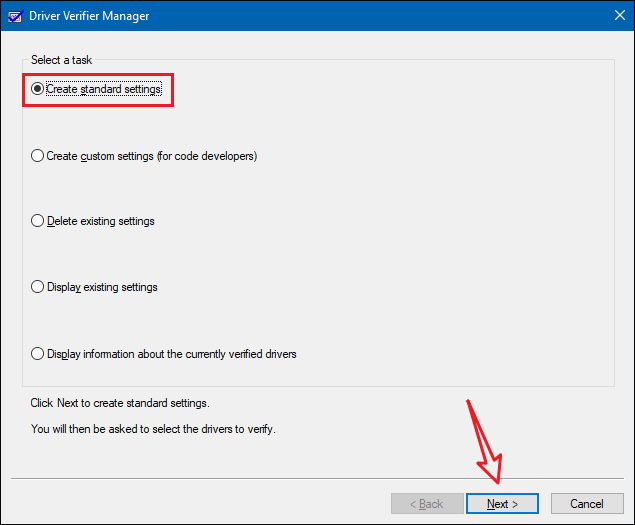
Step 3: Click on the Create standard settings option and then click on the Next button.
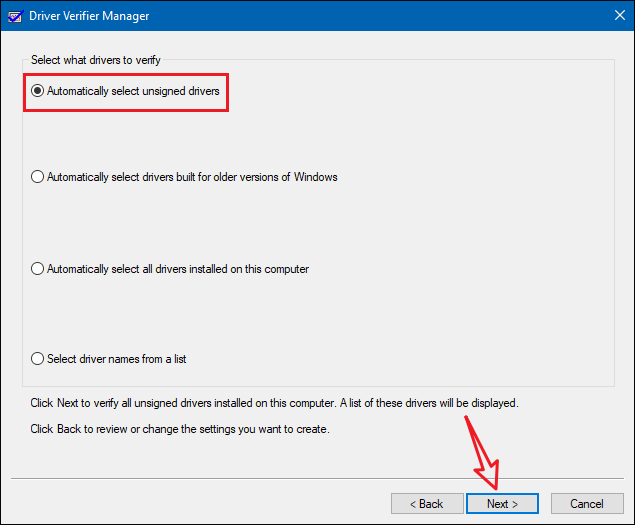
Step 4: Select the Automatically select unsigned drivers. And then click on Next. It will automatically search for unsigned drivers.
Step 5: When finished, an "The operation completed successfully" message will be displayed on PowerShell.
6: Update Driver
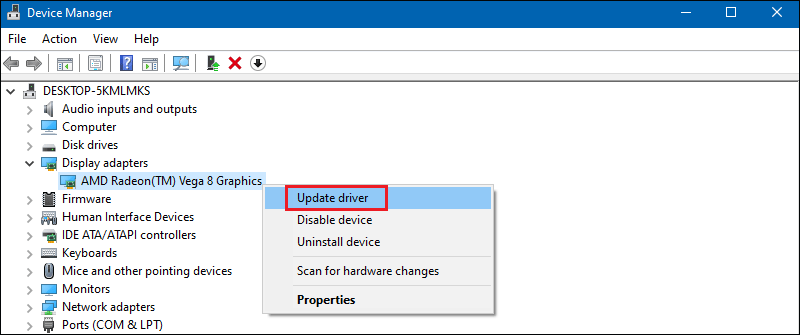
Step 1: Press Windows+X at the same time and select Device Manager to open it.
Step 2: Right-click on all drivers one by one and click on Update Driver as shown below.
7: Reset your PC
The reset feature of windows 10/11 can clear lingering issues related to your SYSTEM_SERVICE_EXCEPTION errors while keeping most of your important files intact. This can also help resolve errors with bad system configuration information.
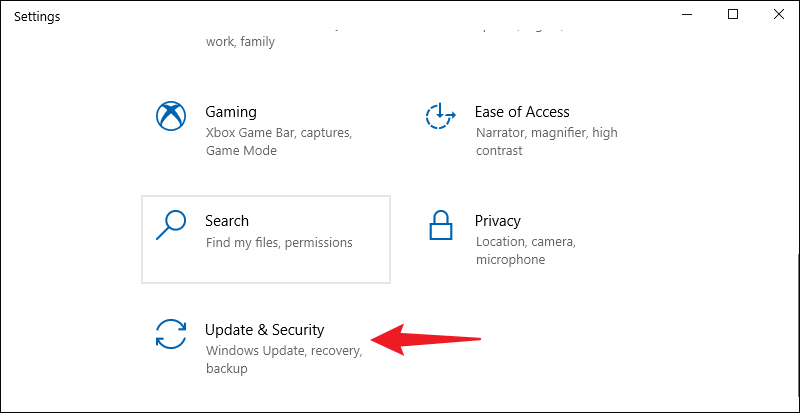
Step 1: Use Windows+I to open settings, slide to the bottom and select Update & Security.
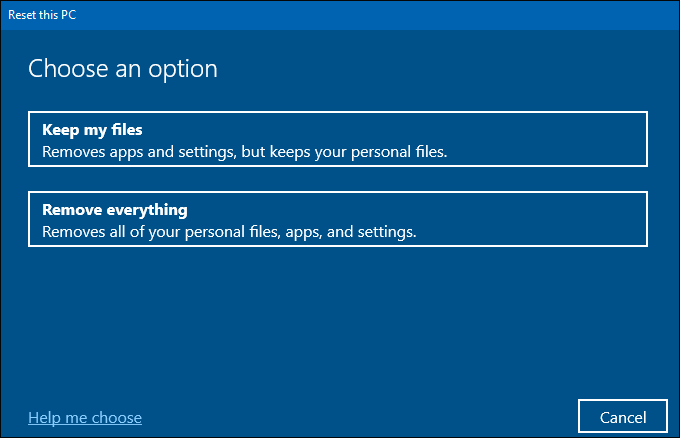
Step 2: In the left window click Recovery and in the right window, under Reset this PC click Get started.
Step 3: You can choose Keep my files or Remove everything to reset your PC.