Generally, when you install a new disk into your Windows 10 computer, the system detects the new drive as a basic disk by default. But you might convert the basic disk to a dynamic one due to the dynamic disk's advantages like "Dynamic disk volumes can be composed of a set of noncontiguous extents on one or multiple physical disks" said by Microsoft. And for some reasons, you might plan to clone the dynamic disk to another disk. For example, you want to replace the original dynamic disk with a larger SSD without system reinstallation or you want to backup the dynamic disk in case of sudden data loss. Read up to here, you might be curious about the way to clone dynamic disk in Windows 10. Now, let's get more details about how to clone dynamic disk to SSD in Windows 10 from the following part. Certainly, the target disk can be other types of disk(e.g. HDD).
Steps to Clone Dynamic Disk in Windows 10
Step 1: Make sure that the target SSD is a basic disk.
If the SSD is a new drive, you can connect it to your Windows 10 computer firstly. Then access Disk Management to initialize the disk and divide it into volumes.
When the SSD was identified before and it's converted to a dynamic disk, you need to backup the dynamic SSD so that you can delete all the SSD's volumes and convert the disk from dynamic to basic in Disk Management.
If the SSD was already recognized by your system and it's a basic disk, you can back up the SSD firstly because the disk cloning operation will erase its data.
Step 2: Install professional Windows cloning tool - iSunshare CloneGo on your Windows 10 computer. With the help of iSunshare CloneGo, dynamic disk clone can be completed in a click-through process.
Click the Download button below and install CloneGo by following the wizard step by step.
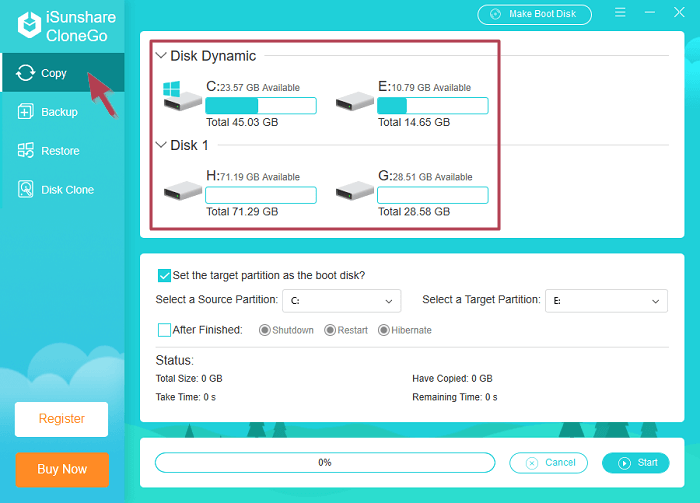
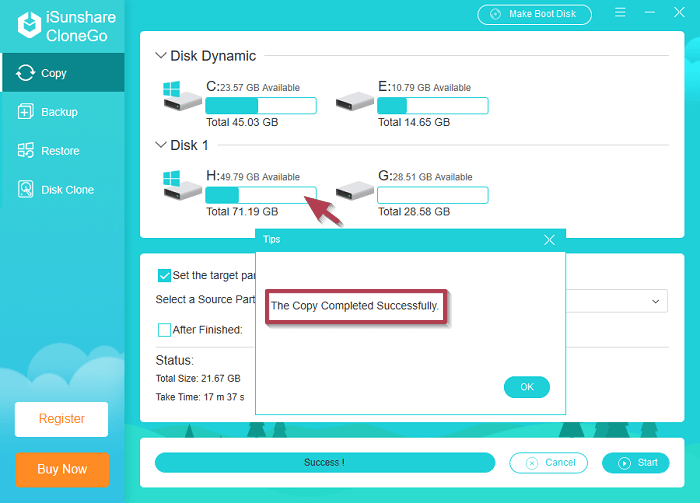
Step 3: Run the tool and switch to the Copy tab in the left menu. In the right main section, you can see all disks and disks' volumes in your computer, including the dynamic disk(Disk Dynamic) and basic SSD(Disk 1).
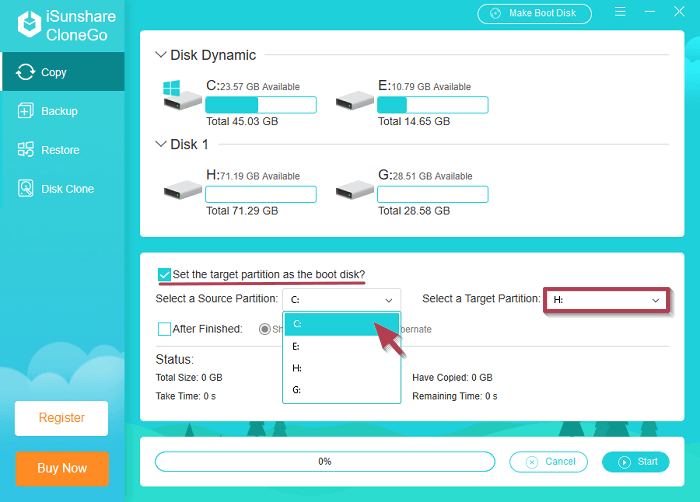
Step 4: Click the Select a Source Partition option to choose the partition of dynamic disk and set the volume of SSD as the target partition in the Select a Target Partition option.
Tips: When the source partition is the dynamic system volume, you need to check the option-Set the target partition as the boot disk, which makes the copied source partition bootable.
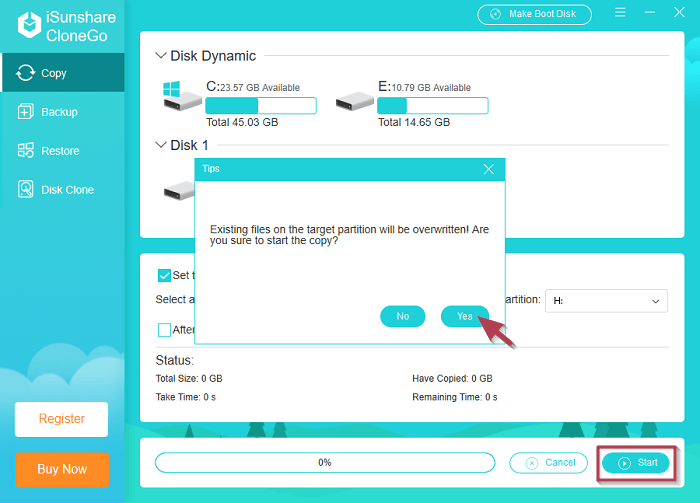
Step 5: Hit the Start button and a pop-out will be shown to remind you that the target partition will be overwritten. If you have backed up the partition data or there is nothing important in the target partition, just click the Yes option to start the dynamic disk partition clone.
Step 6: When the dynamic partition is 100% cloned, you can see a tips box as follows.
Step 7: Repeat step 4 and step 5 above until all partitions of the dynamic disk are copied to the target SSD.