When you need to share an Excel worksheet with others, you might set a password to protect your worksheet from edit or modification. However, this way will lock all the cells in your worksheet. If you just want the certain cells to be locked, simply password protecting the worksheet can’t be applied. So, what can you at this time? Here, we will talk about 2 useful ways to lock the selected cells in Excel 2016/2013/2010, let’s continue reading for more details.
- Lock Selected Cells with the Common Sheet Password
- Lock Certain Cells Using the Extra Range Password
1. Lock Selected Cells with the Common Sheet Password
You can use this way when you need others to fill in your Excel worksheet, but want to keep some items like the form title be unchangeable. And the locked cells only can be changed after entering the correct password for unprotecting the entire sheet.
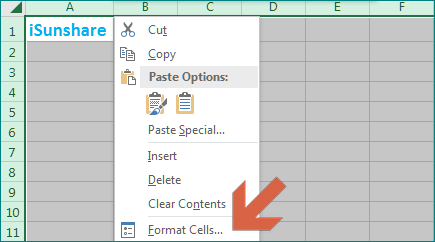
Step 1: Press Ctrl+A to select all the cells in the Excel worksheet. Then right-click the worksheet and choose Format Cells in the context menu.
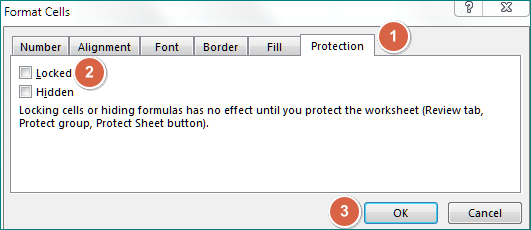
Step 2: Switch to the Protection interface, untick the Locked option and click OK.
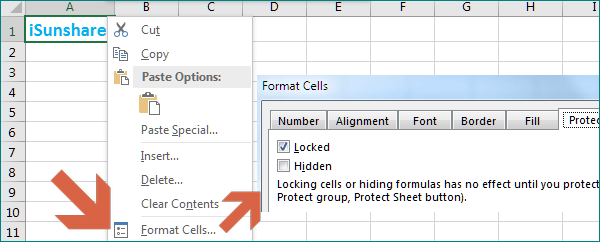
Step 3: Select the cells that you plan to lock and right-click them to choose Format Cells and tick the Locked option in the Protection window. Then click OK to execute the operation.
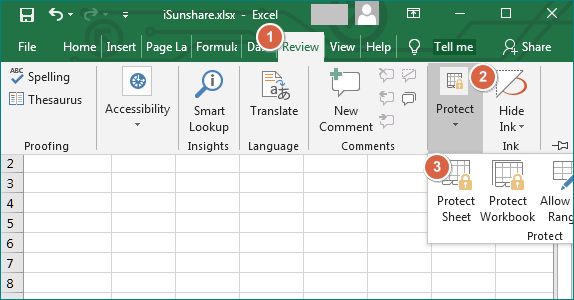
Step 4: Locate to the tool menu > choose Review > select Protect Sheet.
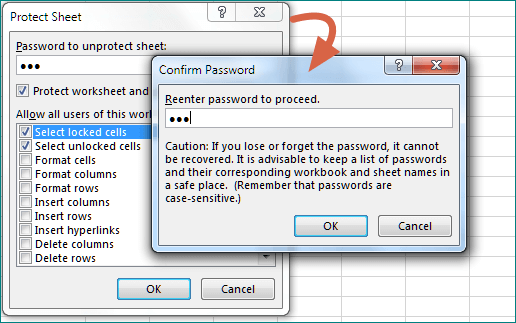
Step 5: Enter a password to unprotect the worksheet and confirm it.
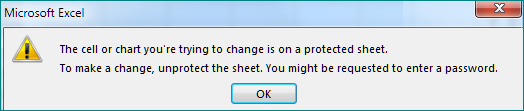
After that, if the locked cells are clicked, a box will be popped out to remind that the cells are protected.
2. Lock Certain Cells Using the Extra Range Password
Besides the normal whole sheet password, this method provides an extra password for users to unlock the cells. It can be applied when you hope the user edit some of the locked cells. For example, you want the users just to fill in their own parts in your sheet.
Steps 1-3 are the same as those of the Way 1 above.
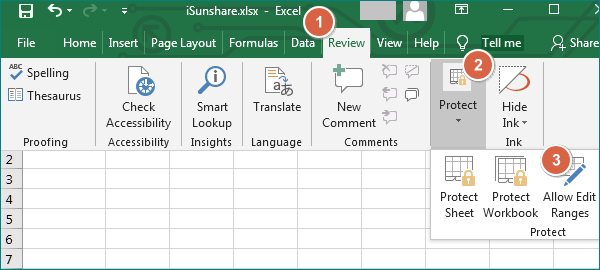
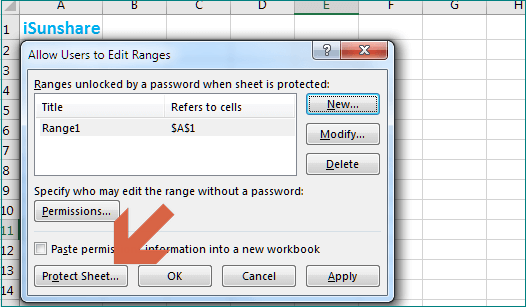
Step 4: Click the Review option in the upper panel and choose the Allow Edit Ranges button.
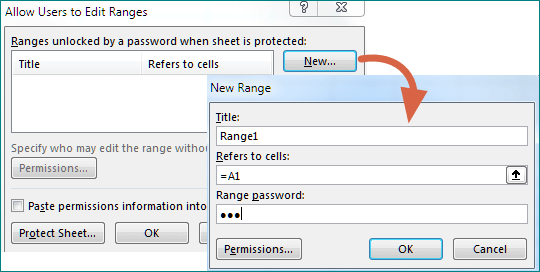
Step 5: Choose New in the pop-out prompt. Then enter the range name, referred cells and range password in the box. Don’t forget to click OK to save the change.
Tips: To select the referred cells, you can click the up arrow to select cells in the sheet or directly input the cells’ locations.
Step 6: After creating the range password successfully, select the Protect Sheet button and protect the whole worksheet with a password.
At last, when you select the locked cells, you can see a pop-out prompt for you to enter the range password for changing the cells.

Related Articles:
Well I really liked reading it. This post offered by you is very helpful for me, who always deal with the data with MS Excel.