Windows 11 offers two backup options for users, one is File History and another is Backup and Restore (Windows 7). File History feature enables users to automatically back up files or folders to another hard drive while the backup and Restore (Windows 7) function allows users to create a fresh backup of your Windows 11 to another disk. After you upgrade Windows 10 to Windows 11, you find Windows 11 backup options missing, what can you do? You can get practical ways to fix this issue in this article.
- Part 1: What Happens When Windows 11 Backup Options Disappear?
- Part 2: Fix File History Missing Error on Windows 11
- Part 3: Fix Backup and Restore (Windows 7) Missing Error on Windows 11
- Part 4: Alternative Backup Software to Protect Your Data in Windows 11

Part 1: What Happens When Windows 11 Backup Options Disappear?
If you cannot use the built-in backup tool in Windows 11, various problems will come. The most important one is that you cannot create a backup of Windows 11, which will lead to data loss when your system crash or Windows 11 fails to work. The other sequences are listed below:
- Unable to keep a record of all versions of system files and folders
- Cannot restore Windows backup
- Unable to make a system image
- Data is always at risk without a backup.
Part 2: Fix File History Missing Error on Windows 11
In Windows 11, File History option has moved to Control Panel > System and Security section. If you find it is missing after upgrading to Windows 11, what can you do? You can find the useful solutions below.
Solution 1: Start File History Service
Windows File History service plays an essential role in the proper functioning of files or folder backup features. Thus, you should make sure that this service is turned on.
Step 1: Search services on the Windows search box and then choose the Services app to open.
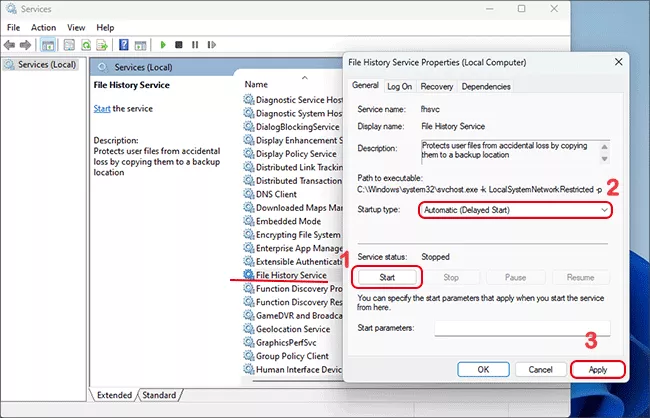
Step 2: Find File History Service on the right panel. After that, double-click to open it.
Step 3: Click on the Start button under the Service status section. After that, wait for minutes.
Step 4: Go to the Startup type option and then choose the Automatic (Delayed Start) option.
Step 5: Finally, hit on the Apply button to save the changes.
Solution 2: Enable File History Option
If the File History option is disabled on your Windows 11 system, Windows 11 backup option missing issue will appear. You can follow the below steps to turn on the File History option.
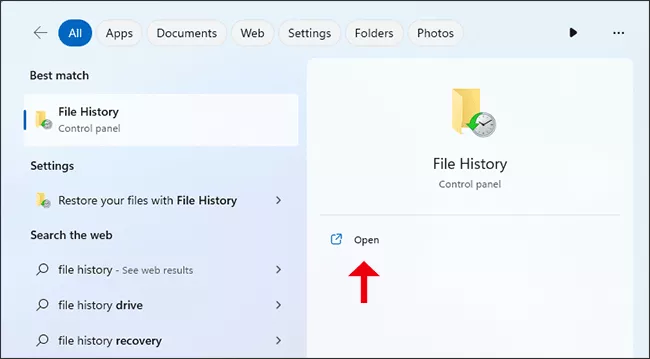
Step 1: Enter file history on the Windows search box and then choose to open File History.
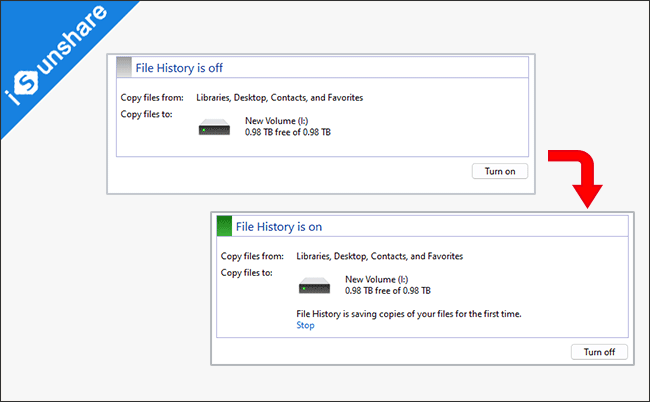
Step 2: Hit on the Turn on button below File History is off box.
Step 3: Restart your computer and then check whether the issue is solved or not.
Solution 3: Perform an SFC Scan
System File Checker can help to scan for system errors and solve the errors automatically after the scanning, which can help to solve Windows 11 backup options missing errors.
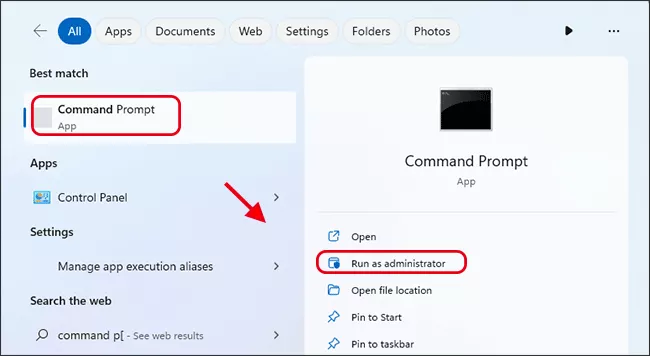
Step 1: Run Command Prompt as administrator.
Step 2: Execute the command: sfc /scannow.
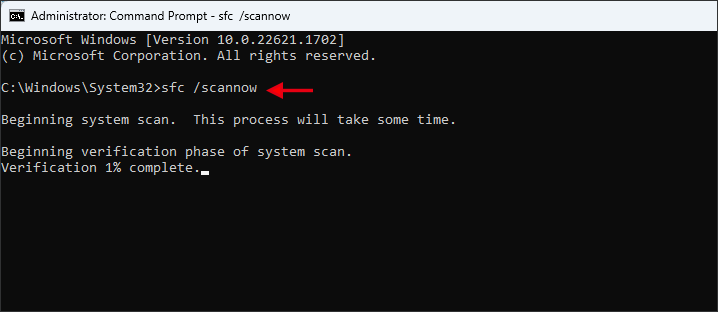
Step 3: After the process ends, reboot your Windows 11 to check the issue’s status.
Part 3: Fix Backup and Restore (Windows 7) Missing Error on Windows 11
If Backup and Restore (Windows 7) feature is missing from your Windows 11 computer, you can check the below solutions to fix it.
Solution 1: Start Volume Shadow Copy Service
If the Volume Shadow Copy service is disabled, shadow copies will be unavailable for backup. So, you should go to enable this service.
Step 1: Press Win + R keys to open Run dialog. After that, enter Services.msc into the box.
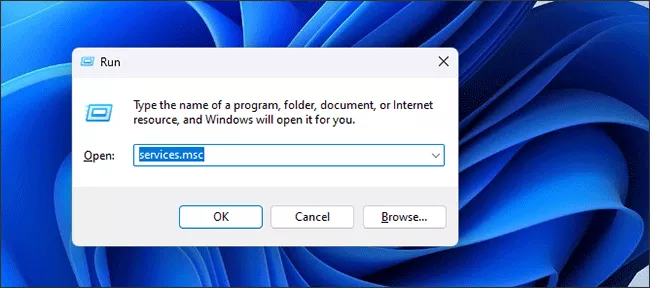
Step 2: Find Volume Shadow Copy service and double-click to open its properties box.
Step 3: Go to the Service status section and hit on the Start button.
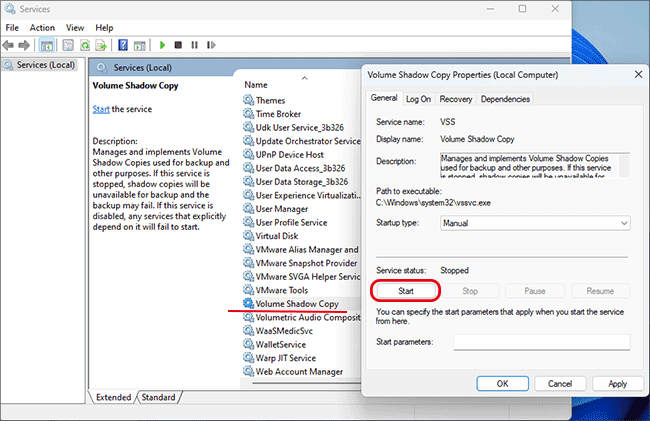
Step 4: Change the Startup type to Automatic (Delayed Start) and then hit on the Apply button.

After that, you can close the window and check whether Backup and Restore works normally.
Solution 2: Disable System Protection
System Protection can be one of the factors that cause this issue. You can go to disable it in system settings.
Step 1: Head to Control Panel > System and Security > System.
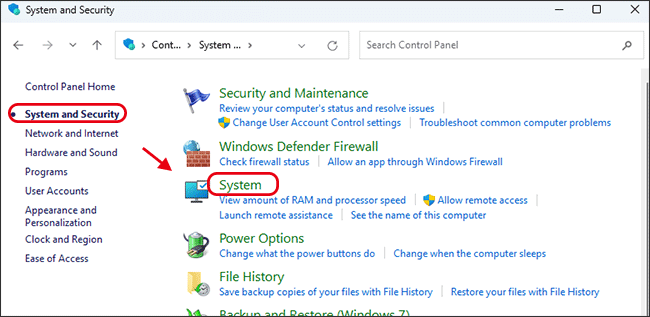
Step 2: Scroll down and select System Protection option. Then in the pop-out System Properties box, you can hit on the Configure button.
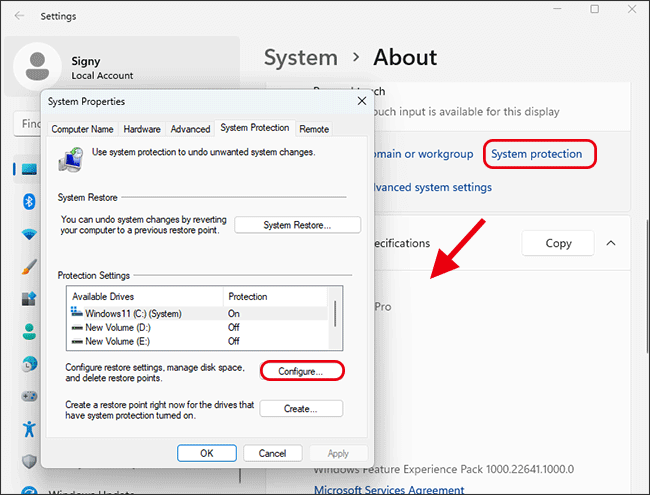
Step 3: In Restore Settings section, choose Disable system protection and then click on the Apply button.

Then you can go to check the missing option is available again or not.
Part 4: Alternative Backup Software to Protect Your Data in Windows 11
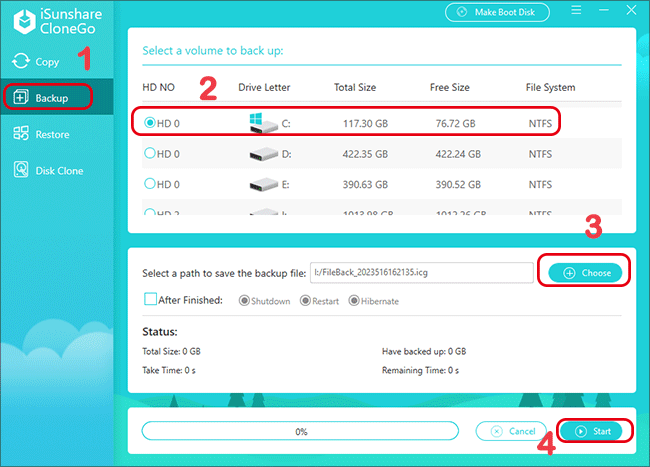
If you want to back up the Windows 11 system or other files and folders, you can try the alternative backup software when the built-in backup options are missing from your computer. iSunshare CloneGo is a good choice for you to quickly and simply back up partitions or even your whole hard disk, or create the WinPE to backup Windows without starting your computer. Now let’s dive in.
Step 1: Download and install iSunshare CloneGo on your Windows 11 computer.
Step 2: Launch the software and then go to the Backup option on the left side.
Step 3: Select the partition where your files or folders are stored, then choose a location to store the backup file.
Step 4: Click on the Start button and then wait for the process to end.
Conclusions:
In this article, you can learn effective fixes for Windows 11 backup options missing issues. Also, you can use iSunshare CloneGo to back up your computer data anywhere you want. Besides, you can also clone Windows to another disk and make it bootable.
Related Articles:
WOW just what I was looking for. Came here by searching for step by step plans