Microsoft Exchange server is a set of E-mail service components, just like Microsoft Outlook. And Exchange server latest version makes using Exchange account in Outlook available. Now let’s learn how to create Microsoft Exchange Account manually not in Exchange server.
- Way 1: Add new Exchange account in Control Panel.
- Way 2: Add new Exchange account in Outlook with “Microsoft Exchange” service.
But before Exchange account creation, there are some preparations having to be noticed.
Preparations:
- Windows Server 2008 R2 has been fully installed for Exchange server.
- AD Schema Master is setup and AD forest functional level is Windows Server 2003 (or higher).
- Some necessary Windows components have been installed or turned on, such as Internet Information Service etc.
- Install Exchange Server 2010 on Windows Server 2008 R2.
After all of these prepared, please get ready to create Exchange 2010 account.
Way 1: How to Create Exchange Account Manually in Control Panel
In Control Panel – Mail, you can create Exchange account by “E-mail Accounts” or creating Outlook profiles.
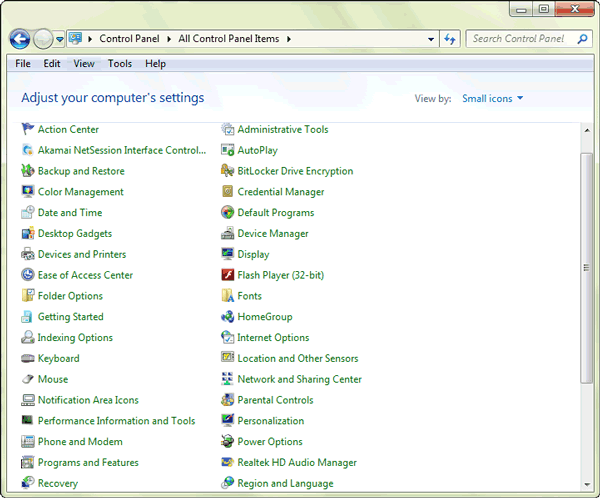
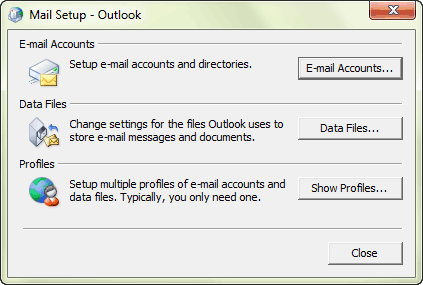
1. Exit Outlook and open Control Panel. Click “Mail” and click E-mail Accounts.
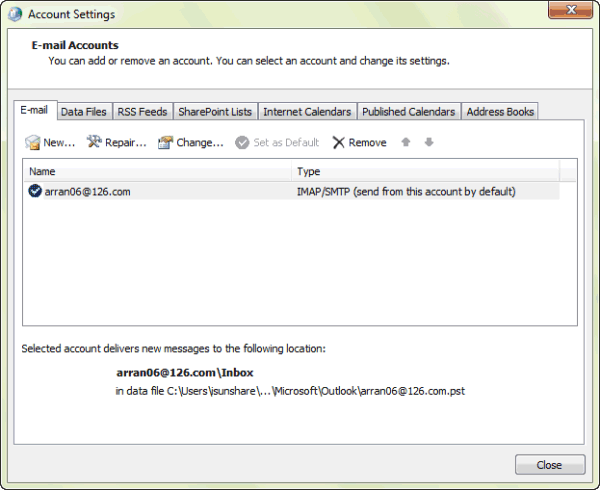
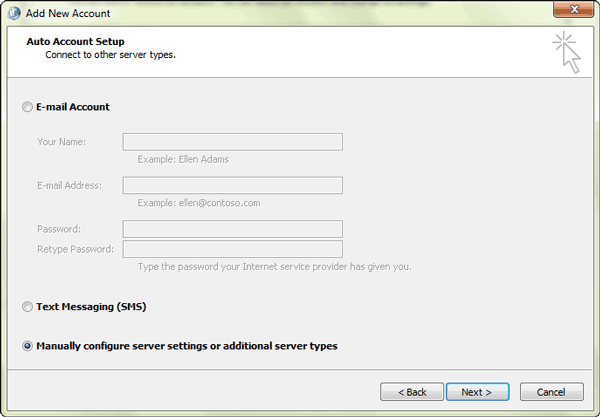
Click “New” button to open “Add New Account”. Click Next.
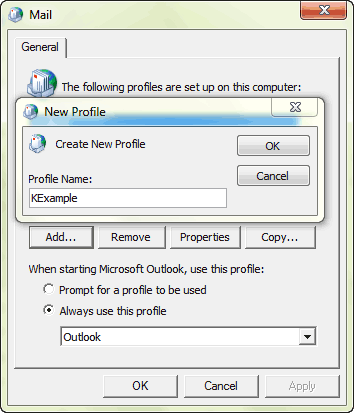
Or click “Mail” and click “Show Profiles” in Outlook window. Click “Add” and type “Profile Name”, and then click “OK”. Click “Next”.
2. Select “Manually configure server settings or additional server types”. Click Next.
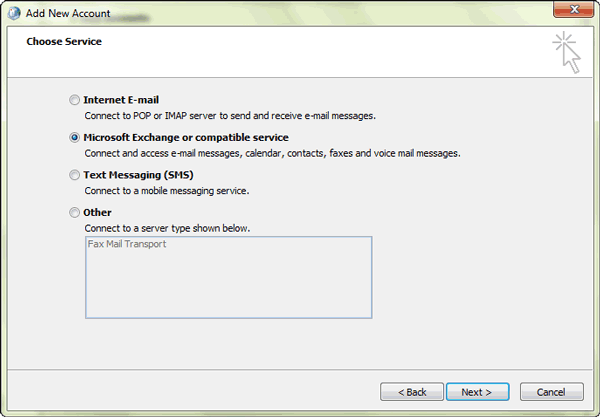
3. Select “Microsoft Exchange or compatible service”. Click Next.
4. Type the “Server” name, tick “Use Cached Exchange Mode” and type E-mail address in “User Name” box. Click “More Settings”.
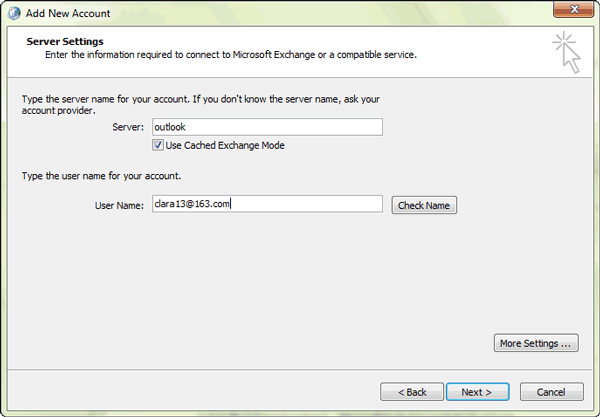
The server name has been set in Windows Server 2008 R2. Or turn to open Server Manager in Server 2008 R2, you could see server name.
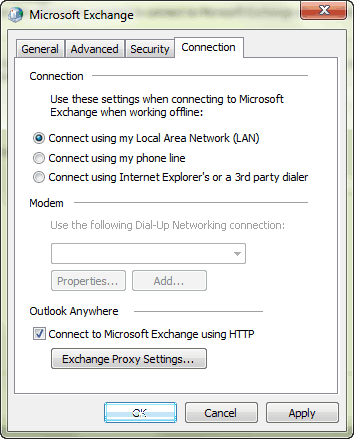
5. Select “Connection”. Under “Outlook Anywhere”, tick “Connect to Microsoft Exchange using HTTP” and click “Exchange Proxy Settings”.
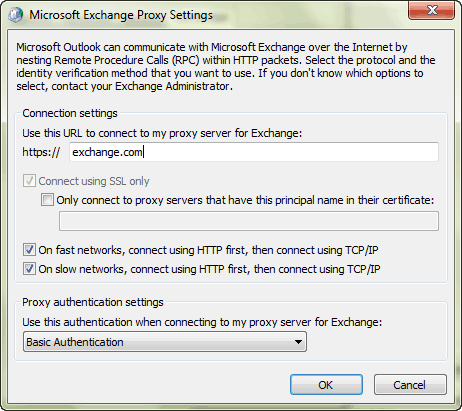
6. In Microsoft Exchange Proxy Settings window, type the URL in the Proxy Server address. Select both the On fast networks and On slow networks check boxes. And under Proxy authentication settings, select Basic Authentication. Click “OK”.
7. Click “OK”, and then click “Apply” and “OK”.
8. Click “Check Name” and type password in the pop-up window for username and click “OK”.
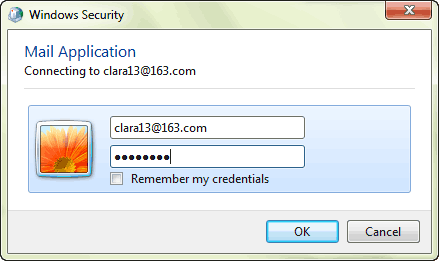
9. If you have entered the username and password correctly, the username will now be underlined. And then entry in the Microsoft Exchange Server field will also be underlined.
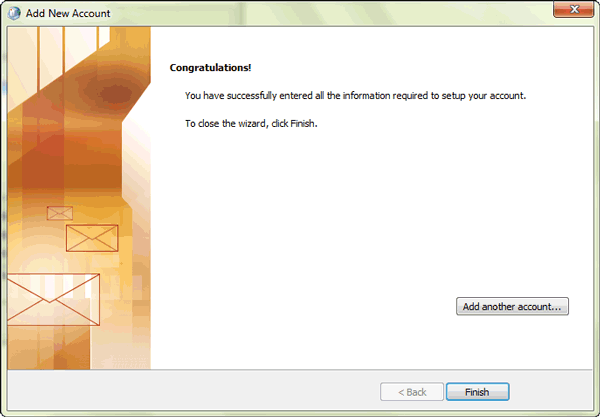
Click Next, Finish, and open up Outlook 2010.
Way 2: How to Create Several Microsoft Exchange Account in Outlook 2010
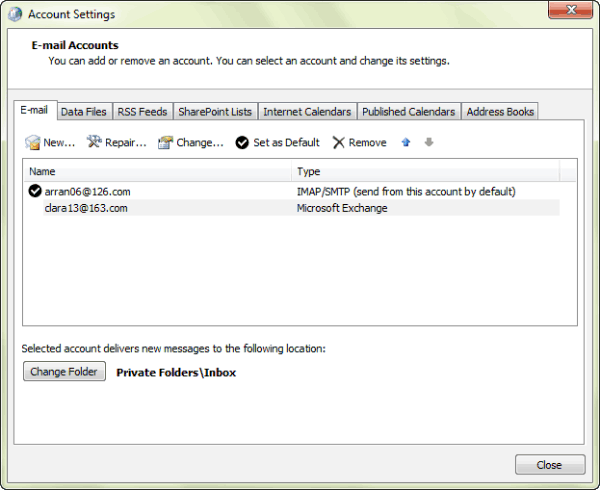
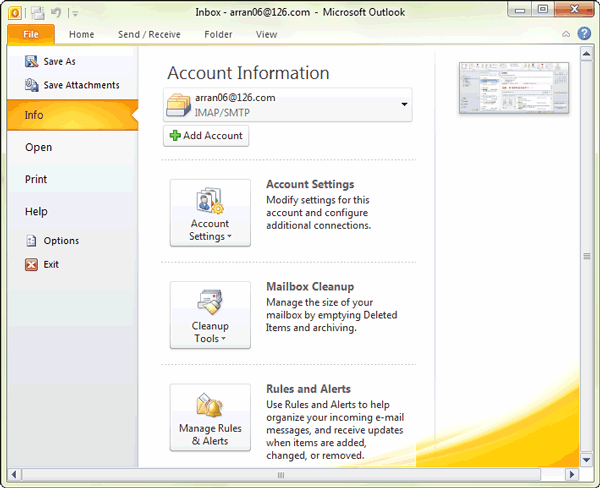
1. Open File – Info – Account Settings. Create Microsoft Exchange account through “Account Settings”.
2. Click “New” button on “Account Settings” window. Select “Microsoft Exchange, POP3/IMAP” service, and click “Next” on pop-up “Add New Account” window.
3. Set Your name, E-mail Address and Password. Click “Next”.
4. If there is nothing wrong on network settings, Outlook 2010 will automatically check and find the Exchange Server for this account. Click “Finish” and complete new account creation.
5. Now, the system would popup a window to ask Outlook to restart. Click “Yes” and Outlook 2010 will restart.
If current Windows login user is not the Exchange E-mail account just created in Outlook, a dialog would pop up to ask for a password.
Now Exchange account could be used like Outlook E-mail account in Microsoft Outlook.
Related Articles: