We use cookies for personalizing content and ads and providing social media features. Your usage information on our website will be used for social media, advertising, and traffic analytics, or shared with our partners. Clicking "Accept" means you agree to use our cookies .
PowerPoint, which enables users to create animated slide shows so that they can make full use of it to better do a presentation, is widely used for education, business and other areas. Sometimes you may want to define the state of your PowerPoint as draft, confidential or internal only. Or you want to protect the brand of your PowerPoint and prevent the contents from unauthorized copying. Under these circumstances, you can choose to add a watermark to it in order to indicate the audience. In this tutorial, you will learn How to Add a Watermark on PowerPoint Presentation.
How do you add a watermark in PowerPoint? You can add a draft text, an image, a logo, a shape and so on as a watermark by using the Slide Master tab in the PowerPoint. If you don't know how to do that, now follow the below steps to learn how to insert a watermark on PowerPoint.
Step 1. Open your PowerPoint in your computer.
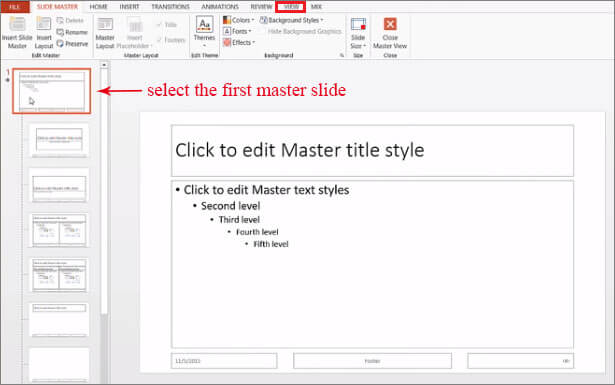
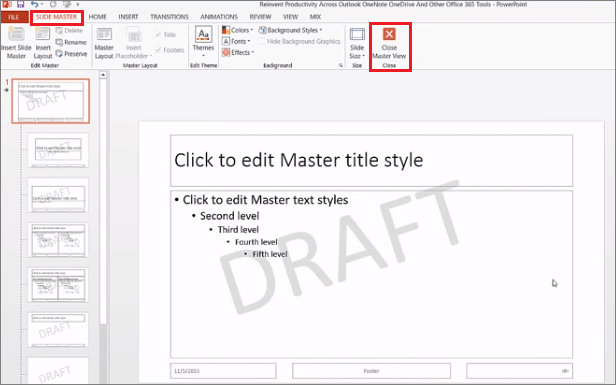
Step 2. Go to the View tab in the ribbon and then click the option of Slide Master. Scroll to the top of the thumbnail pane on the left and select the first parent master slide.
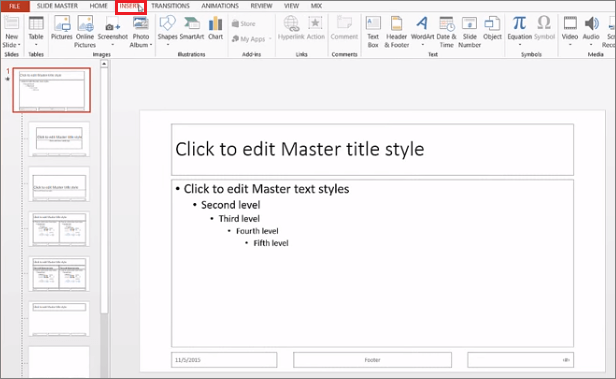
Step 3. Switch to the tab of Insert and choose what you want to add as a watermark, such as a text, picture, shape and etc.
No matter you are going to insert either a text or a picture as a watermark on your PowerPoint, you should complete the above 3 steps first of all. And then you can continue to choose:
Option 1: Insert a Text Watermark
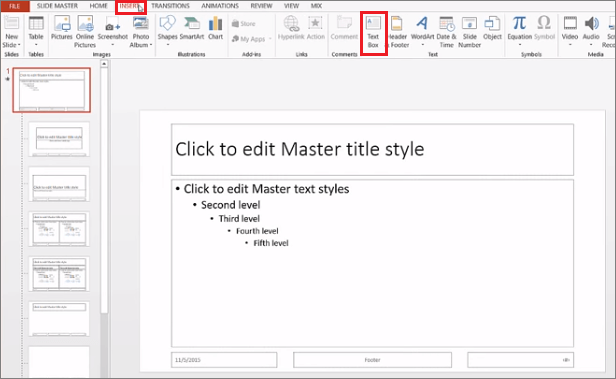
Step 1. If you want to insert text as watermark, you need click the Text Box button and then drag to draw a text box on the slide.
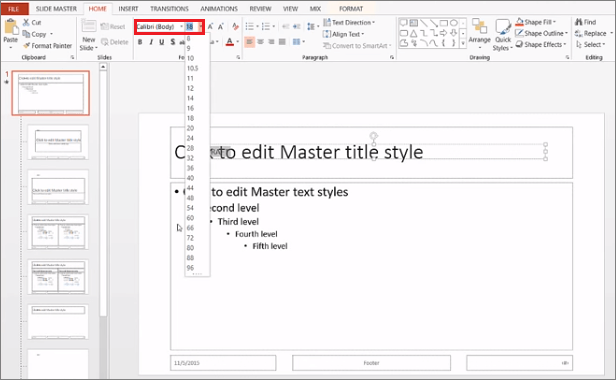
Step 2. Then type the texts that you want to show in the text box. And then you can resize, rotate, and adjust the text according to your needs.
You can make some changes to its size, font and style.
To change the alignment of your watermark text, you can use your mouse to drag the curved arrow to rotate the text.
Step 3. Go to the Format tab to do more settings for the watermark's color, transparency and so on. You'd better choose a light font fill color for the text watermark.
Option 2: Insert a Picture Watermark
Step 1. Click the Pictures button, choose a picture stored in your computer that you want to use as watermark, and then add it to you PowerPoint slide.
Notice: Or you can click Insert > Online Pictures to insert an online picture.
Step 2. Select the picture and drag it to a new location so that it doesn't interfere with the text on the slide. If you think the watermark is too big or too small, you can resize it.
Step 3. Then select the watermark, go to the tab of Format > Color and choose a washout color for your picture watermark.
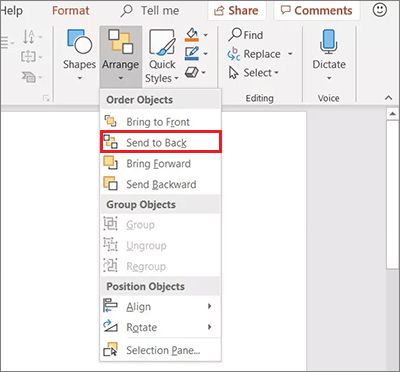
After you have added your watermark successfully, no matter the text watermark or the picture waterark, if you find the watermark covers contents of the slides, you'd better send the watermark to the back. To do this, select the watermark, go to Home > Arrange, and then select Send to Back.
Finally, back to the Slide Master tab and then click Close Master View. Now you can discover that the watermark is displayed in all the slides in your presentation and become uneditable.