We use cookies for personalizing content and ads and providing social media features. Your usage information on our website will be used for social media, advertising, and traffic analytics, or shared with our partners. Clicking "Accept" means you agree to use our cookies .
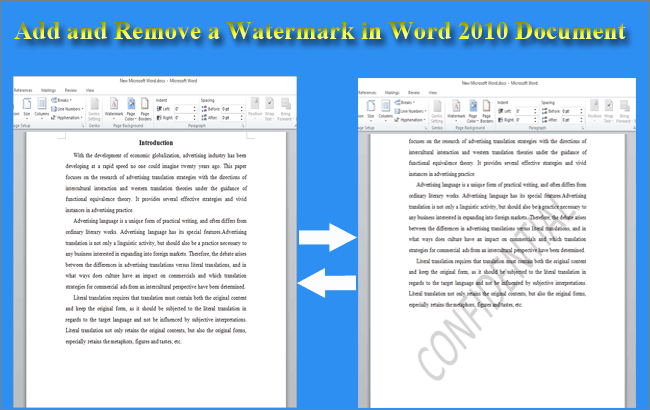
Watermark is a significant and useful feature in Microsoft Word 2010 which can be used to mark the Word document as confidential, sample, draft, or private. You can choose to add a standard or a custom watermark to Word document. Well, how to insert a watermark in Word 2010? And how to remove watermark in Word 2010? In this tutorial, we will discuss how to add and remove a watermark in Word 2010 document.
How to add watermark to a Word document when you want to inform others that the document is a sample or a draft, contains some confidential information or should not be copied? You can choose to add a watermark that is already defined by Word.
Step 1. Open the Word document in which you want to add a watermark.
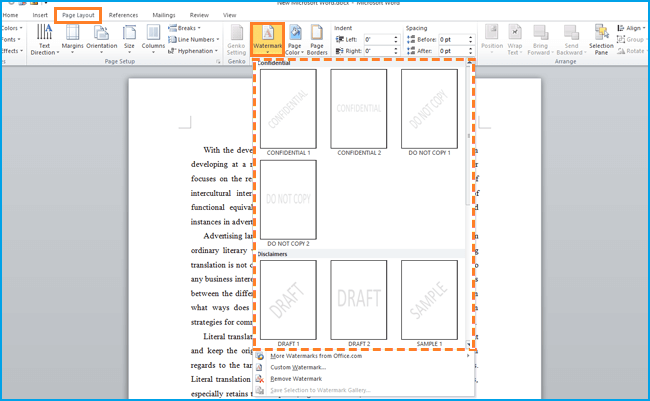
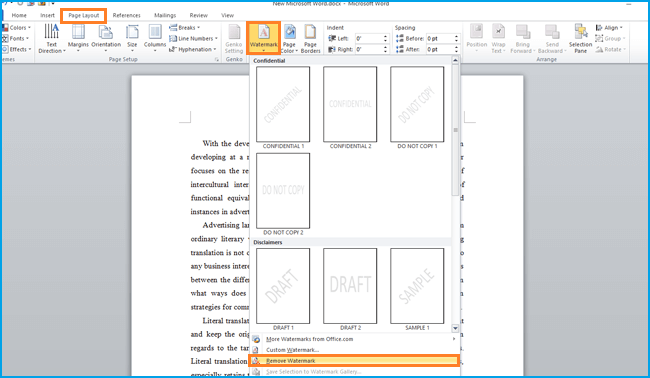
Step 2. Select the tab of Page Layout on the ribbon and then go to Watermark under the section of Page Background. Then a list of default watermarks will show up.
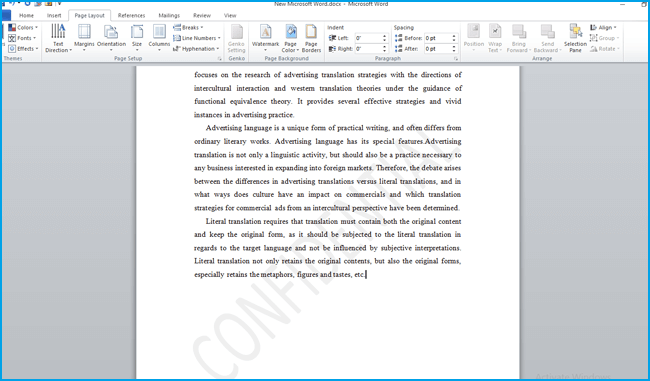
Step 3. Choose a watermark that can best mark your document and click it to add it to your Word document.
Part 2: Insert a Custom Watermark in Word Document
If you want to define a watermark by yourself, how do you insert a watermark in Word under this circumstance? Follow the below steps to insert a custom Watermark in Word document.
Step 1. Open the Word document that you want to insert a custom watermark in.
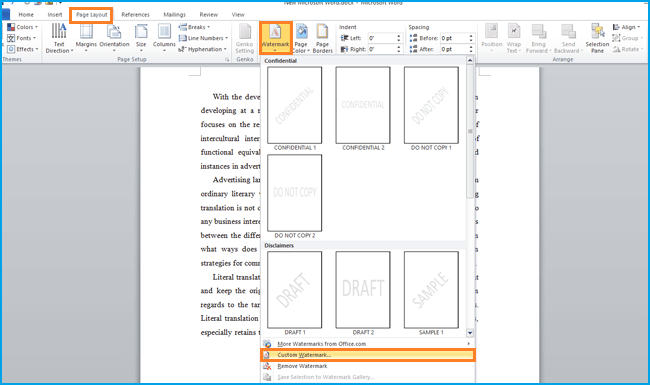
Step 2. Go to Page Layout>Watermark on the taskbar, and then select Custom Watermark to go ahead.
After you click Custom Watermark, the Printed Watermark panel will open. Then you can set either picture or text as watermark.
Option 1: Insert a Picture Watermark
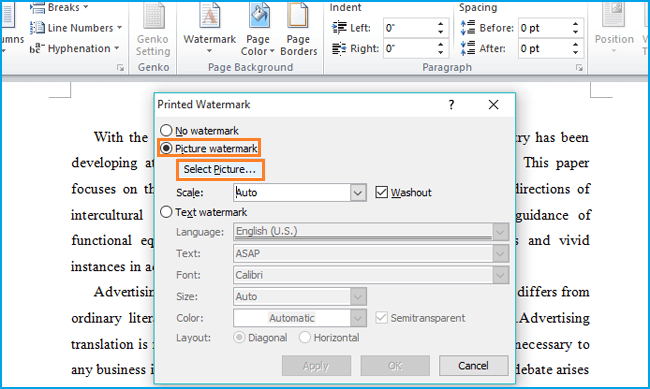
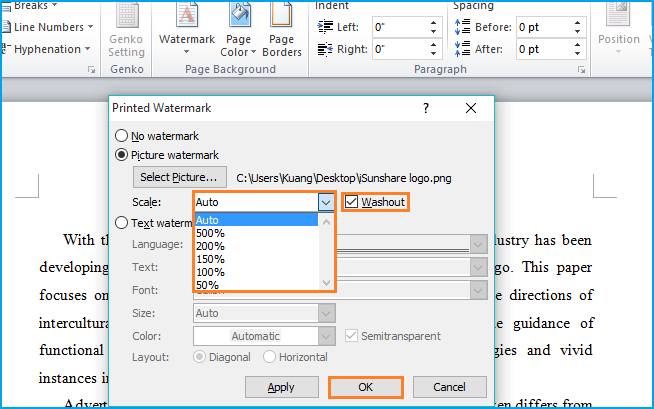
Step 1. To insert a picture watermark, select the option of Picture watermark and click Select picture to choose a picture that you want to set as watermark.
Step 2. Click Insert to add the picture.
Step 3. Now you can set its scale. And you can check or uncheck the box of Washout to get a faded or not faded watermark. Then click OK to confirm to insert the picture watermark.
Option 2: Insert a Text Watermark
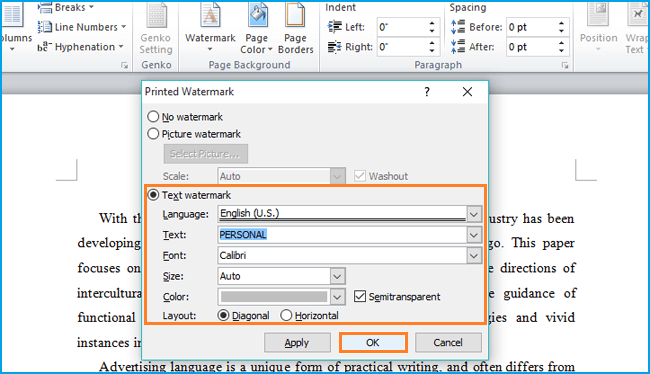
Step 1. To insert a text watermark, select Text watermark in the Printed Watermark panel.
Step 2. Then set its language, contents of text, font, size, color, layout and transparency.
Step 3. Click OK to add the text watermark.
Part 3: Remove a Watermark from Word Document
Now that you have learnt how to insert watermark in Word document, it is also necessary for you to learn how to remove watermark from Word 2010 document. Here are the instructions:
Step 1. Open the Word document whose watermark needs to be removed.
Step 2. Click Page Layout>Watermark, and then you will find the option of Remove Watermark at the bottom.
Step 3. Click Remove Watermark. This will help you delete the existed watermark from the Word document.
As you can see, steps to add and remove watermark in Microsoft Word are very easy. Now just get started and follow the steps above to learn how to insert and remove watermark in Word 2010.