We use cookies for personalizing content and ads and providing social media features. Your usage information on our website will be used for social media, advertising, and traffic analytics, or shared with our partners. Clicking "Accept" means you agree to use our cookies .
Do you want to convert a Word document into images format that you can freely share with others? In this article, I will share the most effective ways to convert Word documents into images format. All of these ways are easy to understand, so you can use the one that works best for you.
Word documents cannot directly convert files to JPEG. But you can highlight text in your Word document, save it as a PNG photo, and convert it to JPEG.
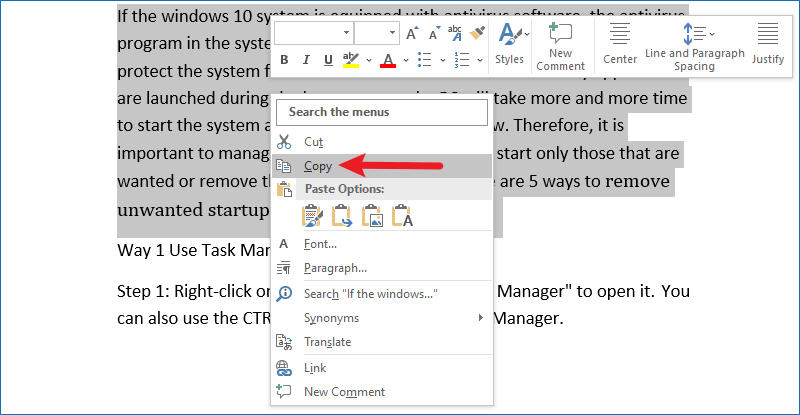
Step 1: Open the file you want to save as a JPEG format in a Word document. Copy any text that you want to save as an image. You can copy the selected text by pressing Ctrl+C on your keyboard, or you can select the text and right-click Copy.
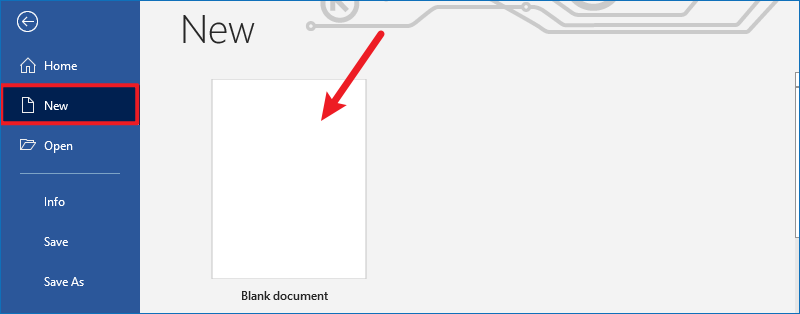
Step 2: Create a new Blank document in Word. Create it by clicking File > New > Blank document.
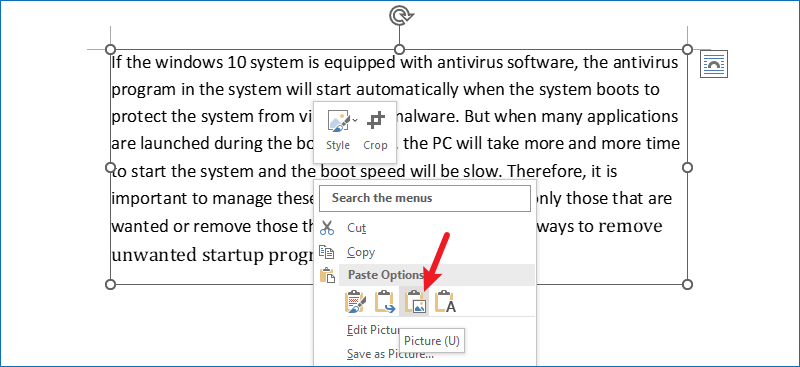
Step 3: Right-click on a blank document and select the Picture Paste option. That is, the third of the Paste Options. You can resize, rotate and text wrap it in the picture tools in word.
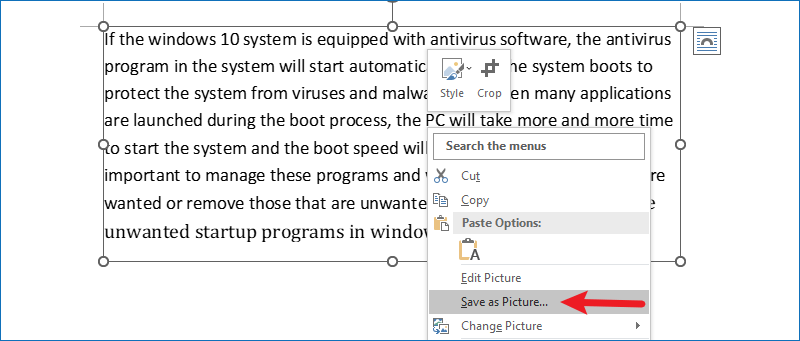
Step 4: Once you have finished making adjustments, click Save as Picture.
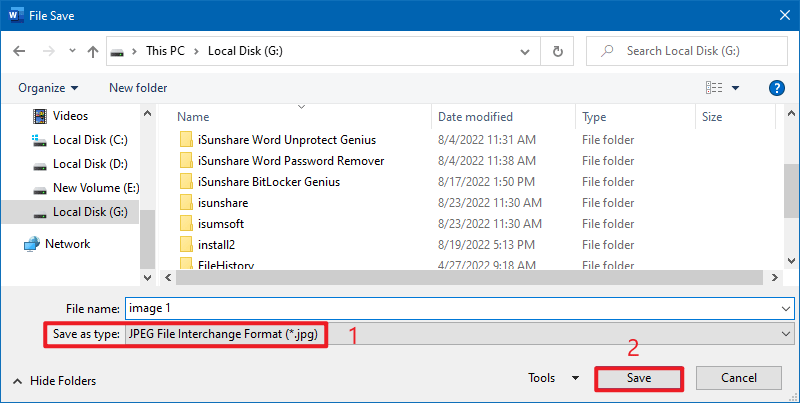
Step 5: This will pop up a File Save dialog box, select the location where you Would like to save the image, then type the File name, and select JPEG File Interchange Format from Save as type drop-down menu, finally, click the Save button. In this way, you can successfully convert a Word document to JPEG format.
Way 2: Use the snipping tool to convert formats
If your Word document has only one page, or you only need key parts of your Word document to be converted to image format, then you can use screenshot tool such as Snip & Sketch from Windows 10.
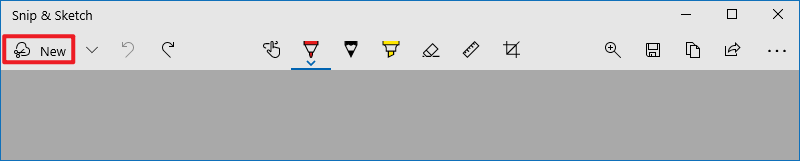
Step 1: Zoom in on your Word document so that the entire page is visible on the screen. Type Snip & Sketch in the search bar. Click Open and select New. You can customize the size of your word document screenshot with different cropping tools.
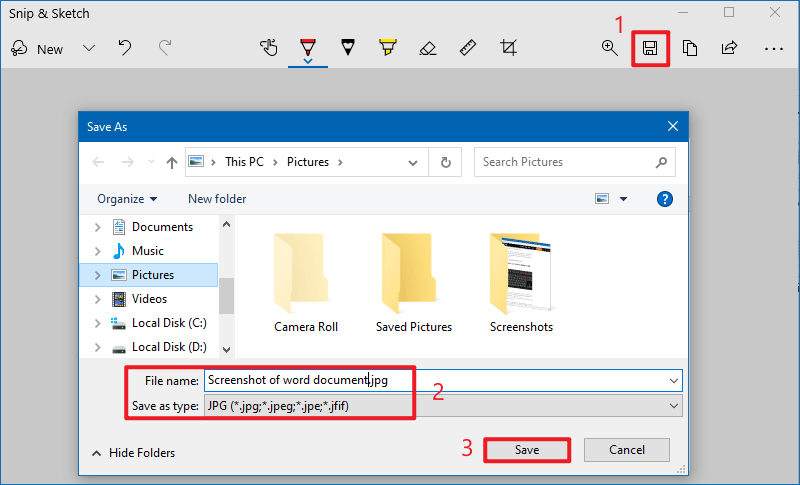
Step 2: Select the floppy disk icon to save the image, then select the image storage location and give your image a name and select JPG from the Save as type list. Finally, click Save. With this method, your word document will be stored in JPG format.
Way 3: Use the online converter
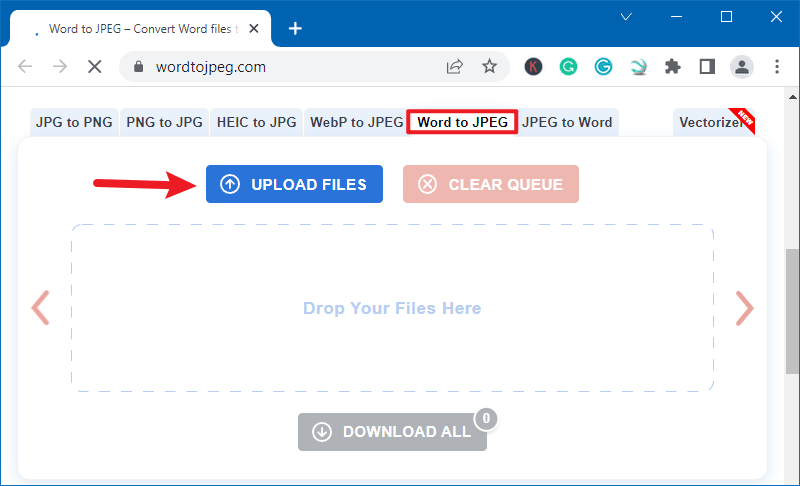
Word to JPEG converts Word documents to an optimized set of JPEG images. This tool provides better image quality, in addition to batch conversion and supports converting documents up to 50MB.
Step 1: Head over to the Word to JPEG website. Click to upload files. Or just drop your word document to the box. You can select up to 20 Word documents for conversion. But the total size of the files cannot exceed 50MB.
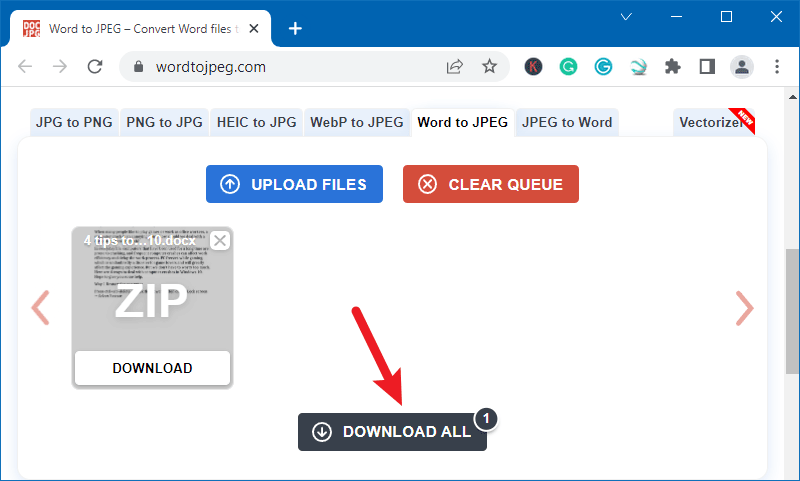
Step 2: Download JPG one by one or a ZIP file after the conversion is completed.