We use cookies for personalizing content and ads and providing social media features. Your usage information on our website will be used for social media, advertising, and traffic analytics, or shared with our partners. Clicking "Accept" means you agree to use our cookies .
Windows includes a handy Fax Cover Page Editor that lets you design and personalize cover sheets for faxes sent through the built-in Fax and Scan feature. How many methods can you use to open the built-in Fax Cover Page Editor on Windows 10 computer? The article introduces four ways for your reference.
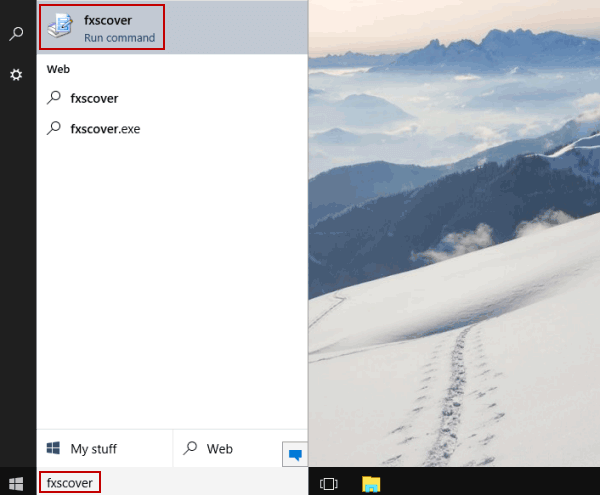
Way 1: Turn it on by searching.
Input fxscover in the bottom-left search box and click fxscover in the list.
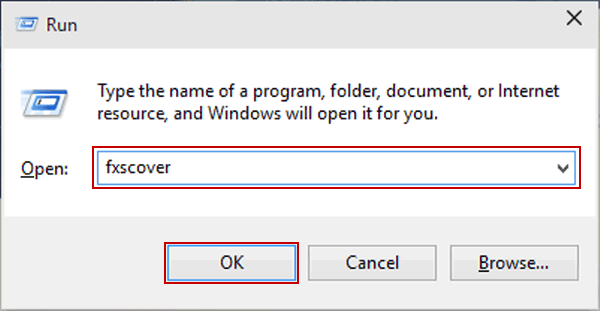
Way 2: Open it via Run.
Press Windows+R on the keyboard to show Run, type fxscover and tap OK.
Once you've opened the Fax Cover Page Editor, you can create a customized fax cover sheet by following these steps:
1. Insert Recipient Details: Go to the Insert menu, select Recipient and choose fields like Name, Fax Number, etc.
2. Insert Sender Details: Navigate to the Insert menu, select Sender and add relevant information such as Name, Company, Fax Number, etc.
3. Add Message Information: Under the Insert menu, choose Message to add fields like Subject, Date and Time, Number of Pages, etc.
4. Customize Layout: Use drawing tools to add shapes like rectangles, ellipses, lines, and more to enhance the design.
5. Save the Cover Page: After customizing, go to File > Save As to save your cover page for future use.
Note:
The Fax Cover Page Editor allows you to design professional-looking cover sheets that can be reused whenever you send a fax.
Conclusions
By utilizing any of these methods, you can efficiently access and use the Fax Cover Page Editor in Windows 10 to create and manage your fax cover sheets effectively.