We use cookies for personalizing content and ads and providing social media features. Your usage information on our website will be used for social media, advertising, and traffic analytics, or shared with our partners. Clicking "Accept" means you agree to use our cookies .
In some cases, such as enterprise, have to add trusted site to group policy manually before visiting the website. Today, we'll show you how to solve this issue. Although you are new to use group policy, worry not, this tutorial is easy for you to understand.
Note: Windows 10 Home edition doesn't support group policy.
How to Add Trusted Site to Group Policy Windows 10
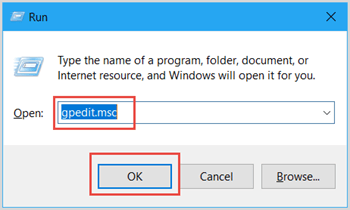
Step 1: Press Windows + R key combination to invoke Run dialog. Input gpedit.msc to the box and click on OK.
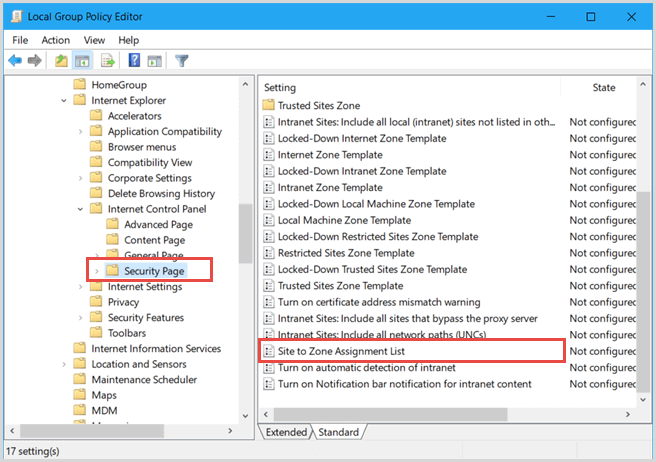
Step 2: In the left pane, navigate to Computer Configuration > Administrative Templates > Windows Components > Internet Explorer > Internet Control Panel > Security page. Double-click on Site to Zone Assignment List in the right pane.
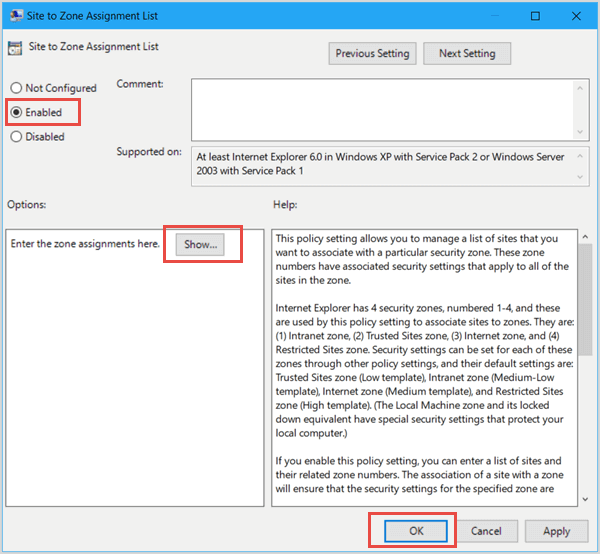
Step 3: In the Site to Zone Assignment List window, select Enabled then tap on Show button under Options.
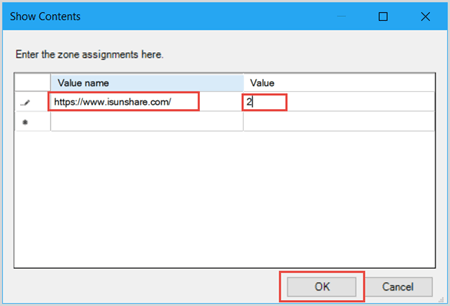
Step 4: In the column under Value name, input the website. Then Type 2 in the box next to it.
Tips: Internet Explorer includes four safe zones, respectively, one to four. To add trusted site to group policy, we have to select number 2.
1: Intranet zone
2: Trusted Sites zone
3: Internet zone
4: Restricted Sites zone
Step 5: Go back to Site to Zone Assignment List window, tap on Apply then OK.
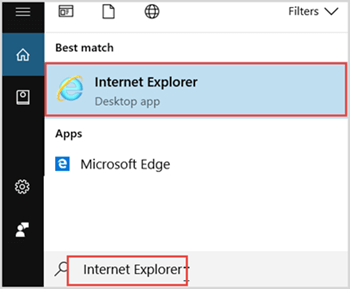
Step 6: When you finished the steps above, go to the desktop and check whether added successfully or not. Click on Search box then input Internet Explorer. Hit Enter, it will be opened at once.
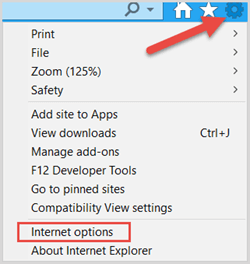
Step 7: Click the gear icon in the top-right corner then select Internet options.
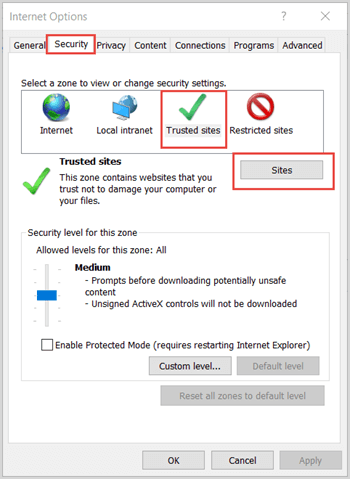
Step 8: Click on Security tab, tap on Trusted sites and click on Sites button.
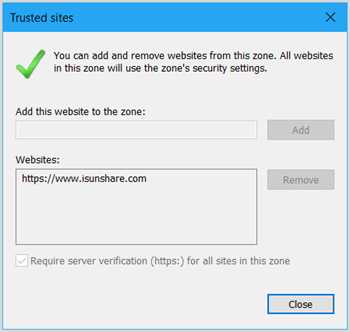
Step 9: In the Trusted sites dialog, you will see the trusted site that added to group policy.
FAQs about Trusted Sites via GPO
Q1: Can users remove GPO-added sites?
No. Once applied via Group Policy, the list becomes locked—greyed out in Internet Options.
Q2: I enabled the policy but don’t see “Sites…” button—why?
The button is intentionally greyed out. The Site to Zone Assignment List controls these entries and prevents manual edits.
Q3: Can I deploy this across multiple PCs?
Yes—apply the same policy in an Active Directory Group Policy Object (GPO) on your domain controller; it applies to all targeted systems.