We use cookies for personalizing content and ads and providing social media features. Your usage information on our website will be used for social media, advertising, and traffic analytics, or shared with our partners. Clicking "Accept" means you agree to use our cookies .
Protecting your data and files through BitLocker drive encryption in Windows 10 that outcomes cannot crack password easily. You can password encrypt disk include Disk C and removable drive. In Windows 10, users can select to save the password in local computer or USB. Walk through the tutorial to allow BitLocker without compatible TPM Windows 10.
Part 1: Allow BitLocker without a Compatible TPM Windows 10
Before turning on BitLocker, we have to allow BitLocker without compatible TPM. Otherwise, you may meet "This device can't use a Trusted Platform Module. Your administrator must be set the Allow BitLocker without a compatible TPM option in the Require addition authentication at startup policy for OS volumes" error.
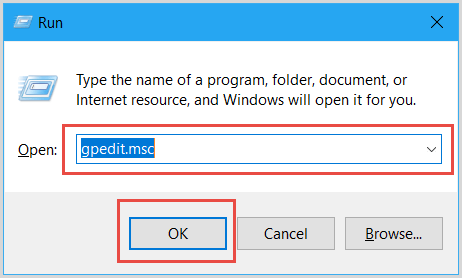
Step 1: Press Windows key + R to invoke Run dialog. Input gpedit.msc and click OK.
Note: If you have Home Edition then you haven't got it.
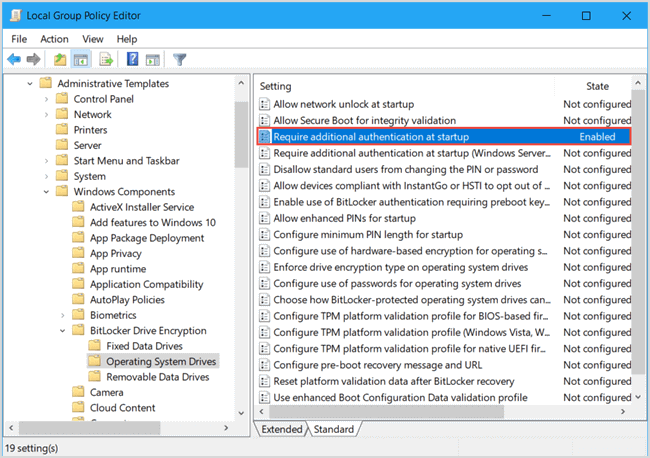
Step 2: In the right pane, expand Computer ConfigurationAdministrative TemplatesWindows ComponentsBitLocker Drive EncryptionOperating System Drives. Go to right filed and double-click on Require additional authentication at startup.
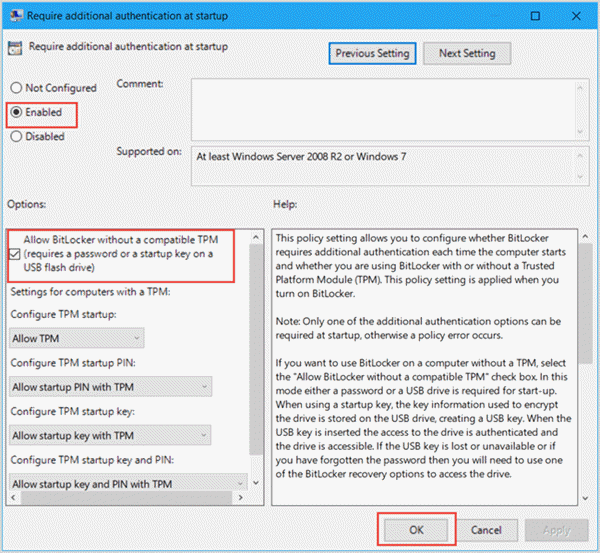
Step 3: In the popup window, click on Enable then tick on "Allow BitLocker without a compatible TPM (requires a password or a startup key on a USB flash drive)" checkbox. Tap on OK to save changes.
Part 2: BitLocker Drive Encryption Windows 10
Step 1: Open This PC and right-click on the drive that you want to encrypt. Select Turn on BitLocker.
Note: Do not reinstall your system if there any drive encrypts, otherwise the data in the disk will be damaged.
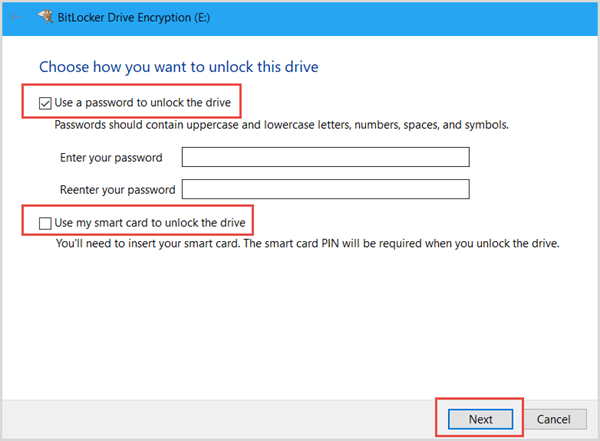
Step 2: In the BitLocker Encryption window, choose how you want to unlock this drive.
Use a password to unlock the drive: Enter your password for twice.
Use my smart card to unlock the drive: Insert your smart card for the first step. Smart card PIN will be required when unlocking the drive.
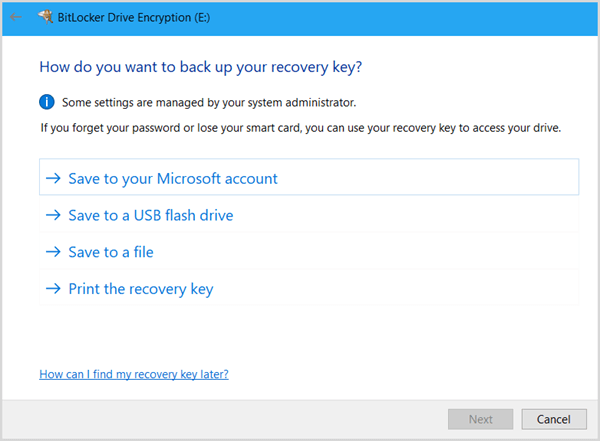
Step 3: Choose how to backup recovery key. You can save to your Microsoft account, a USB flash drive, a file or print recovery key.
Note: You can't save to the encrypted drive.
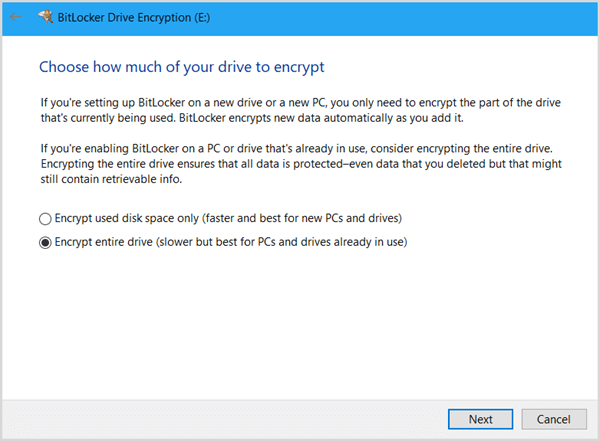
Step 4: Decide how much of your drive to encrypt. You can encrypt used disk space only or the entire drive instead.
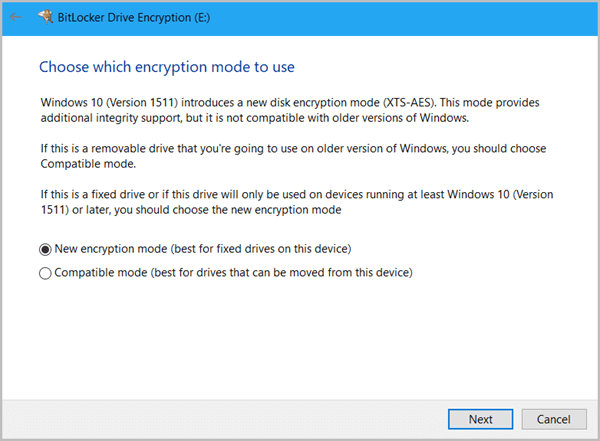
Step 5: Choose which encrypt mode to use. Check on New encrypt mode or Compatible mode.
Step 6: When things have been ready, click on Start encrypting button.
Part 3: Stop BitLocker Drive Encryption While Encrypting
Once you turn on the wrong disk BitLocker, you have to stop it as soon as possible. Here is how to achieve it.
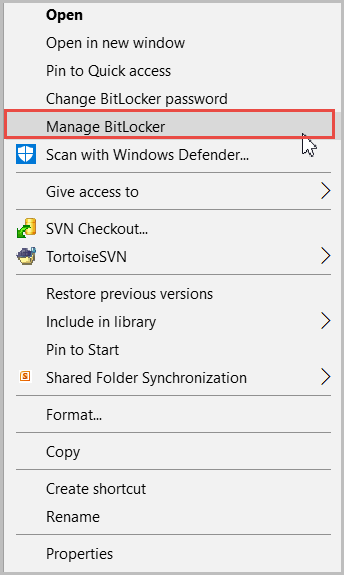
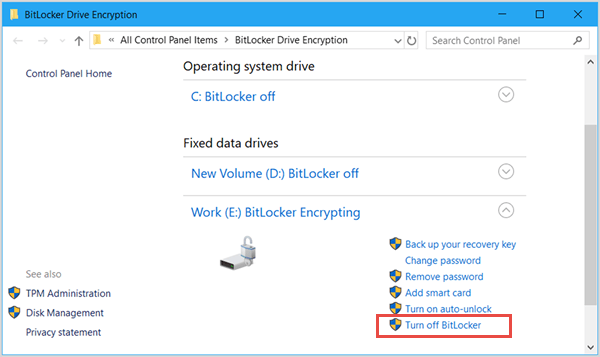
Step 1: Open This PC, right-click on the encrypting drive and select Manage BitLocker.
Step 2: Click on Turn off BitLocker as the image below. Do not arbitrarily remove the drive in the process of encryption and decryption so as not to damage the file.