We use cookies for personalizing content and ads and providing social media features. Your usage information on our website will be used for social media, advertising, and traffic analytics, or shared with our partners. Clicking "Accept" means you agree to use our cookies .
Not accustomed to the new laptop with Windows 10 or Windows 10 which was just updated for the laptop but don't want to uninstall Windows 10? Need to work with Windows 7 but the system of the laptop is Windows 10 which is used in daily? At this time, it's must be a good choice to install Windows 7 on Windows 10 laptop (Dual Boot). And the following tutorial can help us to realize it.
To install Windows 7 on Windows 10 Laptop (Dual Boot), there are three steps.
Step 1: Create a New Partition (Volume) for Windows 7
1.Logged in the laptop as an administrator.
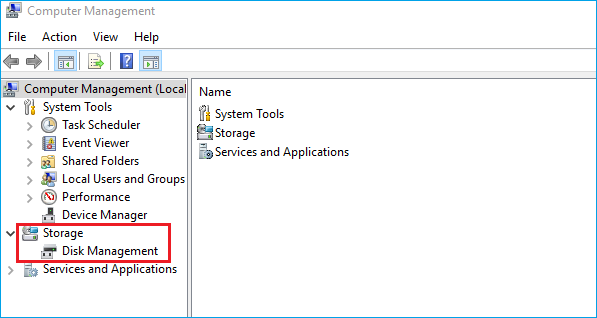
2. Open "Computer Management" by searching in the desktop taskbar or "Right- click" the "Computer" icon in the desktop and then select "Manage".
3. Tips:If there is an existing unallocated region, this setting can be skipped.
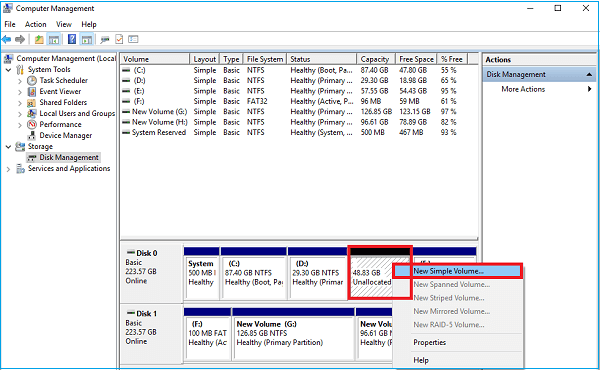
In the left pane, select "Disk Management" under "Storage".
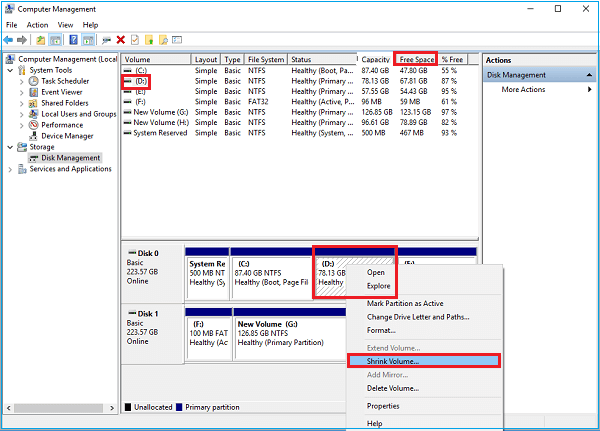
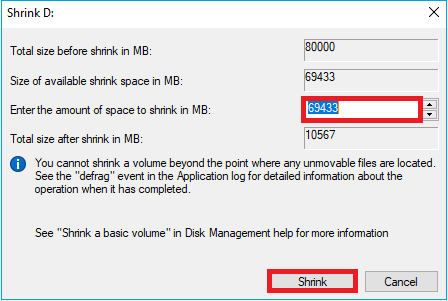
4. Choose the existing partition [free space is more than 17GB for Windows 7 (32-bit) and 22GB for Windows 7(64-bit)] that you want to create the new partition on > "Right-click" the partition you choose > Select "Shrink volume" > Enter the shrink space [more than 17408 MB for Windows 7 (32-bit) and 22528 MB for Windows 7(64-bit)] > Then an unallocated region will be showed.
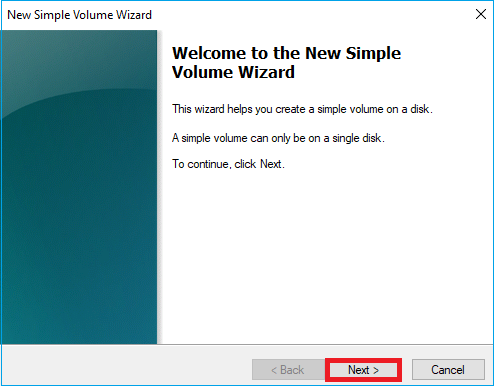
5. "Right-click" the unallocated region, and then select "New Simple Volume" > Click "Next" in the "New Simple Volume Wizard".
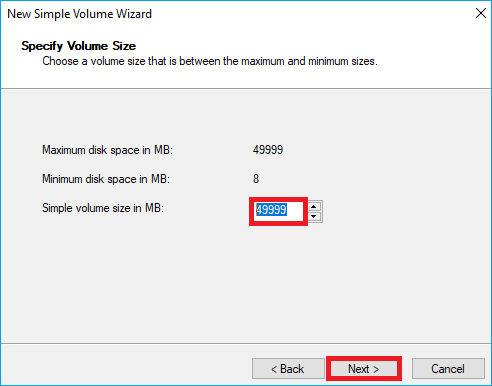
6. Enter the size of the volume [more than 17408 MB for Windows 7 (32-bit) and 22528 MB for Windows 7(64-bit)] in megabytes (MB) or accept the maximum default size > Select "Next".
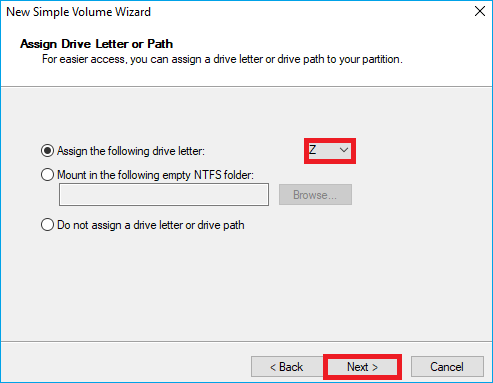
7.Choose a letter to identify the partition > Select "Next".
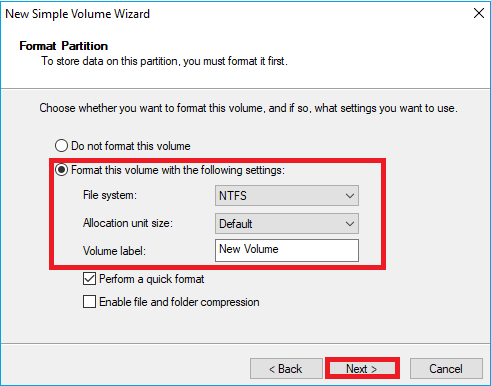
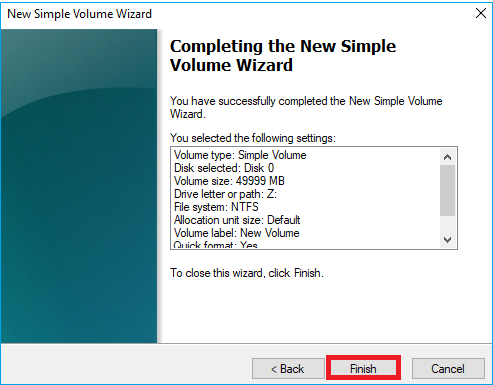
8. Tick "Format this volume with the following settings" > Select "NTFS" in the "File system" > Tap "Next" > Click "Finish" and then the new partition has been created.
Step 2: Install Windows 7 in the New Partition
1. Insert the USB driver with the Windows 7 ISO file on it into the laptop > Restart the laptop > Press BIOS key quickly to enter BIOS when the logo appears.
Note:
1. If you are curious about how to make the USB driver with the Windows 7 ISO file on it, there is a tutorial from Microsoft.
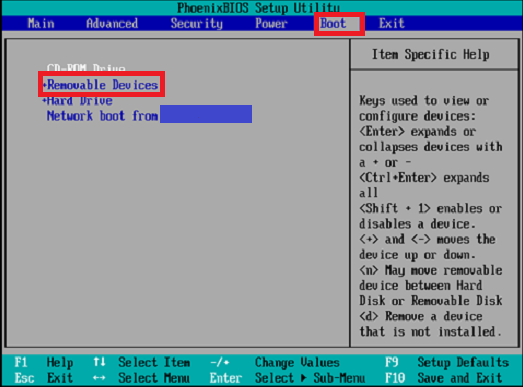
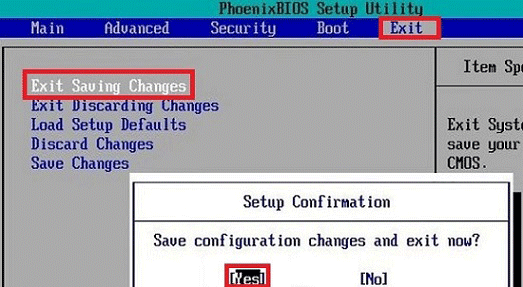
2. After entering BIOS, click "Boot" > Select the "Removable Devices" (USB drive) > Switch to "Exit" > Choose "Yes" in the Setup Confirmation > Shut down the laptop.
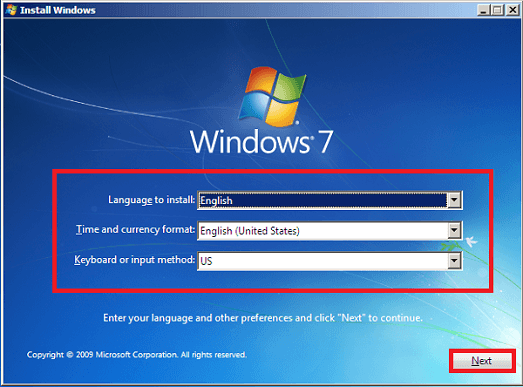
3.Turn on the laptop again and Windows 7 Setup will load > Choose the Windows 7 Setup options > Click "Next".
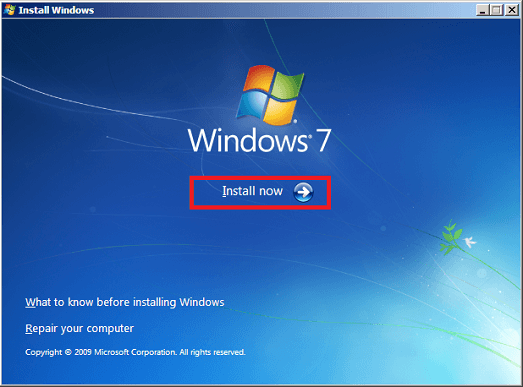
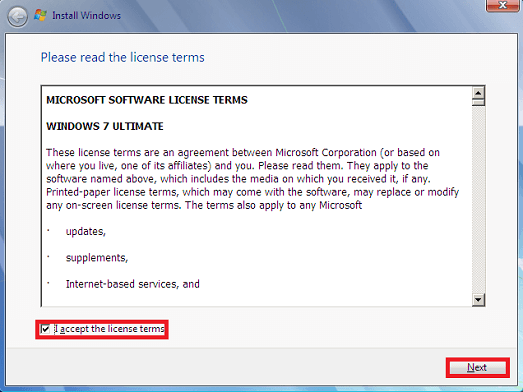
4. Tap the "Install now" button > Tick "I accept the license terms" > Click "Next".
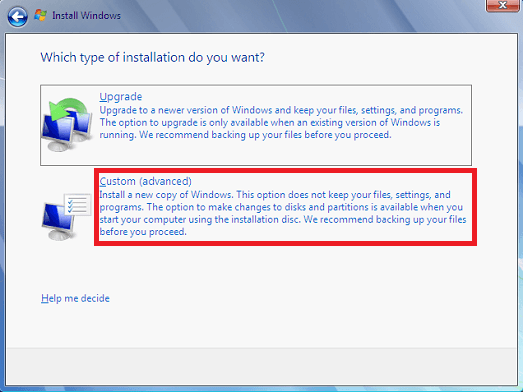
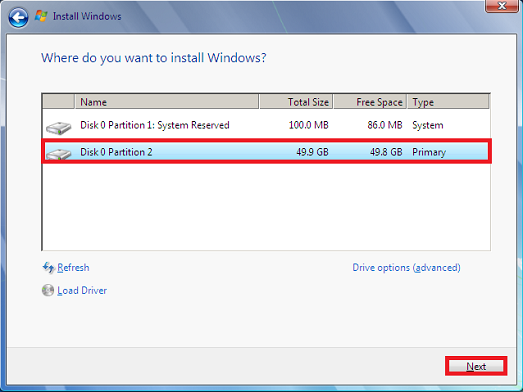
5. Choose the "Custom" in types of installation > Select the new partition set in the first step to install Windows 7 > Click "Next."
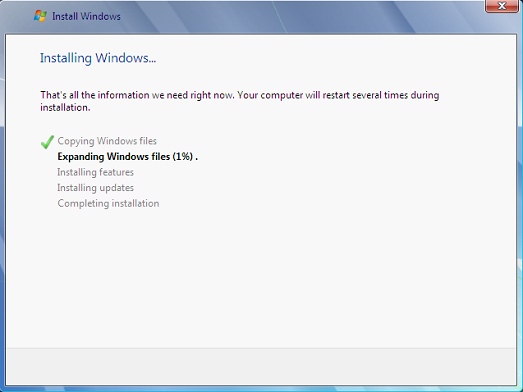
6. Then, Windows 7 is installing.
Step 3: Repair Windows 10's Booting with the Installation Device
After installing Windows 7 in the laptop, some functions of Windows 10 may be damaged or we can't choose the running system when the laptop starts, so we need to repair Windows 10's booting at that time.
1.Insert the installation device of Windows 10 into the laptop > "Restart" the laptop > Press BIOS key quickly to enter BIOS when the logo appears.
2. After entering BIOS, click "Boot" > Select the "Removable Devices" (installation device) > Switch to "Exit" > Choose "Yes" in the Setup Confirmation > Shut down the laptop.
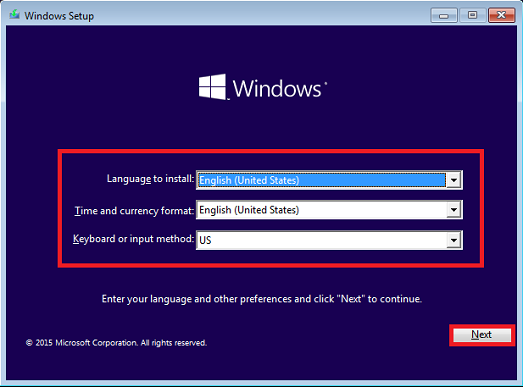
3.Turn on the laptop again and Windows 10 Setup will load > Choose the Windows 10 Setup options > Click "Next".
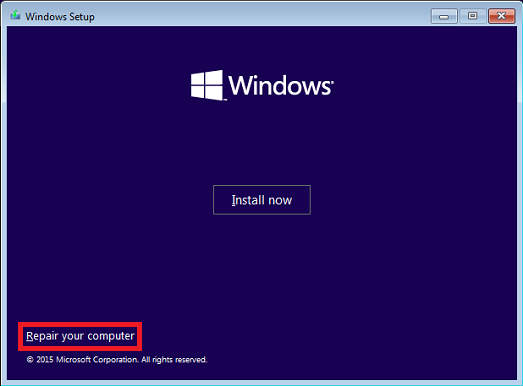
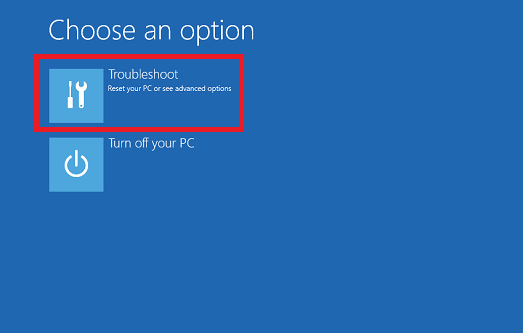
4. Click "Repair your computer" in the lower left corner > Choose "Troubleshoot".
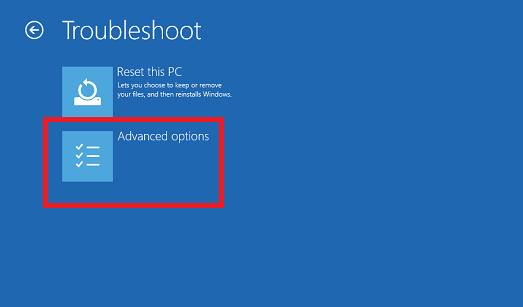
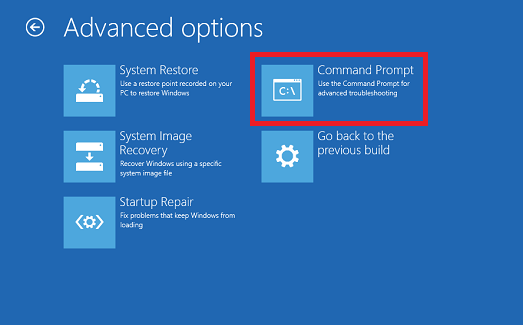
5. Select "Advanced options" in Troubleshoot > Tap "Command Prompt".
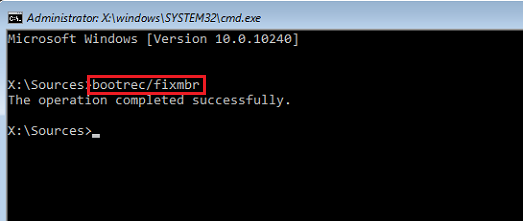
6. Enter "bootrec /fixmbr" in the place that the cursor is blinking in Command Prompt.
After finishing three steps above, there are dual systems in our laptops and we can choose which one to operate when the laptop starts.