We use cookies for personalizing content and ads and providing social media features. Your usage information on our website will be used for social media, advertising, and traffic analytics, or shared with our partners. Clicking "Accept" means you agree to use our cookies .
Windows Subsystem for Linux (WSL) is a feature that allows developers and typical users to install and use Linux on their Windows computers. While this feature is very valuable to developers, it can sometimes lead to incredibly complex situations that are difficult to fix. Fortunately, these errors are not insurmountable. In this article, I will teach you step by step to fix WSL not working after upgrading to Windows 11.
In most cases, users are unable to use WSL because the feature was automatically disabled when they upgraded to Windows 11. The solution in this case is to manually re-enable the feature.
Step 1: Type Turn Windows Features on or off in the Start menu bar and click Open.
Step 2: Scroll down and find Windows Subsystem for Linux and check the box in front of it. Click OK to complete the changes.
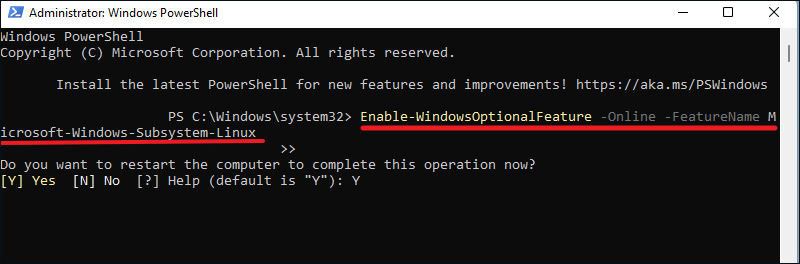
Or you can also choose Windows Powershell to enable WSL.
Step 1: Type PowerShell in the start menu bar, and click Run as administrator.
Step 2: Type the following command and hit the Enter key to execute it. When prompted "Do you want to restart the computer to complete this operation now", type Y to restart your PC. This feature should be enabled after restart.
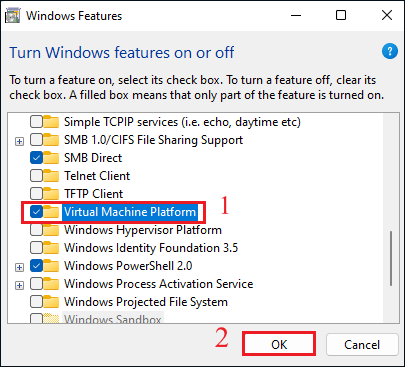
Fix 2: Enable Virtual Machine Platform and Hyper-V
For any subsystem to work in Windows, the virtual machine in your system should work properly. Virtual machines are used to run multiple operating systems on the same hardware at the same time. Without virtualization, we would need two separate physical units to run Windows and Linux. If the WSL feature is already enabled on your system, then all you need to do is check if the virtual machine is enabled.
Step 2: In Windows Features, scroll down and find the Virtual Machine Platform, check the box in front of it and click OK to finish the changes.
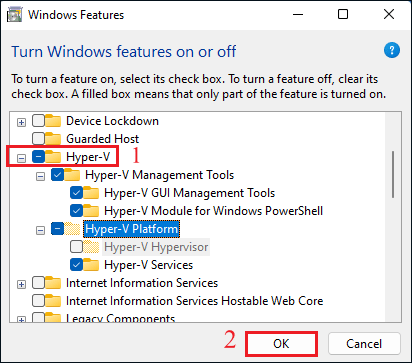
Step 3: It is also recommended to enable Hyper-V in Windows Features. Hyper-V helps to create a virtual environment in the system.
Fix 3: Repair or Reinstall the Linux Distribution App
Your Linux distribution application may be dealing with a corrupt error or simply may be out of date, which prevents you from using it properly. To check if this is the cause of WSL not working, you can first try to repair the application and see if it makes any difference. If the error persists, then you can uninstall the application and reinstall it from scratch. This will fix any corruption issues in the application that may be causing the problem.
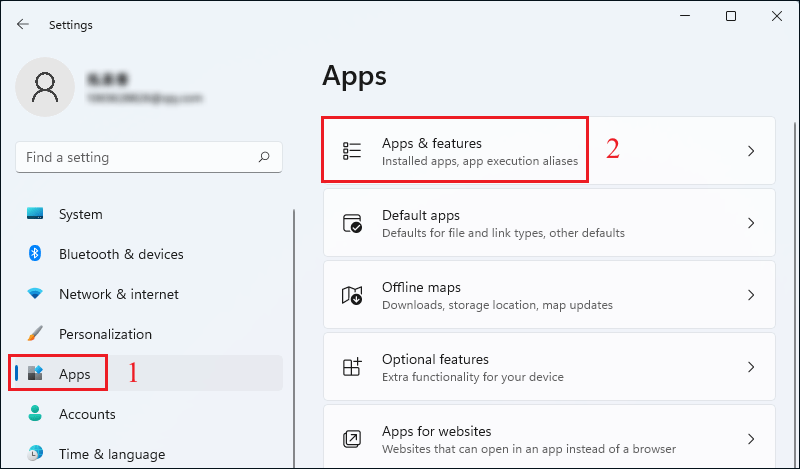
Step 1: Press WIN+I keys at the same time to open Settings, click Apps in the left pane, click Apps & features in the right pane.
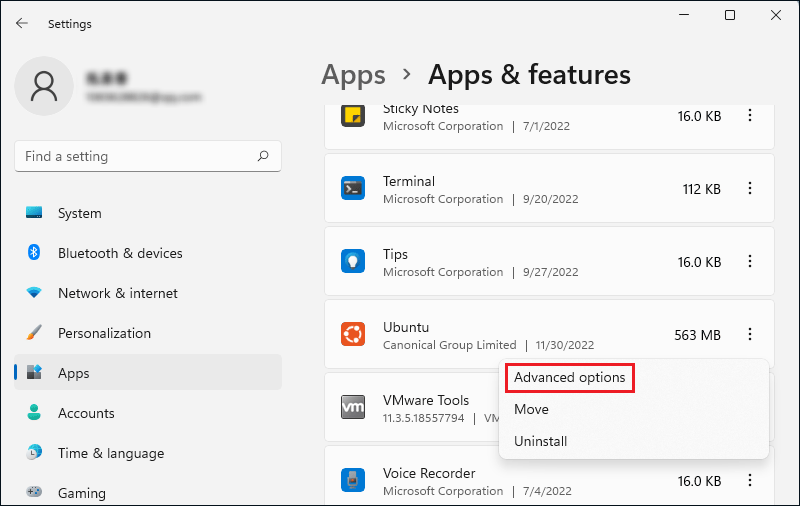
Step 2: Scroll down to find your Linux distribution apps. Click on the three vertical dots and select Advanced Options.
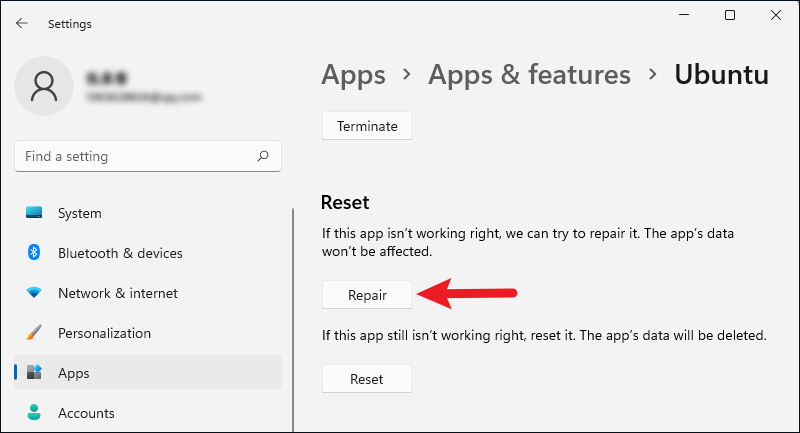
Step 3: Move to the Reset section and click on the Repair button there. Follow the instructions on the screen and wait for the operation to complete.
After the repair is complete, check if you can use WSL. if not, follow the steps below to uninstall the program.
Step 2: Click on the three vertical dots associated with the application and select Uninstall from the menu. Then follow the on-screen instructions.
Step 3: Once the apps have been uninstalled, reinstall the latest version and then check if that fixes the problem of WSL not working.
Fix 4: Uninstall updates
If you start experiencing this problem after installing a pending system update, there is a good chance that there is a problem with the update. It is not uncommon for Windows users to experience problems due to corrupted updates. The best way to fix this issue is to uninstall the update.
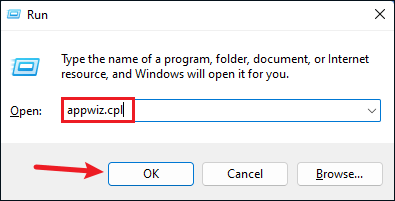
Step 1: Use WIN+R to open the Run dialog box, type appwiz.cpl and click OK to open the program and features.
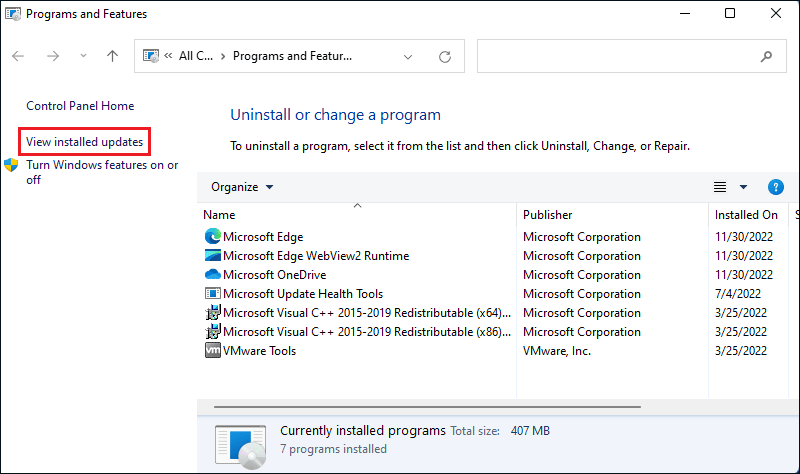
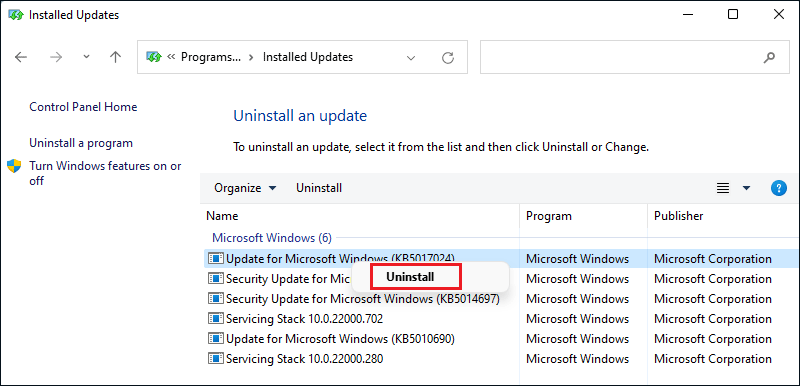
Step 2: Click in the left window to View the installed updates.
Step 3: In the following window, you can see a list of all installed updates in Windows 11. Right-click on the problematic one and select Uninstall.
Fix 5: Scan for malware
If your system is dealing with a virus or malware that is causing problems with certain components and functions. In this case, Windows Defender's malware scan is the most effective fix.
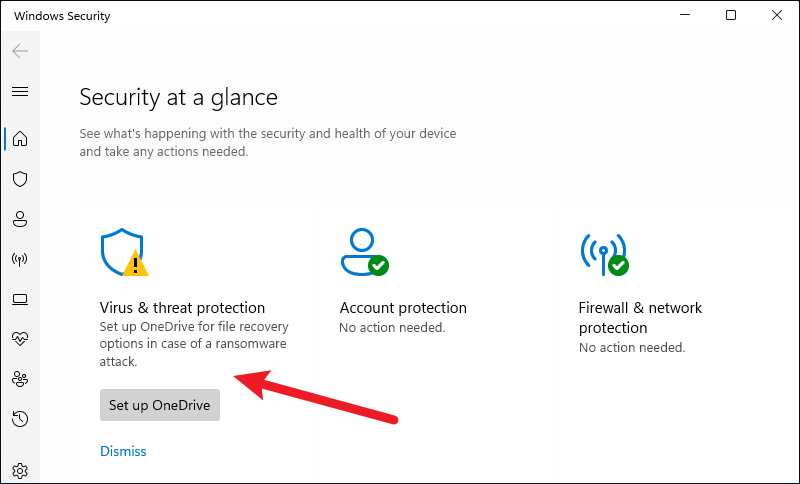
Step 1: Type Windows Security in the Windows 11 search bar and click Open.
Step 2: Select Virus & threat protection from it.
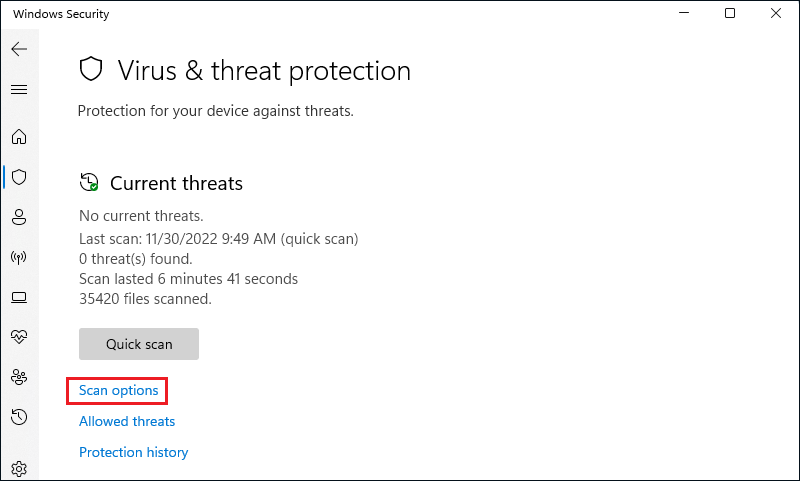
Step 3: Then click the Scan options.
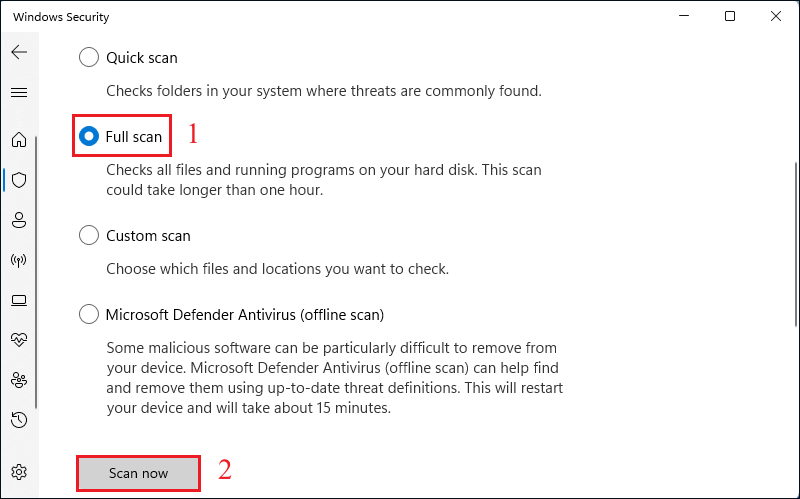
Step 4: From there, select Full scan and click Scan now, which will automatically scan your system for malware and try to fix it. Wait for the scan to complete and try using WSL again.
Fix 6: Use Microsoft Store to launch WSL
You may also be unable to use WSL due to a temporary glitch in the installed apps, in which case you can try launching the application from the Microsoft Store instead of opening it directly.
Step 1: Open Microsoft Store and move to the Library section in the bottom left corner.
Step 2: In the list of available apps, look for your Linux distribution application and launch it.
Closing Thoughts
That's what this guide is all about how to fix WSL not working after upgrading to Windows 11. You can try these six fixes mentioned above to fix Windows 11 WSL not working if needed. Hope this will be your help!