Apple Maps may not work due to iOS issues or configurations related to navigation mechanisms. Some users report that the Maps app does not load or loads very slowly, while others report that the Maps app does not show any directions. In this article, I will provide a full tutorial on how to fix Apple Maps not working issue on iPhone.
Preliminary Solution: Generally, the simple process of restarting the Apple Maps app or restarting your iPhone will fix the problem. We recommend you give it a try, even if it seems basic.
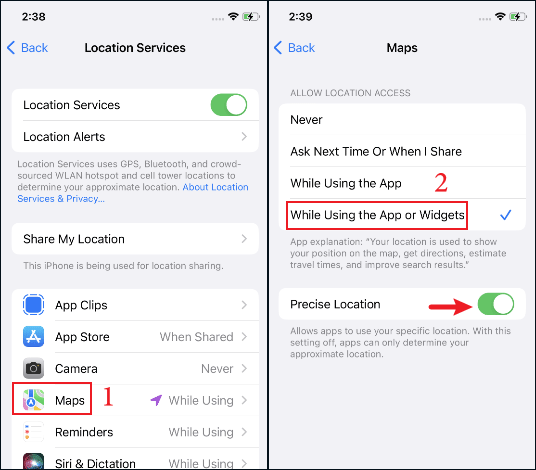
Fix 1: Turn on location services and location Access for Maps
Step 1: Move to Settings apps, then move to Privacy & Security > Location Services, make sure location services is turned on.
Step 2: Then tap Maps, and make sure Maps is set to While Using the App or Widgets. It is recommended to turn on the precise location. Enabling this feature can provide you with precise location services.
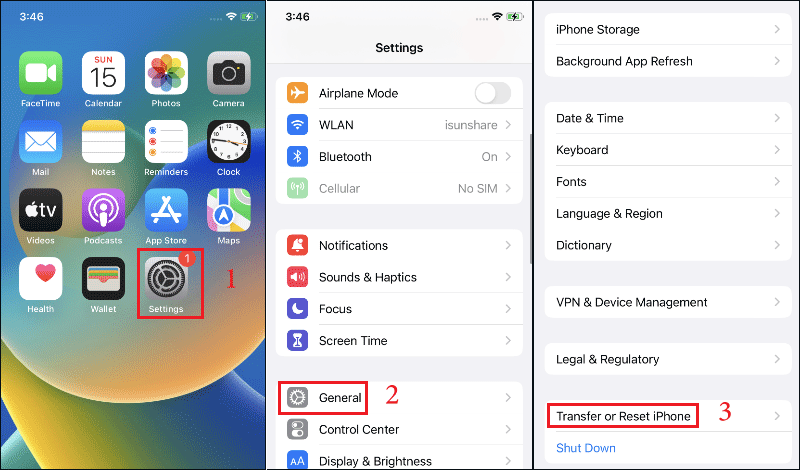
Fix 2: Reset location & Privacy
Resetting your location and privacy settings can help resolve common errors with Apple maps.
Step 1: Move to Settings > General > Transfer or reset iPhone.
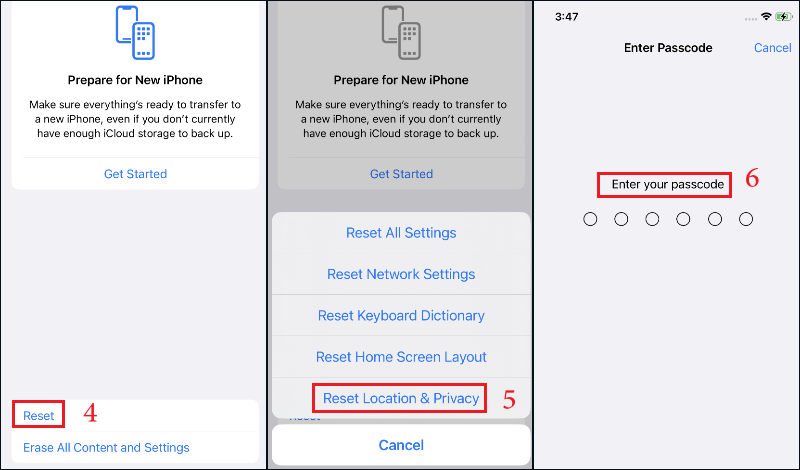
Step 2: Tap Reset > Reset Location & Privacy > Enter your passcode to confirm the reset of your location and privacy. Now launch Apple Maps and when it asks for location permissions, grant it the permissions it needs to check that Maps is working properly.
Note that each GPS app you install on your iPhone will request permission again. Click Allow when the pop-up window appears.
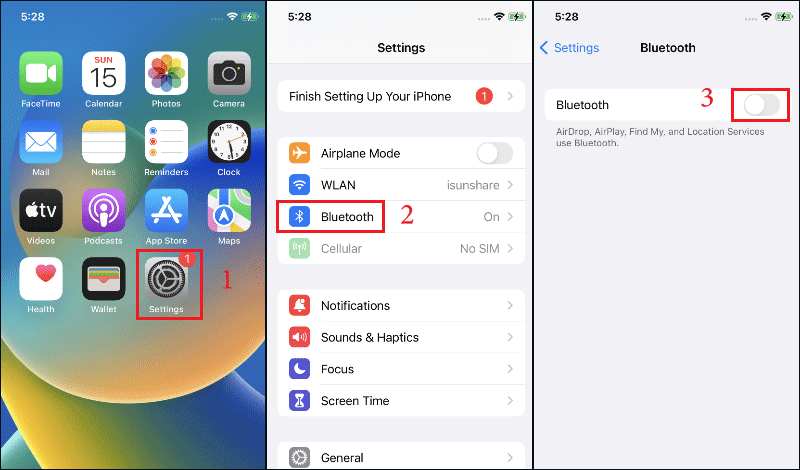
Fix 3: Disable Bluetooth on iPhone
If you are using Bluetooth to connect to an external GPS device such as a Fitbit, or even a GPS unit in your car, disable Bluetooth. Or, due to a glitch, Apple Maps is trying to communicate through an absent Bluetooth device (speaker or watch), in which case disabling Bluetooth on the iPhone may solve the problem.
Move to Settings > Bluetooth > click to disable Bluetooth. Then launch Apple Maps to check if the problem is solved.
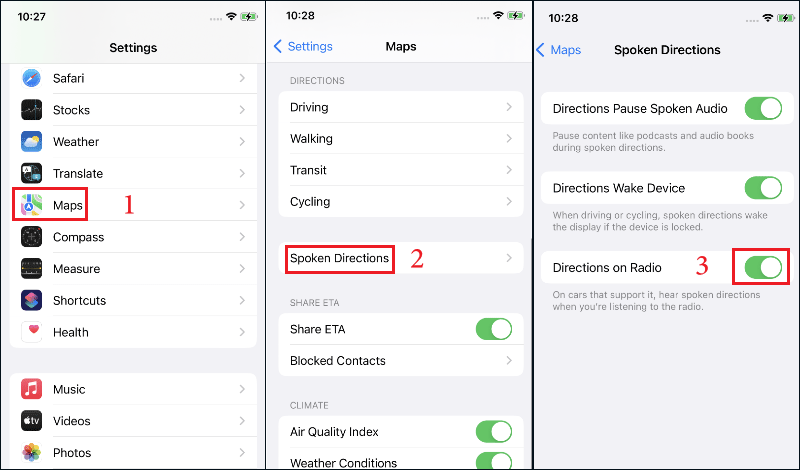
Fix 4: Enable the Directions on Radio Feature
If you are using an Apple device with a car that supports map audio, but you can't hear it, enabling directions on the radio may solve the problem of Apple Maps not working. Simply move to Settings app, then tap on Maps > Spoken Directions > Directions on Radio, then enable this feature and check if the Apple Maps issue is resolved.
Fix 5: Use a professional system recovery tool -- iOS Repair Genius
iSunshare iOS Repair Genius is a powerful tool to repair iPhone/iPad with or without data loss. It is so powerful that it can easily fix more than 50 common iOS system problems like stuck in Apple logo, Apple Maps not working, stuck in spinning circle, etc. It can fix any problem occurring in your iOS device except hardware issues.
Note: Before performing the following steps, you need to download and install this software on your computer and make sure iTunes is the latest version.
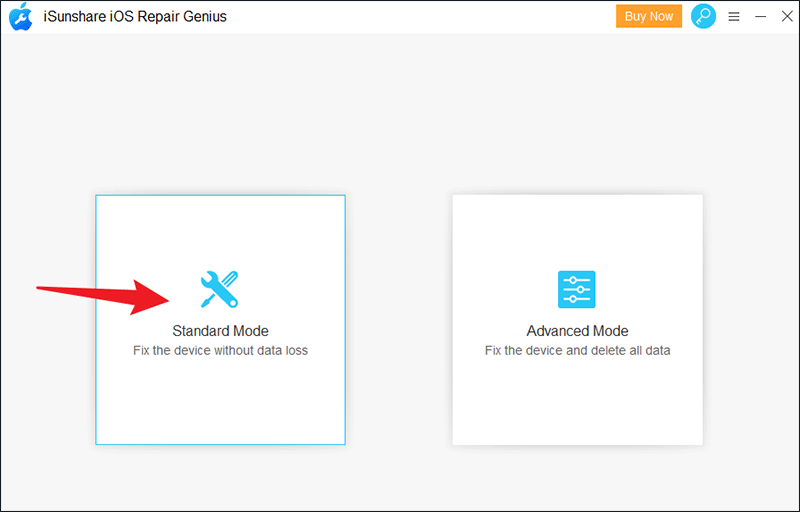
Step 1: The main interface of the software is available in standard and advanced modes. The Standard Mode allows you to fix most common system problems without losing data, while the Advanced Mode can fix almost all system problems at the cost of losing data. If you have never backed up your iPhone via iCloud or iTunes, I recommend you to choose Standard mode.
Step 2: Click on Start button to continue.
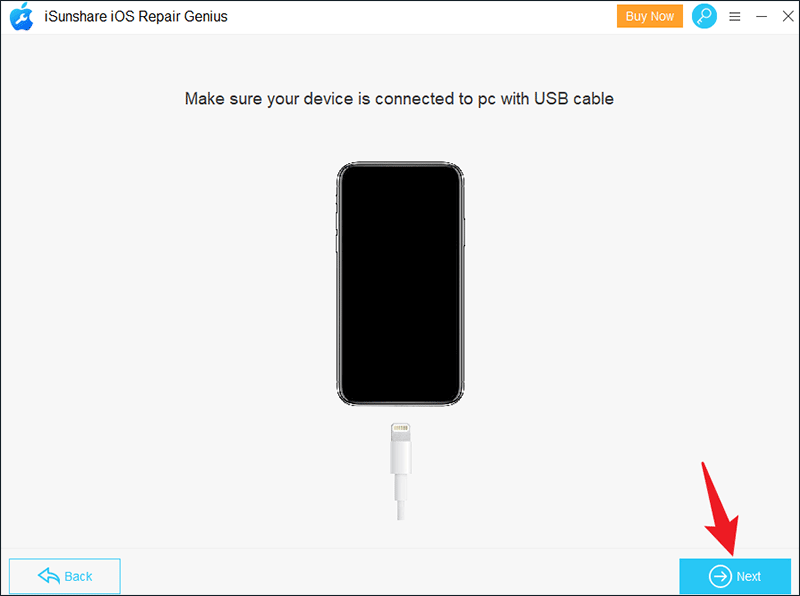
Step 3: Make sure your iPhone is connected to the computer with a USB cable and click the Next button. If your iPhone cannot be detected, you need to put your iPhone in DFU or recovery mode. On the screen, you can see a very clear guide and follow it.
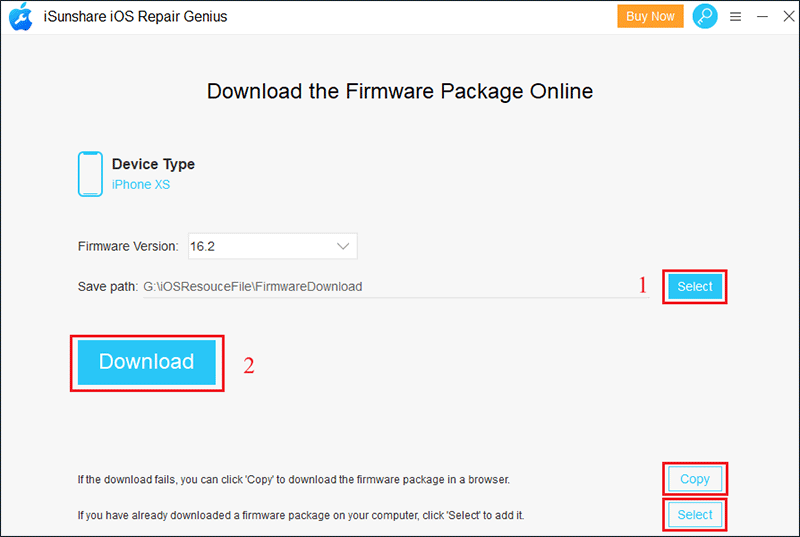
Step 4: iOS Repair Genius will automatically recognize your iPhone model and display the latest available version of the firmware. Click the Select button to choose the location from your computer where to save the package, and then click the Download button to download the firmware package online. If the download fails, you can click the Copy button to download it on your browser. Then click on the Select button at the bottom to import it. If you already have a firmware package downloaded on your computer, just click Select to add it.
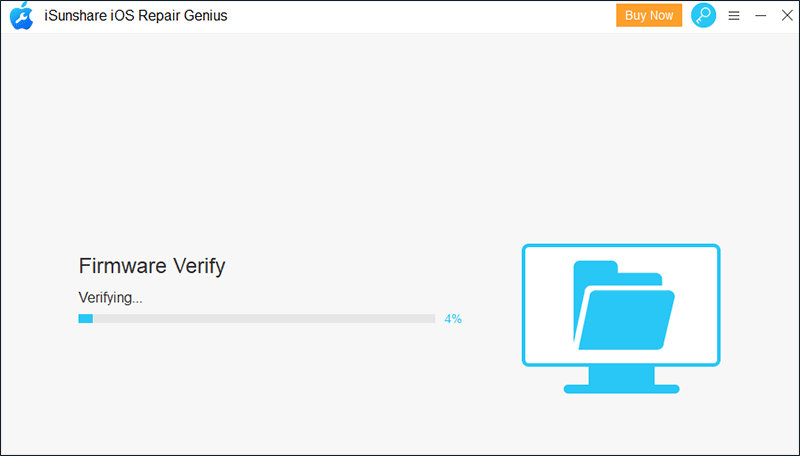
Step 5: Wait patiently for the download to complete and verify the firmware.
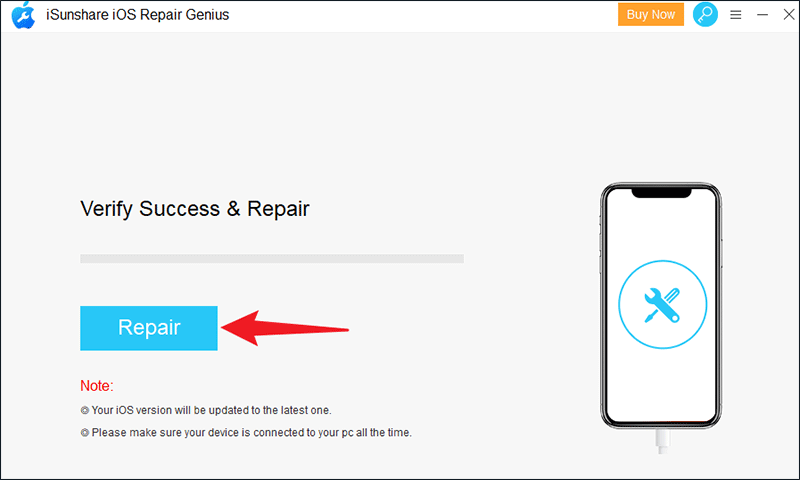
Step 6: After the firmware has been successfully verified, click Repair to begin the repair process.
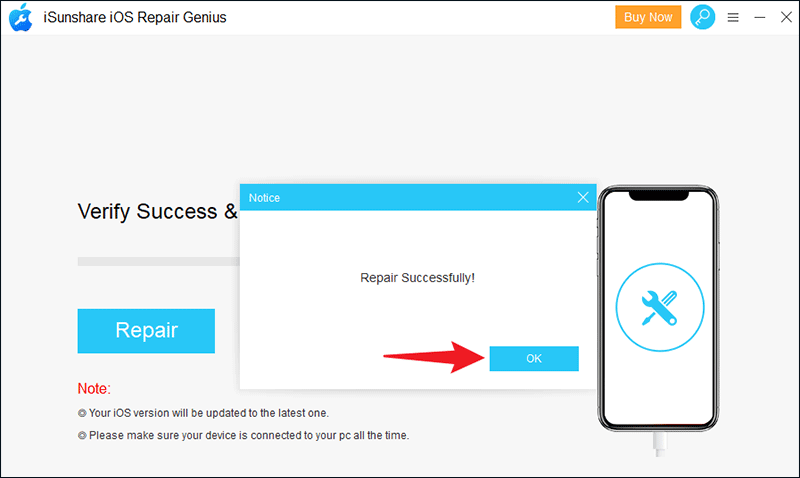
Step 7: Wait for a while until a window pops up indicating that the iPhone has been successfully repaired. Click OK to close the window. Finally, your iPhone will work properly and start automatically. Apple Maps is now working properly as well.