We use cookies for personalizing content and ads and providing social media features. Your usage information on our website will be used for social media, advertising, and traffic analytics, or shared with our partners. Clicking "Accept" means you agree to use our cookies .
By turning on Mouse Keys, you are able to control the mouse pointer with the numeric keyboard. More specifically speaking, you can use the number keys (i.e. 1, 2, 3, 4, 5, 6, 7, 8 and 9) on the numeric keyboard instead of the mouse to move the mouse pointer around the screen. For your better reference, this article specially illustrates how to turn on Mouse Keys on Windows 10.
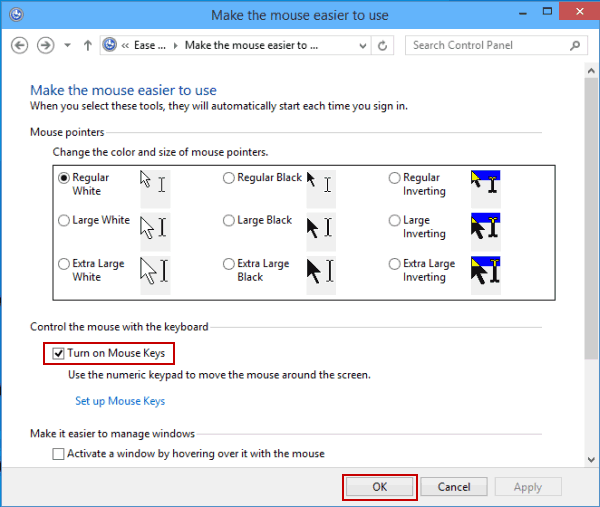
Step 4: In the window titled Make the mouse easier to use, select Turn on Mouse Keys and tap OK.
After that, you can click the Set up Mouse Keys option under Turn on Mouse Keys to customize the speed of using the number keys on the numeric keyboard to move your mouse pointer around the screen.
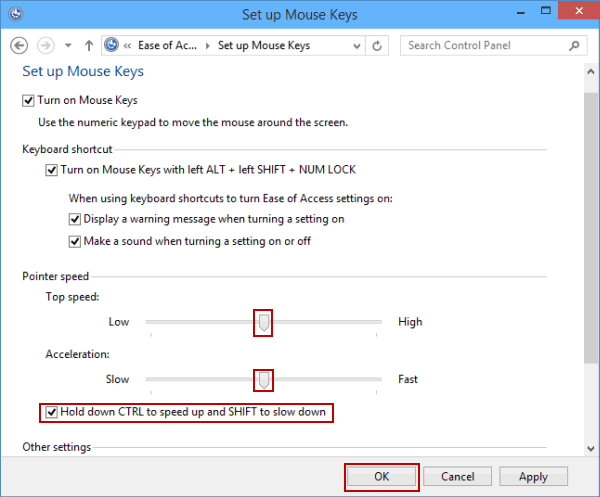
In Pointer speed settings, move the scales to the left or the right so as to change the top speed and acceleration, or select Hold down CTRL to speed up and SHIFT to slow down and tap OK.
Step 3: Click Mouse to access its settings, toggle the switch under Control your mouse with a keypad to On. After that, you can set up the mouse key by checking the options below, such as Hold the Ctrl key to speed up and the Shift key to slow down option.