We use cookies for personalizing content and ads and providing social media features. Your usage information on our website will be used for social media, advertising, and traffic analytics, or shared with our partners. Clicking "Accept" means you agree to use our cookies .
Customizing the mouse pointer can enhance visibility and accessibility, especially for users with visual impairments or personal preferences. Windows 10 offers several methods to adjust the pointer's size and color. There are three methods you can use to change Mouse Pointer size and color in your Windows 10 computer.
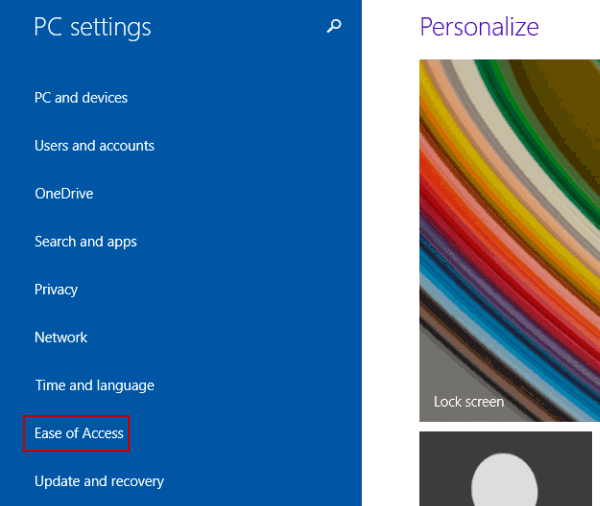
Way 1: Change Mouse Pointer size and color in PC settings.
These settings provide immediate visual feedback, so that you can preview changes immediately.
Step 2: Choose Ease of Access to enter its settings.
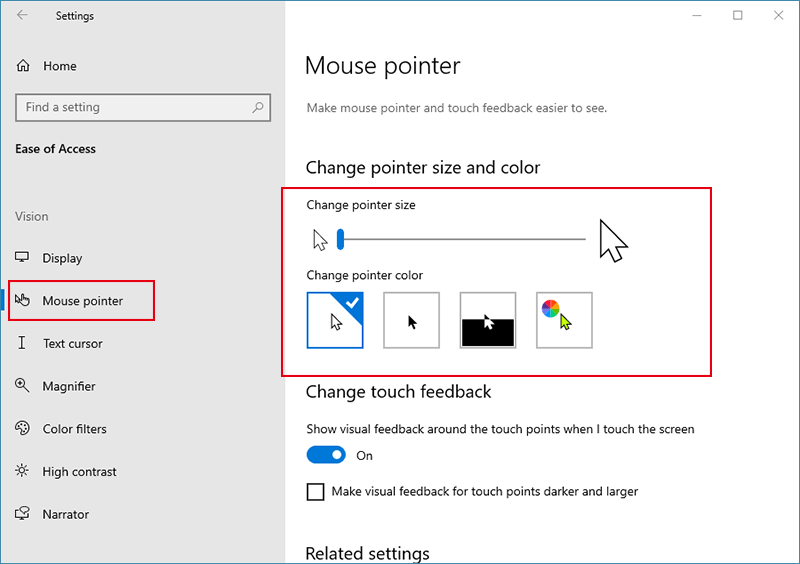
Step 3: Click Mouse Pointer from the left side menu. Then you can move the slider to increase or decrease the pointer size under Change pointer size section. As for the pointer color,you can choose from White, Black, Inverted, and Custom under Change pointer color section.
Way 2: Change Mouse Pointer size and color in Mouse Properties.
This method allows users to change the entire pointer scheme, affecting all pointer states (e.g., normal select, text select).
Step 1: Press Windows +R keys together to open Run box. Then excuet the command main.cpl to open Mouse Properties.
Step 2: Tap Pointers, click down arrow, choose a scheme from the list and select OK.
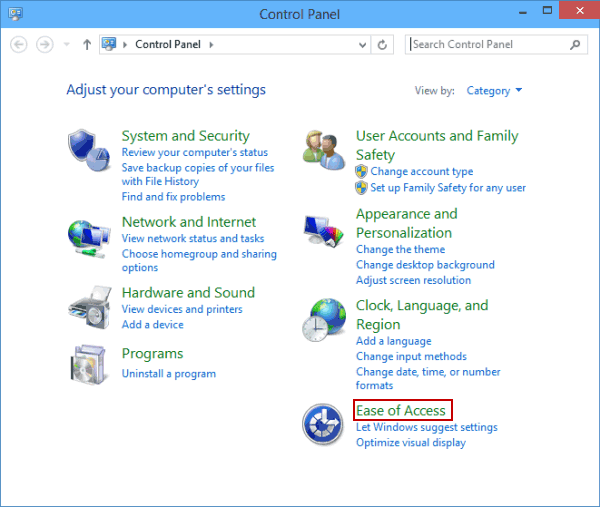
Way 3: Change size and color of Mouse Pointer in Control Panel.