We use cookies for personalizing content and ads and providing social media features. Your usage information on our website will be used for social media, advertising, and traffic analytics, or shared with our partners. Clicking "Accept" means you agree to use our cookies .
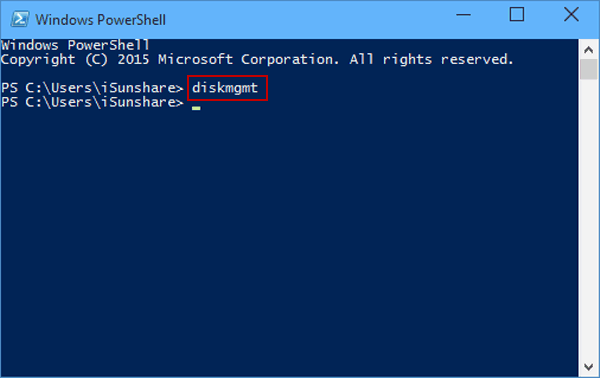
Way 7: Turn Disk Management on via Windows PowerShell.
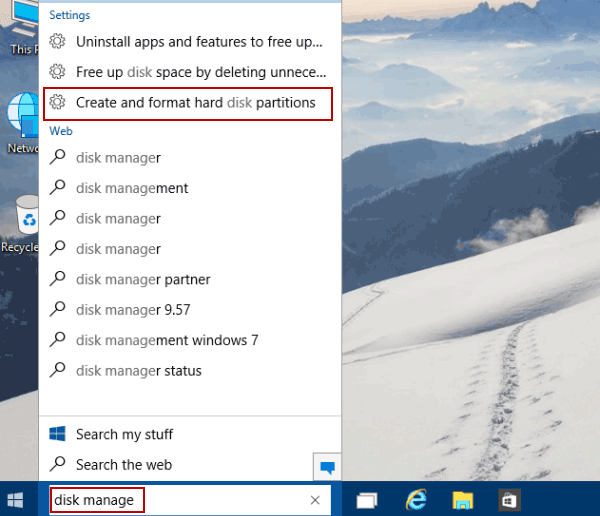
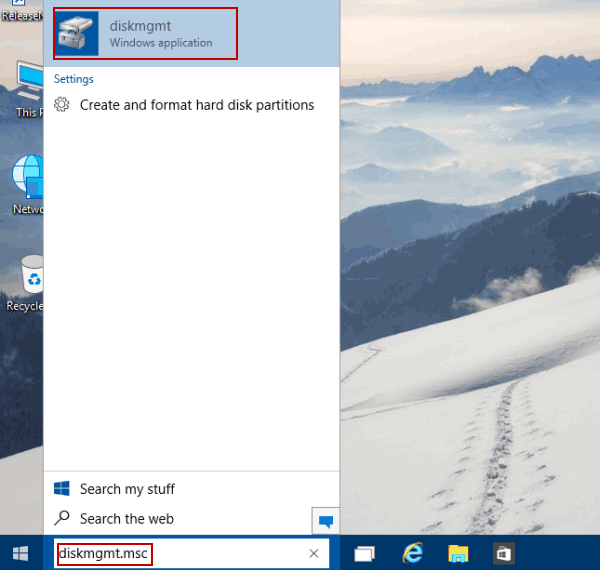
Step 1: Open Windows PowerShell via searching.
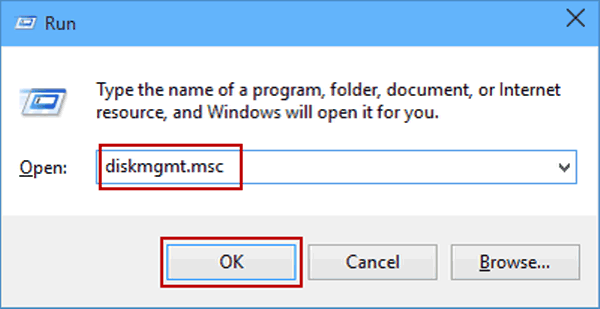
Step 2: Enter diskmgmt and hit Enter.
Other Ways to Open Disk Management in Windows 10
There is another ways for you to open disk management in Windows 10, faster and more convenient. That is to create disk management shortcut on Windows computer. When you want to open disk management, you just need to double click the shortcut, how easy it is! Here you will be showncased two ways to create desktop shortcut for disk management.
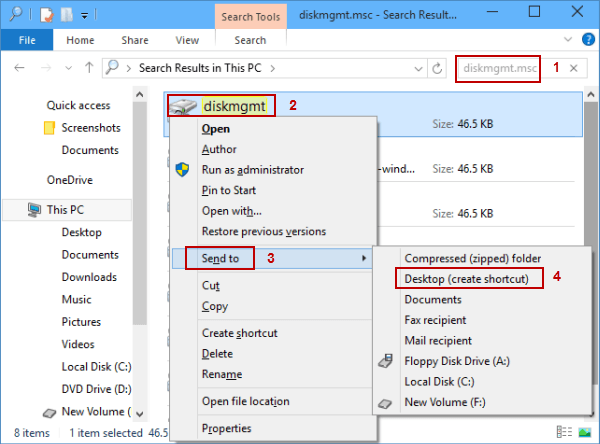
Way 1: Create desktop shortcut for diskmgmt.msc.
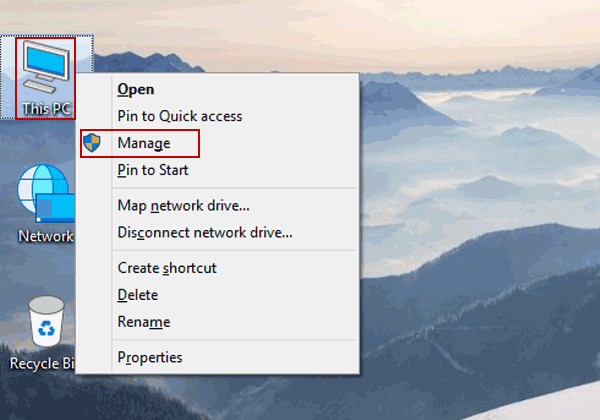
Open This PC, type diskmgmt.msc in the top-right search box, right-click diskmgmt in the result, point at Send to on the context menu, and then choose Desktop (create shortcut) in the sub-list.
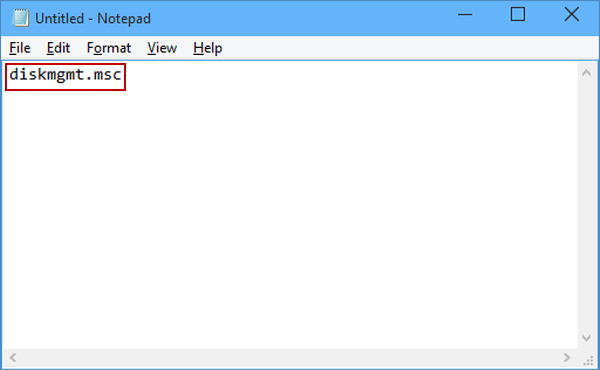
Way 2: Create a CMD file for diskmgmt.msc on desktop.
Step 1: Open Notepad from Start Menu, and type diskmgmt.msc in it.
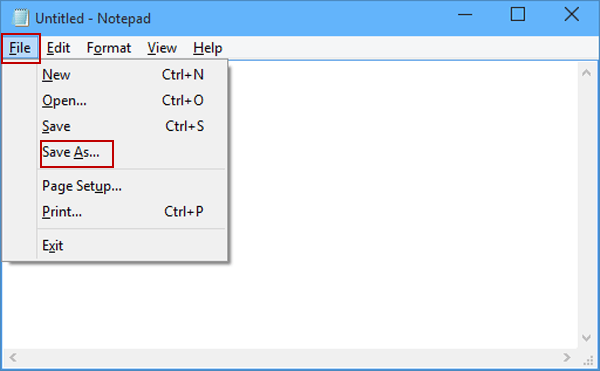
Step 2: Tap File on the Menu bar and select Save As in the menu.
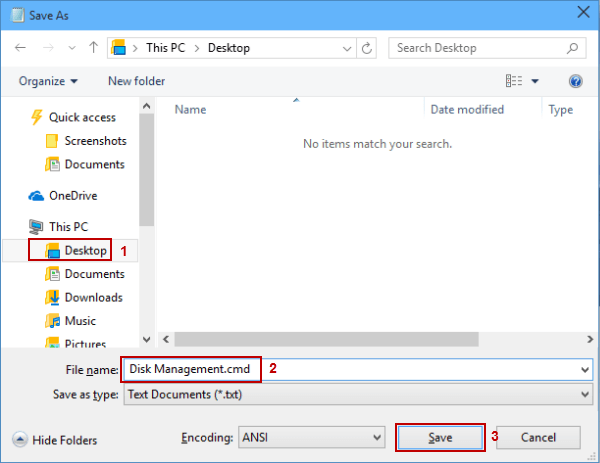
Step 3: Choose Desktop, type Disk Management.cmd in the file name box and hit Save.