We use cookies for personalizing content and ads and providing social media features. Your usage information on our website will be used for social media, advertising, and traffic analytics, or shared with our partners. Clicking "Accept" means you agree to use our cookies .
The XPS Viewer is a built-in application in Windows 10 that allows users to view and manage XPS (XML Paper Specification) documents. You can use the following five methods to open XPS Viewer on Windows 10 computer.
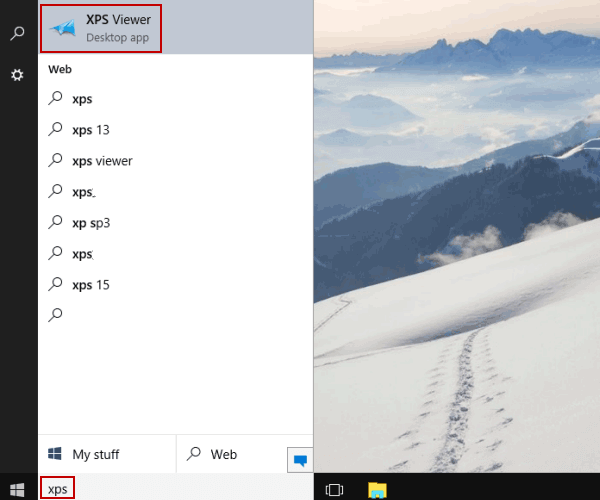
Way 1: Turn XPS Viewer on through searching.
Input xps in the search box and choose XPS Viewer in the result. This method provides a quick way to access the XPS Viewer using the built-in search functionality.
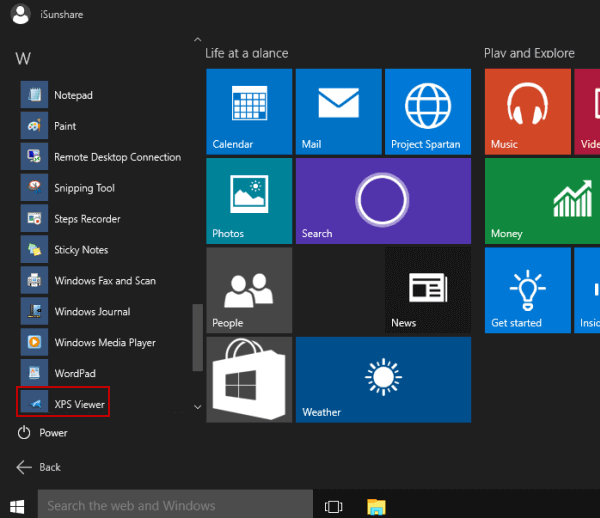
Way 2: Open XPS Viewer from Start Menu.
Click the Start button to show the menu, select All apps, open Windows Accessories and tap XPS Viewer.
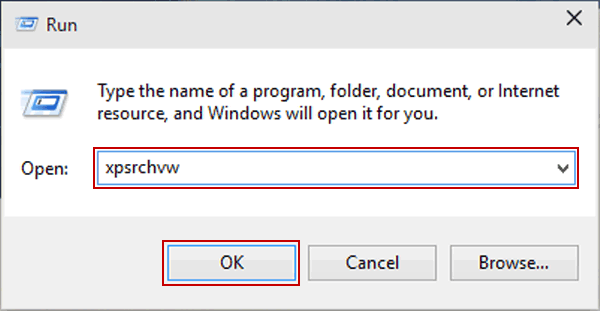
Way 3: Open XPS Viewer via Run.
The Run dialog offers a fast and straightforward approach to open system utilities like the XPS Viewer. Display the Run dialog with Windows+R, enter xpsrchvw and hit OK.
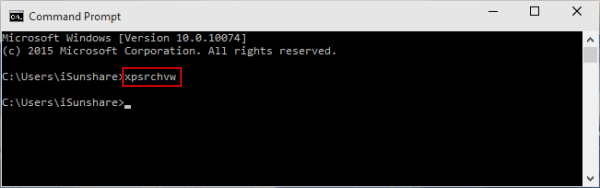
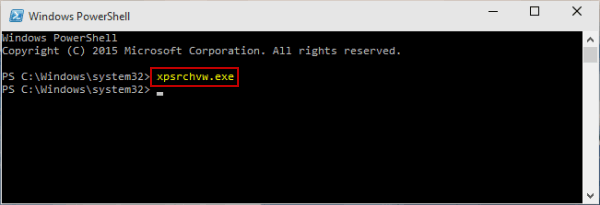
Way 4: Turn XPS Viewer on in Command Prompt.
Using the Command Prompt is ideal for users who prefer command-line interfaces for system management.