We use cookies for personalizing content and ads and providing social media features. Your usage information on our website will be used for social media, advertising, and traffic analytics, or shared with our partners. Clicking "Accept" means you agree to use our cookies .
RAM(Random-Access Memory) is an essential component of the computer, which is located in the motherboard of the PC. It is the place where the computer stores the short term data for quick access and use. With the help of RAM, the computer can execute tasks faster. When there is no enough RAM storage left, you might find that the PC slows down and performs worse. What can you do at this time? Next, we will share you 6 quick ways to clear RAM cache on the Windows 10 PC.
RAM is temporary storage that helps your PC run active apps and processes. When too many programs are open or a memory leak occurs, RAM usage spikes, slowing your system.
Common causes of high RAM usage:
Too many background apps
Memory-hungry software (like browsers or video editors)
Unused services running silently
Malware or memory leaks
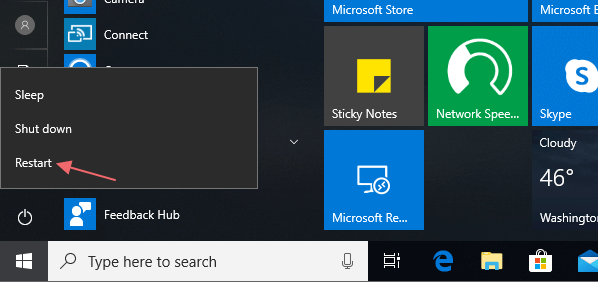
Way 1. Restart Your Windows 10 PC
A simple reboot clears the memory cache and shuts down all running processes. This is the easiest way to start fresh. You can free up RAM on Windows 10 by rebooting the PC, which can help reset all the running programs and completely clear RAM.
Way 2. Exit Unneeded Applications
Have a look at the desktop taskbar and does it show many open programs? If it does, don't hesitate to exit the unneeded application that can take up the precious RAM. Then you will find that the Windows 10 PC runs smoother than before.
Way 3. Clear Memory Cache
There are different types of cache on the running Windows 10, which enables the system to respond quickly. But these cache can occupy a lot of memory sometimes. Luckily, they can be deleted by their own ways. You can remove DNS cache and Windows Store cache in CMD with the related command. To clean the cache of browsers like Google Chrome/Microsoft Edge/Firefox, you can easily do it in the browser's settings page.
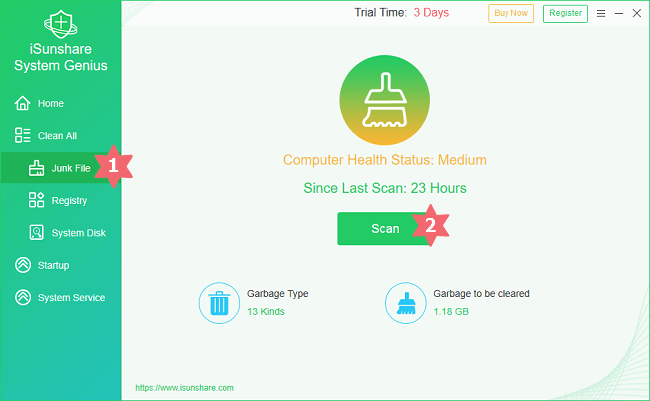
For the common cache, you can clear them with the tool iSunshare System Genius which works well on clearing Windows junk files including temporary files/data cache/font cache/thumbnail cache/manifest cache, etc. By using such a helpful tool, you can erase the general cache within a few clicks instead of deleting them in different places.
Step 1: Install iSunshare System Genius on your Windows 10 PC.
Step 2: Launch the tool and choose Junk File to get the Scan button. After that, hit Scan to scan Windows 10 for junk files.
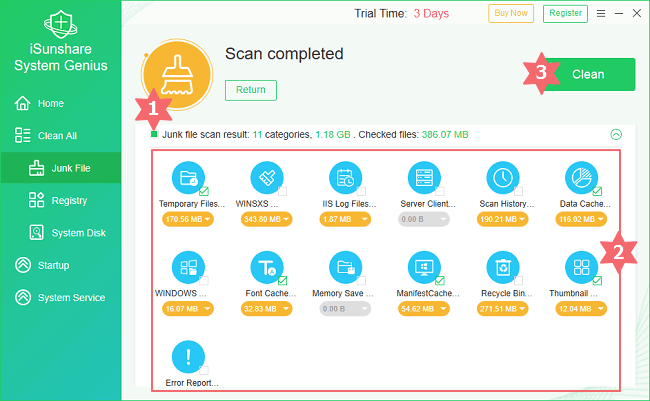
Step 3: In the result section, uncheck the Junk file scan result option firstly. Then check temporary files and other cache items. At last, click Clean to wipe them from your system.
Way 4. Close Unnecessary Background Programs
Although background programs can update themselves automatically, send you the notification, etc, it can consume the power, use the bandwidth and eat up system resources like RAM on the other side. So, you are highly recommended to only keep the needed background programs. To close the unnecessary background programs, you can follow the steps here.
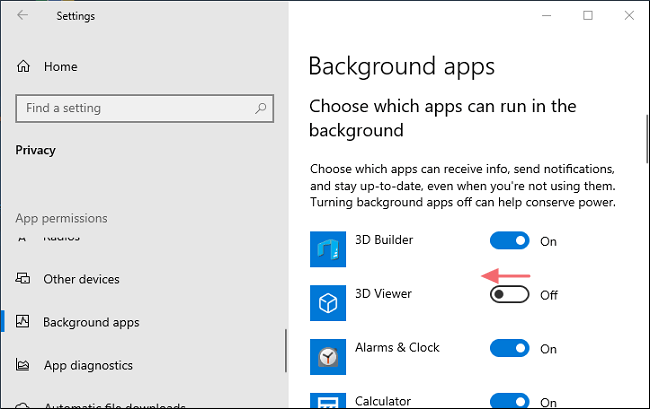
Step 1: Enter Settings in the search bar and click it.
Step 2: Choose Privacy in the Settings window.
Step 3: Scroll down the left pane to access Background apps.
Step 4: Turn off the unnecessary programs.
Way 5. Use Lighter Applications
Compared with their similar applications, some apps are better at managing memory. If your computer struggles with the specific program, you can try to find a lighter alternative for it. For example, you can use Google Chrome instead of Microsoft Edge if your computer crawls when running the Edge browser. In this way, you can free up RAM and get more available space on Windows 10.
Way 6. Disable Rare-to-Use Startup Programs
There might be some startup programs on your Windows 10 computer. Some are set by yourself for convenience use and the others are enabled by default when they are installed. Actually, these startup programs can be the cause for the full RAM and it would be a good way to clear RAM on Windows 10 through regularly managing the startup programs and disable the rare-to-use one.
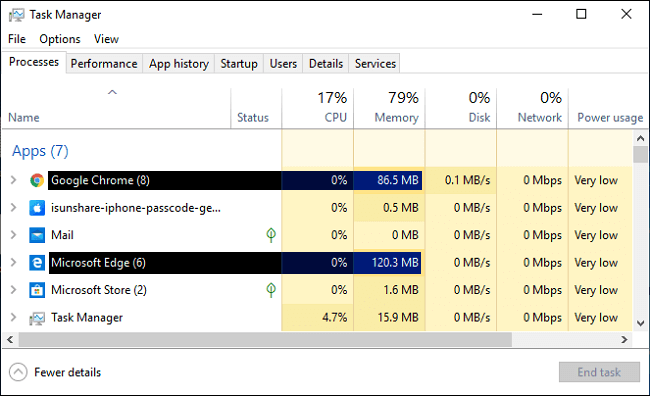
Step 1:Run Task Manager and click More Details in the lower-left corner of it.
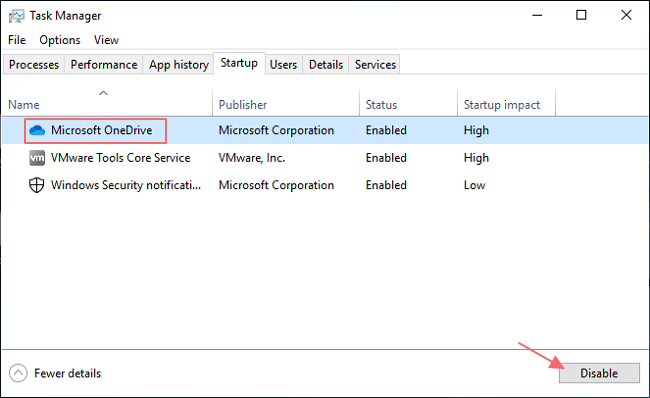
Step 2: Switch to Startup in the upper menu and then find the needless programs to disable.
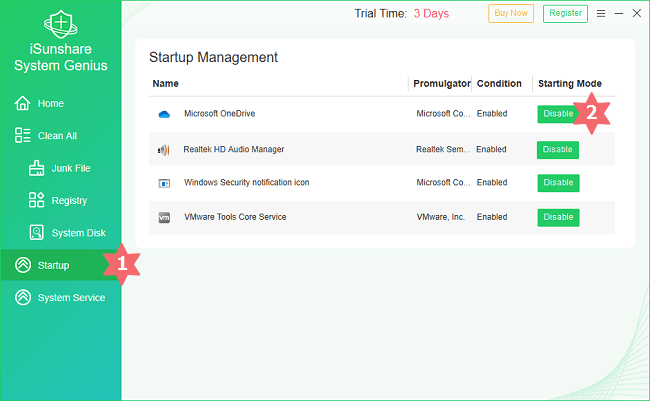
Besides, you can manage the startup programs in a more intuitive way, which is using iSunshare System Genius.
FAQs About RAM Cleaning in Windows 10
Q1: Is it possible to clear RAM cache using CMD?
Windows doesn't offer a direct CMD command to clear RAM cache completely. But you can run ipconfig /flushdns command to clear DNS cache, which is helpful to some performance issues. Besides, you can use RAMMap and the command line: rammap.exe -E to clear the entire memory cache.
Q2: How much RAM should be free for smooth performance?
Ideally, at least 25-30% of RAM should be free for multitasking without slowdowns.
Q3: Should I upgrade my RAM instead?
If you often run out of memory even after cleanup, adding more RAM is a good long-term fix.
Conclusion
Freeing up RAM is essential for maintaining a responsive and fast Windows 10 experience. By applying the above methods regularly, you can avoid freezes, crashes, and slowdowns—even on low-spec systems.