We use cookies for personalizing content and ads and providing social media features. Your usage information on our website will be used for social media, advertising, and traffic analytics, or shared with our partners. Clicking "Accept" means you agree to use our cookies .
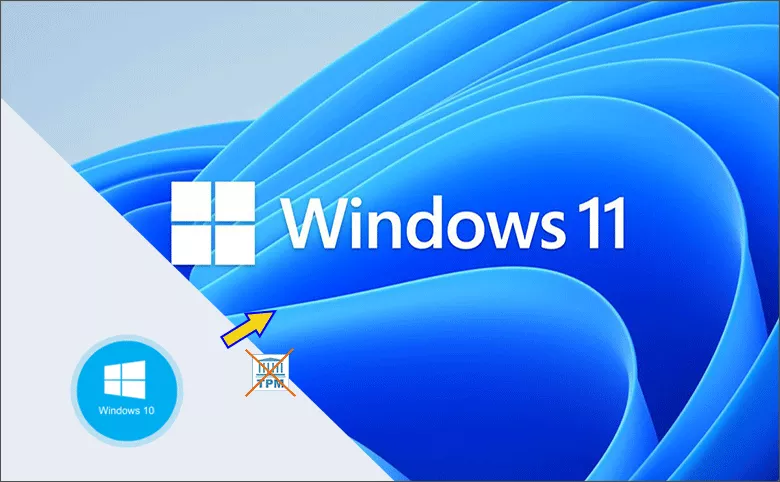
Upgrading from Windows 10 (MBR disk) to Windows 11 (GPT disk) requires more than a simple OS update. Windows 11 has stricter hardware and firmware requirements—including the UEFI boot mode and GPT partition style. In this article, you can learn the step-by-step guide to convert MBR to GPT safely in Windows 10 and then upgrade Windows 10 to Windows 11 without losing any data.
Windows 11 requires UEFI and GPT for installation. If your system uses the legacy MBR (Master Boot Record) partition scheme, you must convert it to GPT (GUID Partition Table) to proceed.
Step 2: Right-click the system disk (usually Disk 0) and select Properties from the drop-down menu.
Step 3: Click the Volume tab and you can check the Partition style. If it is MBR, you must convert it to GPT before upgrading to Windows 11. If it is GPT, the disk is compatible with Windows 11.
How to Convert MBR to GPT without Data Loss
Windows 10 includes a command-line tool called MBR2GPT that safely converts MBR to GPT without deleting your data.
1. When the Command Prompt opens, run the command line: mbr2gpt /validate to validate whether the drive meets the convert requirements or not.
2. If validation passes, proceed with the command line: mbr2gpt /convert to convert the MBR to GPT.
3. Soon, you can see the messages like "Conversion completed successfully". Then you can execute exit command to close the console.
Step 4: Change BIOS from Legacy to UEFI
You should reboot your computer. During the restart process, pressing F2, DEL, ESC at startup to enter your BIOS/UEFI. After that, locate the Boot Mode or Boot Configuration and change it from Legacy or CSM to UEFI. Finally, save the changes and reboot your computer.
Upgrade Your Windows 10 to Windows 11
Now your Windows 10 boot mode is GPT +UEFI, you can directly upgrade to Windows 11. Besides, you should make sure TPM 2.0 is enabled in BIOS. Also, your computer meets all hardware requirements for Windows 11. After that, you can go ahead to upgrade your computer.
Step 1: Go to Settings > Update & Security > Windows Update.
Step 2: Click the Check for updates button on the right pane.
Step 3: Minutes later, click the Download and install button to install Windows 11. After the installation, you can restart the computer.
FAQs on Windows 10 Upgrade to Windows 11
Q1. Will I lose data when converting MBR to GPT?
No, the MBR2GPT tool preserves your data. But always back up your files as a precaution.
Q2. What happens if I don't switch the boot option to UEFI after conversion?
Your system won't boot. Thus, you must make sure the BIOS boot mode is changed to UEFI after the partition style is GPT.
Q3. What if my BIOS doesn't support UEFI?
Unfortunately, you cannot install Windows 11. UEFI is a mandatory requirement.
Conclusions
Upgrading from Windows 10 with an MBR partition to Windows 11 on a GPT disk may seem technical, but with the right steps, it's completely manageable—even for non-experts. Using the MBR2GPT tool, ensuring your system supports UEFI, and adjusting BIOS settings are the key tasks you need to complete before installing Windows 11.