We use cookies for personalizing content and ads and providing social media features. Your usage information on our website will be used for social media, advertising, and traffic analytics, or shared with our partners. Clicking "Accept" means you agree to use our cookies .
Most websites use JavaScript design in order to improve users' browsing experience. If your browser disables or closes JavaScript support, it may cause poor browsing experience or some functions of the website can't be used. Google Chrome and Internet Explorer are two popular browsers and widely-used by Internet lovers all over the world. This tutorial will teach you How to Enable JavaScript in Google Chrome and Internet Explorer.
How to enable JavaScript in Google Chrome? If you are using the Chrome browser, you can follow the below steps to turn on JavaScript in Google Chrome.
Step 1. Open your Google Chrome browser on your computer.
Step 2. Click the More button on the top right of the interface , which is shaped as an icon of three vertical dots, and then select the option of Settings to continue.
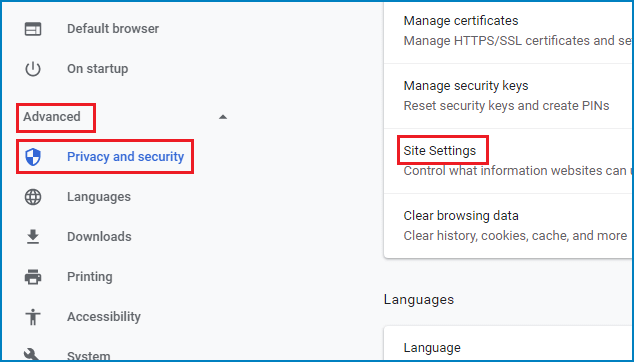
Step 3. Expand the section of Advanced at the bottom and then click Site Settings under Privacy and security.
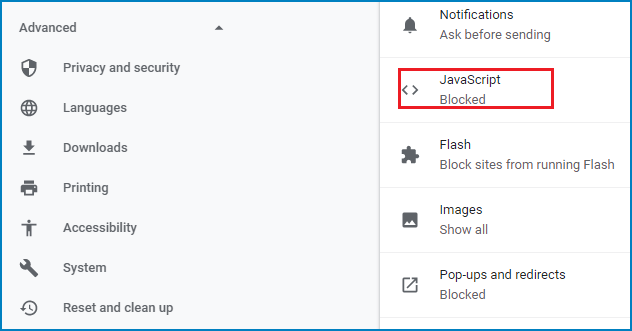
Step 4. Click the option of JavaScript under Permissions.
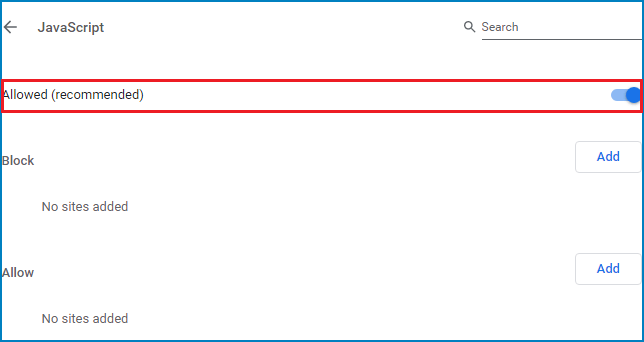
Step 5. Click the slider to turn on JavaScript in your Chrome browser. Then the state of JavaScript will be turned from Blocked to Allowed (recommended).
After you have completed the above 5 steps, refresh your browser. Then you will succeed in making the JavaScript enabled in your Google Chrome.
Option 2: Turn On JavaScript in Internet Explorer
How to turn on JavaScript in Internet Explorer? You just need to complete the following 6 steps:
Step 1. Open your Internet Explorer on your computer.
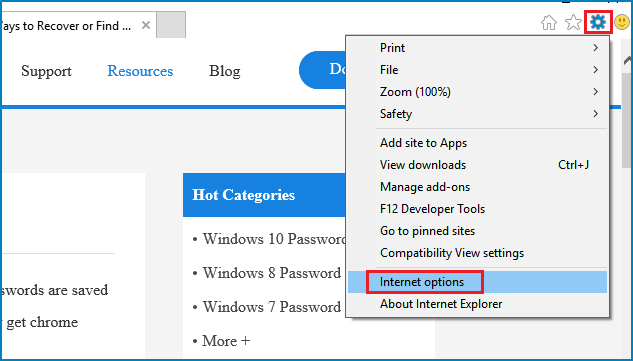
Step 2. Click the Tools icon (Alt+X) and select Internet options.
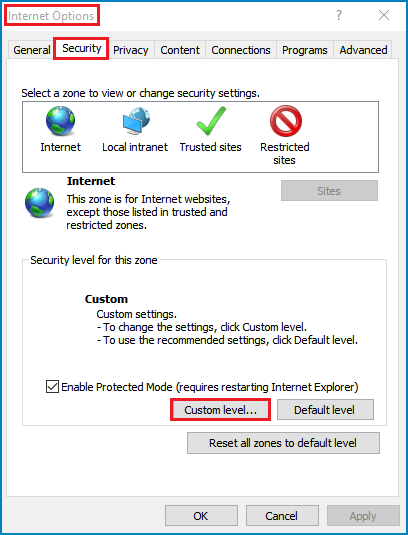
Step 3. Select the Security tab in the Internet Options panel and then click the Custom level button under the part of Security level for this zone to continue.
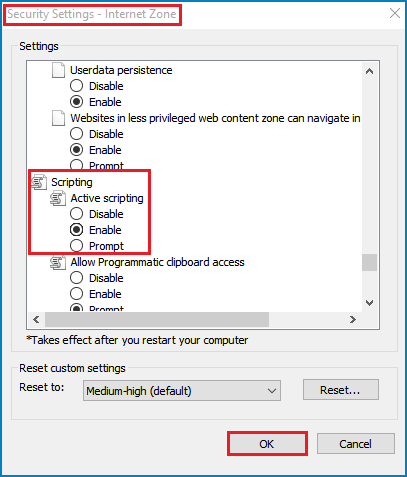
Step 4. In the Security Settings - Internet Zone panel, scroll down and find Scripting, select Enable under Active scripting, and then click OK.
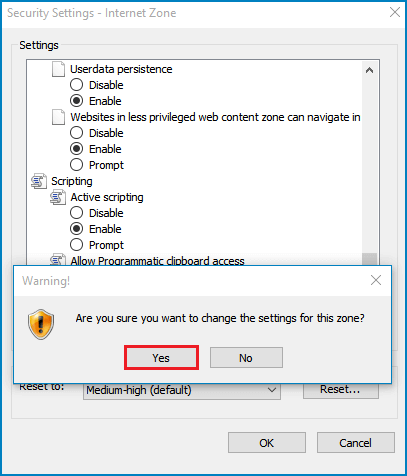
Step 5. Click the Yes button to confirm when the warning window asking "Are you sure you want to change the settings for this zone?" pops up.
Step 6. In the Internet Options window, click on the OK button to close it, and then refresh the page.
Tip: It is recommended to double check whether the JavaScript is still enabled or not in your browser every time you do some actions which may influence the JavaScript settings, such as upgrading your browser or installing new security programs.