We use cookies for personalizing content and ads and providing social media features. Your usage information on our website will be used for social media, advertising, and traffic analytics, or shared with our partners. Clicking "Accept" means you agree to use our cookies .
For programs downloaded from Windows Edge or other reasons, the computer is not connected to the Internet or the Windows Security Center is not connected to the Internet or for other reasons, the downloaded application will be opened with the message: "SmartScreen can't be reached right now." You can choose to close this message or keep it.
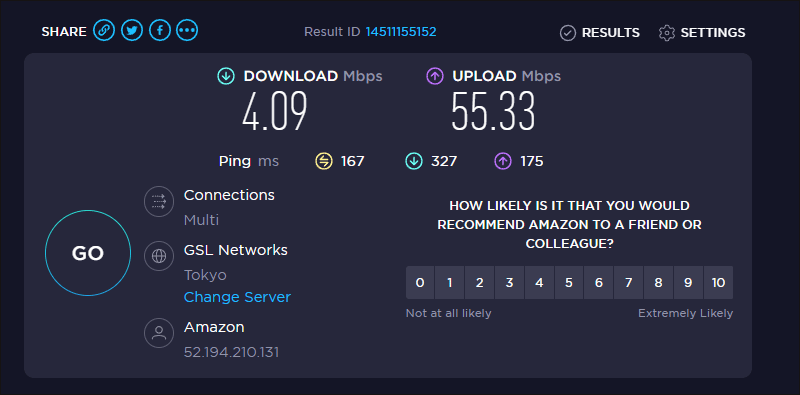
Since SmartScreen relies on Microsoft's servers to check the security status of an application, you must be online for it to work. You can check your Internet speed through the online site Speedtest.net. If your download or upload speed is erratic or zero, the problem may lie with your service provider.
If this is the case, you can first try resetting your modem and router. If you are using a wired LAN connection, you can also try disconnecting and reconnecting the LAN cable. Finally, if the above steps do not work, you can also try running the Windows Network Troubleshooter.
Way 2: Disable Check apps and files
Step 1: Click Start on the taskbar to open the panel, then click Settings on the panel.
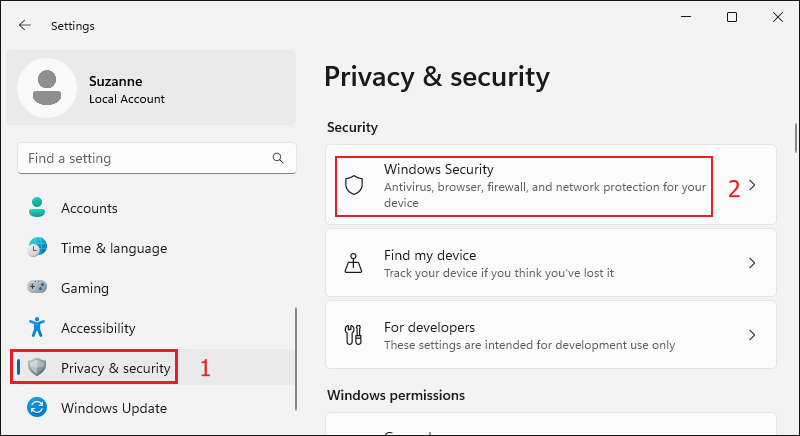
Step 2: Click on the Privacy & security option on the left column menu, and then click to open the Windows Security option on the right.
Step 3: Click to open App & browser control.
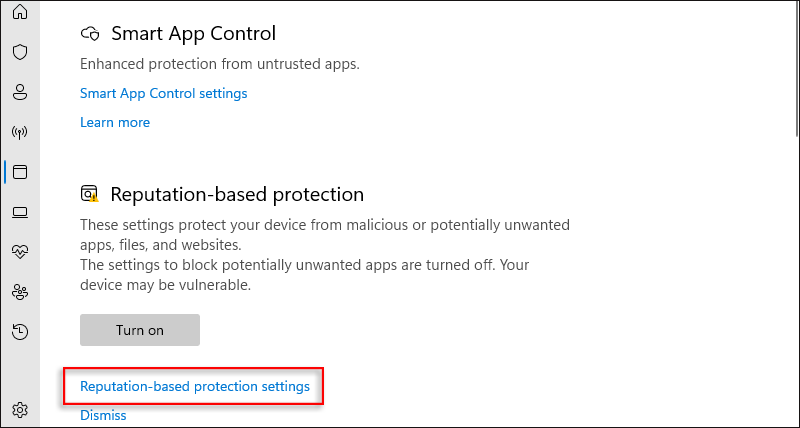
Step 4: Click Reputation-based protection settings under Reputation-based protection.
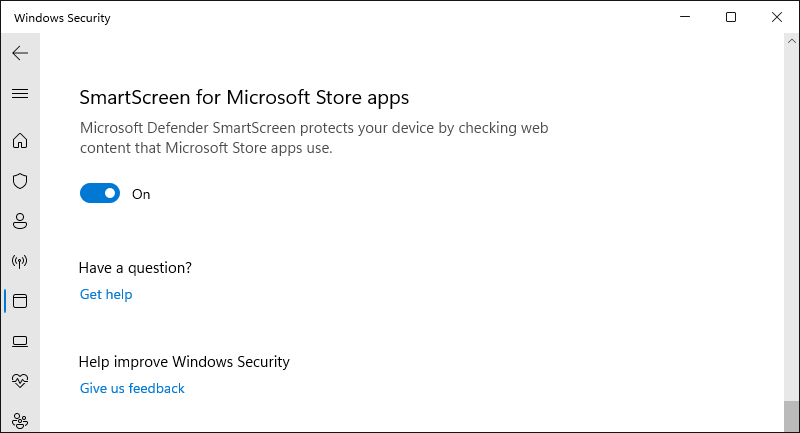
Step 5: Once opened, you can turn off or on the corresponding options.
Step 6: Scroll down to see additional options.
Step 7: Identify the option process actions that need to be closed or opened.
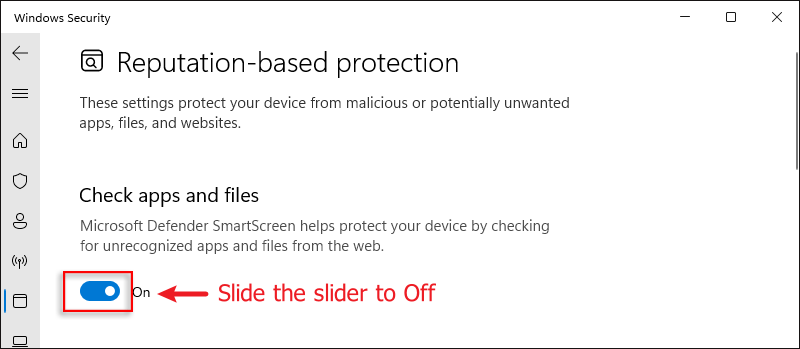
Step 8: Slide the slider to Off to disable the Check apps and files option.
Step 9: At the User Account Control pop-up prompt: "Do you want to allow this app to make changes to your device?" Click Yes. This completes the closing of the Check apps and files option.
Way 3: Enable SmartScreen in Local Group Policy Editor
If you are using Windows 11 Pro or Windows 11 Pro edition, please follow the instructions below to open Windows SmartScreen. It is worth noting that this method does not apply to Windows Home Edition.
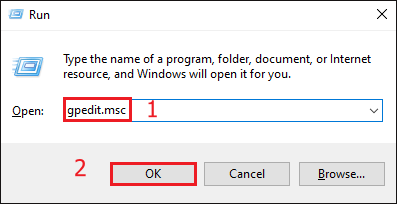
Step 1: Use the WIN+R keys to open the Run dialog box, type gpedit.msc, and click OK to open the Local Group Policy Editor.
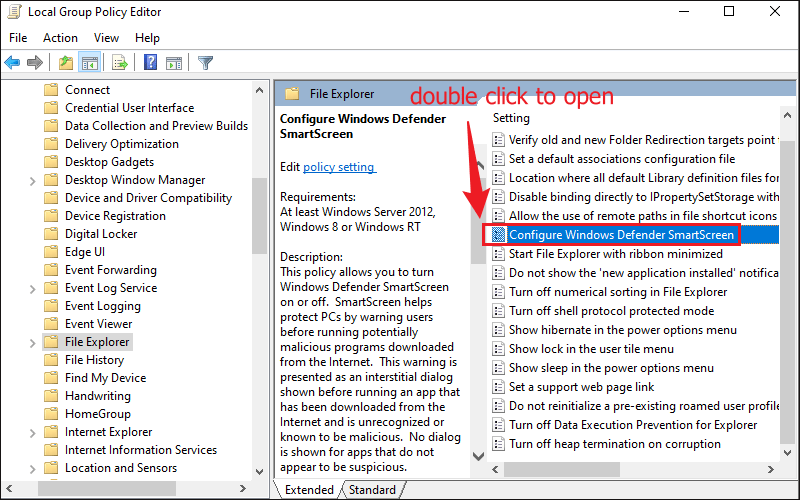
Step 2: Locate the following path in the left pane of the Group Policy Editor.
Computer Configuration > Administrative Templates > Windows Components > File Explorer
Step 3: Then in the right pane, double-click to open Configure Windows Defender SmartScreen.
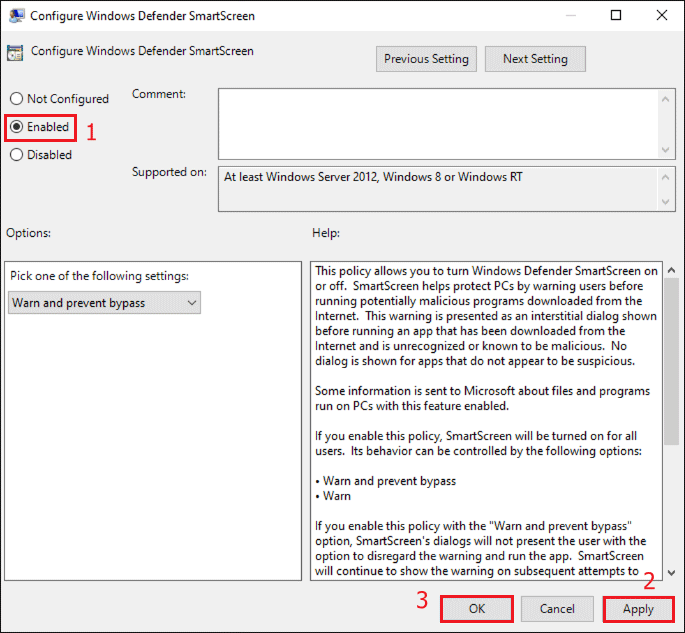
Step 4: Switch the button to Enabled, then click Apply and OK, reboot your Windows 11 PC and check if the error has stopped.
Final Word
Above is the full guide to solve this error! Which method worked for you? If this guide has been helpful to you, please share this guide to help others.